


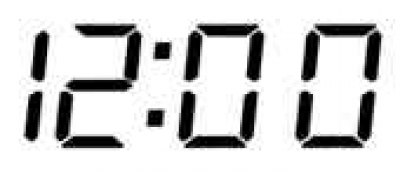
Fig. 1.95. Current time indication mode
The display shows the current time if the ignition switch is in the "ON" position (ignition on) or "ASS" (auxiliary consumers of electricity). If the trip computer data is displayed, press the "CLOCK" button to switch the display to the current time indication mode (Fig. 1.95).
Note: On vehicles equipped with a trip computer, the "INFO" button should be used to set the clock (information) instead of the "SET" button.
Setting the clock readings
a. Press and hold the "CLOCK" button until a short beep is heard. The display will show the "12Hr" or "24Hr" indicator, corresponding to the 12-hour and 24-hour time indication mode.
b. Press the "SET" button to switch between 12-hour and 24-hour time display modes. The indicator of the selected mode will start flashing.
To select the desired time display mode, press the "CLOCK" button again while the indicator of the selected mode continues to flash.
c. Then the indicator on the display will light up "Hr. ADJUST" (setting the current time - hours), and the two left digits (hours) will start flashing. Using the "SET" button, set the desired current time in the two left digits (hours) and then press the "CLOCK" button.
g. Then the indicator on the display will light up "Min. ADJUST" (setting the current time - minutes), and the two right digits (minutes) will start flashing. Using the "SET" button, set the desired current time in the two left digits (hours) and then press the "CLOCK" button.
Changing the clock readings
During the current time display, press the "SET" button and hold it for at least one and a half seconds. When you release the button, a short beep will sound and the clock readings will change as follows, for example:
12:01–12:29–12:00
12:30–12:59–1:00
Note: When you release the "SET" button, the seconds digits are reset to zero.