


Contents: Disassembly ⇓ Assembly ⇓
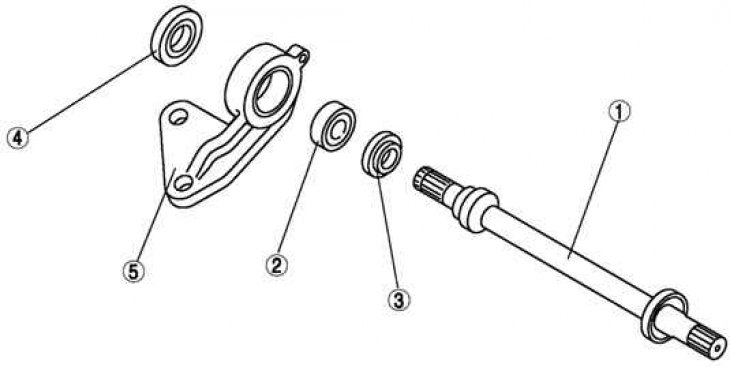
Fig. 3.131. Connecting shaft components: 1 – connecting shaft; 2 – bearing; 3 – dust seal (left); 4 – dust seal (right); 5 – bracket
The components of the connecting shaft are shown in Fig. 3.131.
Disassembly
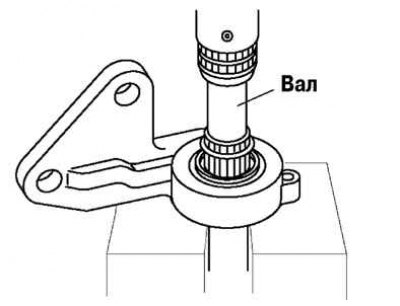
Fig. 3.132. Installing the connecting shaft in a vice
(The text of the article is taken from the website MazBook)
Before disassembling, place the connecting shaft in a vice (fig. 3.132).
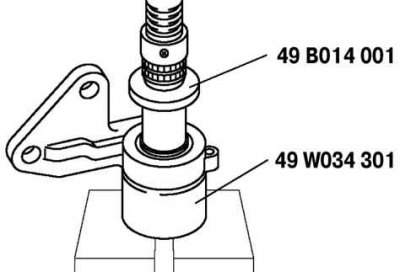
Fig. 3.133. Removing the connecting shaft bearing
Using special tools, remove the bearing and right dust seal (3.133).
Assembly
Apply grease to the sealing lip of the new seal.
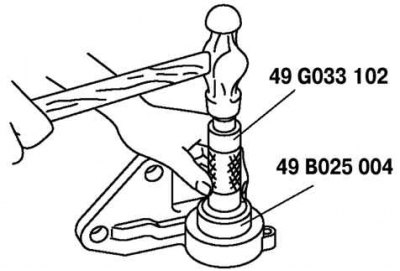
Fig. 3.134. Installing a new right dust seal
Install the new right dust seal using the special tools (fig. 3.134).
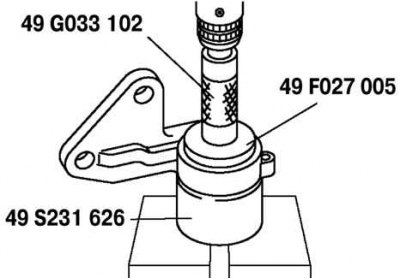
Fig. 3.135. Installing a new connecting shaft bearing
Using special tools, install a new bearing (fig. 3.135).
Apply grease to the sealing lip of the new seal.
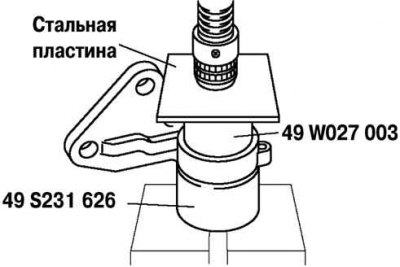
Fig. 3.136. Installing a new left dust seal
Install the new left dust seal using the special tools (fig. 3.136).
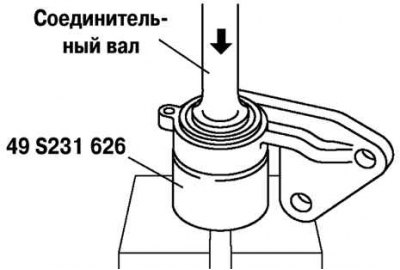
Fig. 3.137. Assembling the connecting shaft
Assemble the connecting shaft using a press and a special fixture (fig. 3.137).