


Contents: Removal ⇓ Installation ⇓
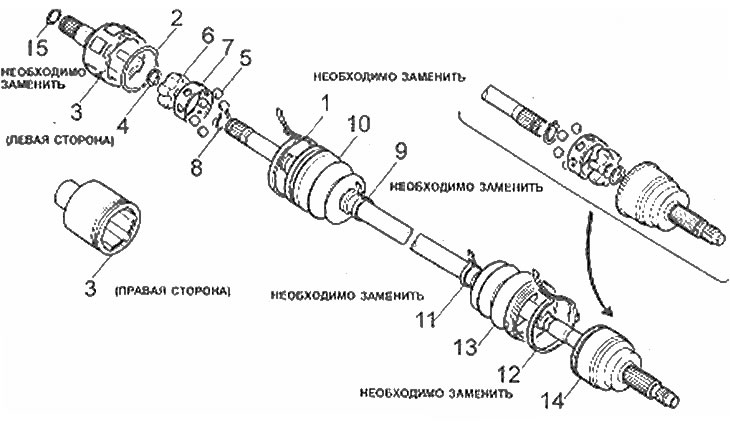
Drive shaft component arrangement
1. Cover fastening strap; 2. Bracket; 3. Outer CV joint ring; 4. Thrust ring; 5. Leading balls; 6. Inner CV joint ring; 7. CV joint separator; 8. Shoba; 9. Cover fastening strap; 10. Case; 11. Cover fastening strap; 12. Cover fastening strap; 13. Case; 14. CV joint on the shaft; 15. Bracket
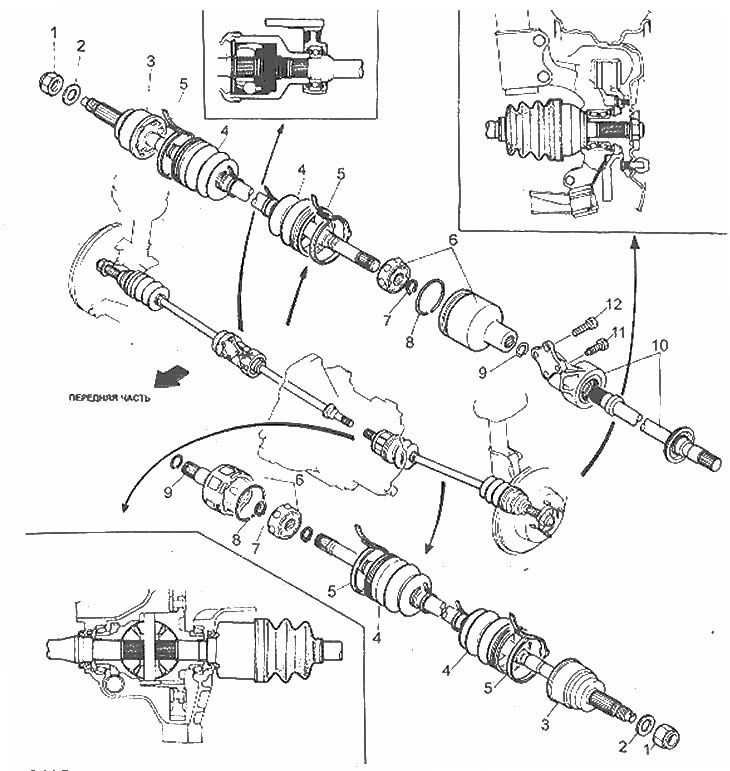
Drive shaft component locations on manual transmission models
1. Lock nut; 2. Washer; 3. Assembling the outer CV joint; 4. CHOKHOL; 5. Cover fastening strap; 6. Assembling the CV joint, installed at the end facing the differential; 7. Thrust ring; 8. Bracket; 9. Bracket; 10. Connecting shaft; 11. Bolt; 12. Mounting bolt of the connecting shaft bracket
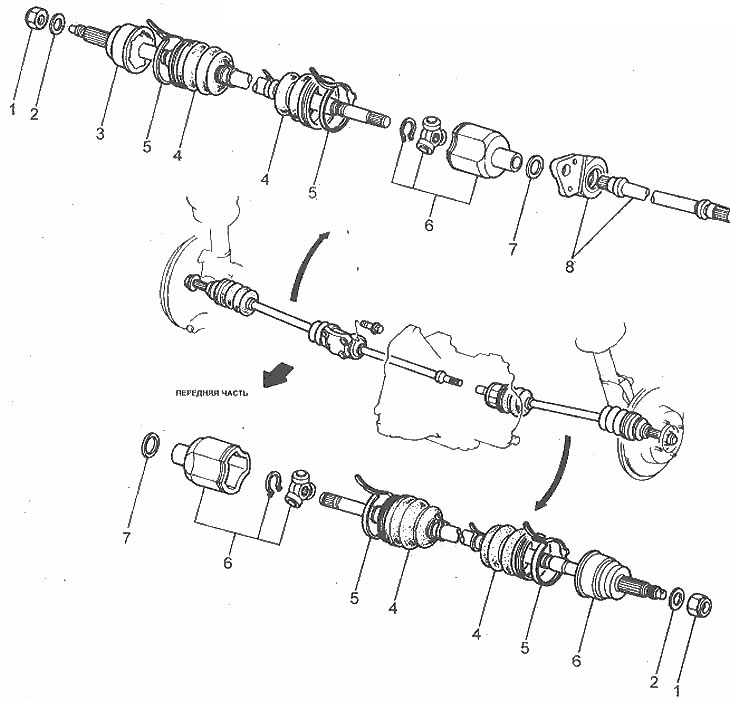
Drive shaft component locations on automatic transmission models
1. Lock nut; 2. Washer; 3. Assembling the outer CV joint; 4. Case; 5. Fastening belt of the chakhla; 6. Assembling the tripod bearing; 7. Bracket; 8. Assembling the connecting shaft
Removal
Drive shaft
1. Jack up and support the front of the vehicle on axle stands, remove the front wheels and mud flaps and drain the transmission fluid.
2. Lock the brake disc with a screwdriver, pry up the locking rim, and remove the hub nut (photo). Use a new nut for installation.
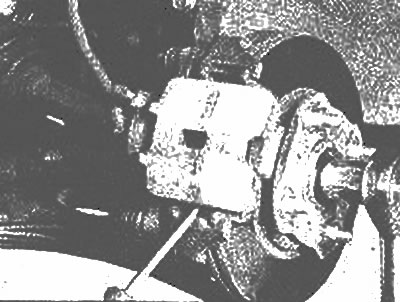
Hold the hub still with a screwdriver inserted through the caliper
The original article is on: MAZBOOK.RU
3. Disconnect the stabilizer, remove the nuts and bolts of the ball joint and steering knuckle, and disconnect the strut from the ball joint (Section 10).
4. Release the inner end of the drive shaft from the transmission or coupling shaft as shown in the illustrations. Be careful not to damage the transmission seal. On models with an automatic transmission, you may need to insert a flat chisel between the drive shaft and the transmission housing and lightly tap the end of the chisel to disengage the drive shaft from the differential.
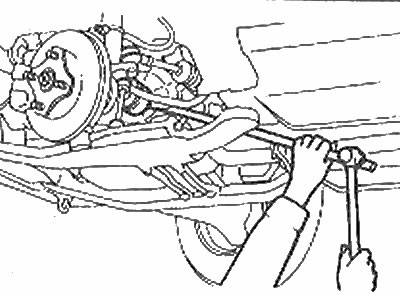
Disconnect the left drive shaft from the manual transmission |
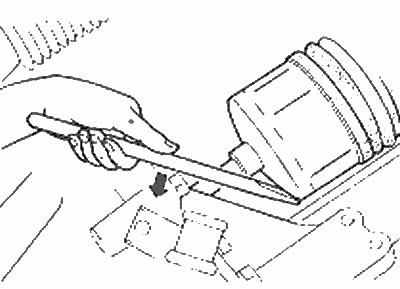
Remove the left drive shaft from the transmission differential (models with automatic transmission) |
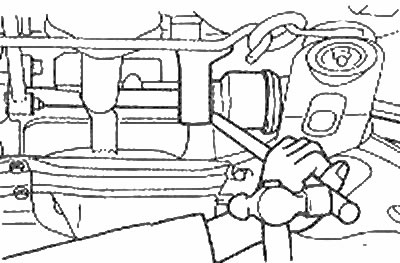
18 Use a pry bar and hammer as shown to disconnect the right drive shaft and coupling shaft from the transmission |
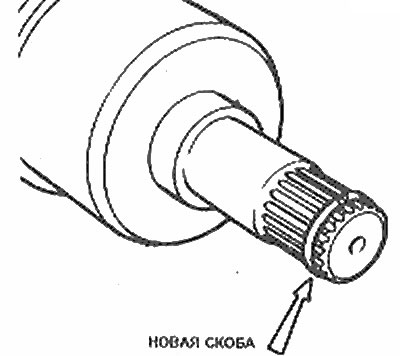
The bracket must be replaced whenever the drive shafts or coupling shaft are removed |
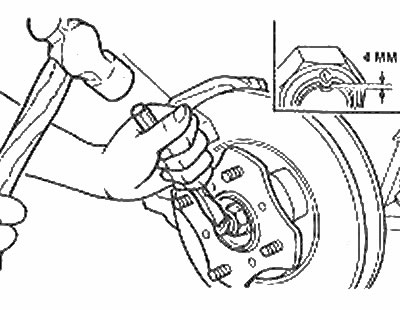
Drive the locking collar of the lock nut into the groove of the drive shaft using a hammer and punch
5. Remove the drive shaft from the wheel hub using a puller if necessary (photo).
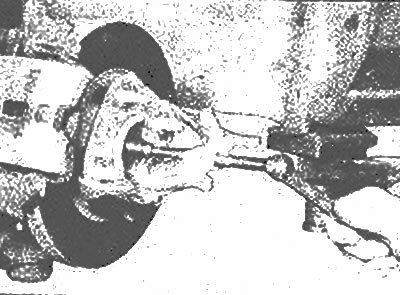
Use a puller to remove the drive shaft from the hub
6. Supporting the CV joints, remove the drive shaft from the vehicle (photo).
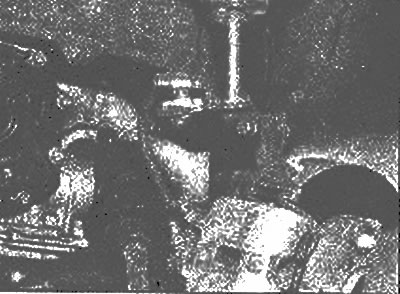
While holding the CV joints, carefully remove the drive shaft
Connecting shaft
7. Disconnect the inner CV joint of the right drive shaft as described in points 1, 3 and 4. Remove the mounting bolts, remove the connecting shaft from the transmission and remove it from under the vehicle.
Note: After removing the drive shaft, plug the hole in the transmission housing. When both the drive and coupling shafts are removed, be careful not to displace the slots in the transmission differential side gear. Insert a wooden dowel or something similar to prevent the side gears from shifting.
8. Overhaul of the connecting shaft and replacement of the bearing require the use of special tools. These operations must be performed by a Mazda dealer.
Installation
Connecting shaft
9. Before installation, insert new brackets into the grooves of the drive and connecting shafts and lubricate the grooves with special grease.
10. Insert the connecting shaft into the transmission, install the mounting bolts and tighten them.
Drive shaft
11. Install the drive shaft in place, holding the CV joints, and insert its splined ends into the hub and transmission or connecting shaft.
12. Insert the drive shaft into the differential by gently tapping it with a die and hammer (photo).
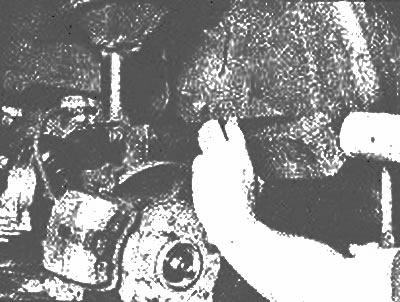
Use a hammer and die to install the drive shaft into the transmission
13. Install the steering knuckle and insert the bolts (Section 10).
14. Install new hub nuts.
15. Lock the disc with a screwdriver or punch inserted through the caliper and tighten the hub nut (Section 10).
16. Use a hammer and punch to drive the locking collar of the lock nut into the groove of the drive shaft.
17. Attach the anti-roll bar, install the mudguards and wheels, fill the transmission with the type of fluid specified in the Specifications (Section 1) and lower the car to the ground.