


Contents: Removal ⇓ Installation ⇓
Removal
1. Side moldings may be glued, snapped on, or both, depending on the model. The short piece on the front fender on vehicles with 9/85 by 8/89 g. issue. it is attached with 2 rivets from the wheel arch. Since 10/89 issue. this molding is glued on, on hatchback models it is screwed together with the side turn signal.
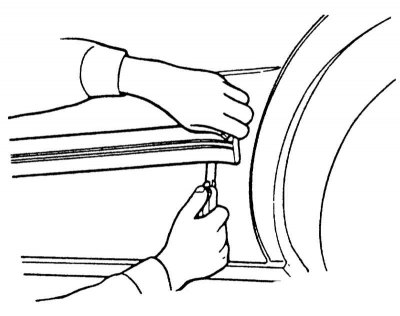
2. Pull back the molding a little and separate the glue with a sharp knife.
Caution! Be careful not to scratch the varnished surface.
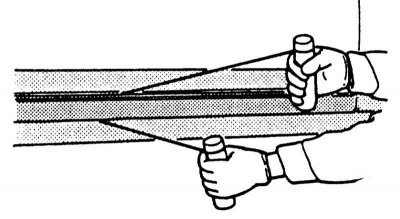
3. The adhesive joint between the molding and the body can be separated with a thin nylon cord (diameter 0.8 mm). To make the work easier, tie wooden blocks to both ends of the cord. When you hit a latch, lift the molding in that place. To make the glue come off better, heat the molding with a hair dryer to +40°C.
Installation
1. Clean the glue areas on the body with gasoline. If a new molding is being installed, remove the protective film from the marked areas.
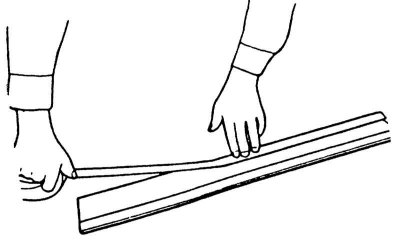
2. If you are reinstalling an old molding, wash off any remaining adhesive with gasoline and apply double-sided adhesive tape.
(9/85-9/89 year of issue.).
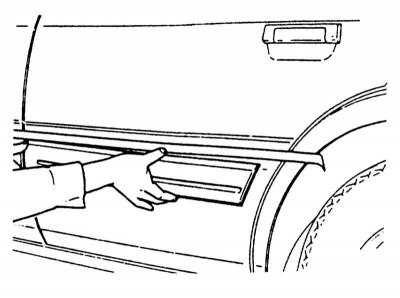
1. Mark the installation position of the molding on the body with adhesive tape.
2. Heat the molding and body to approximately +40° — + 80°C.
3. Snap each button into place with your palm.
Since 10/89 issue.
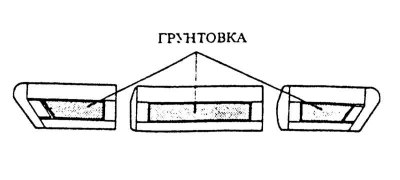
1. Prime the molding in the designated areas.
The article is copied from the resource mazbook.ru
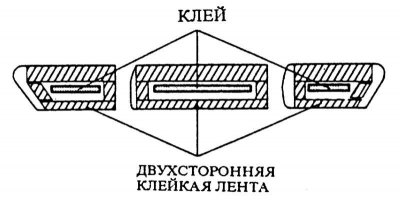
2. Stick double-sided adhesive tape on the shaded areas. Apply polyurethane glue to the inside.