
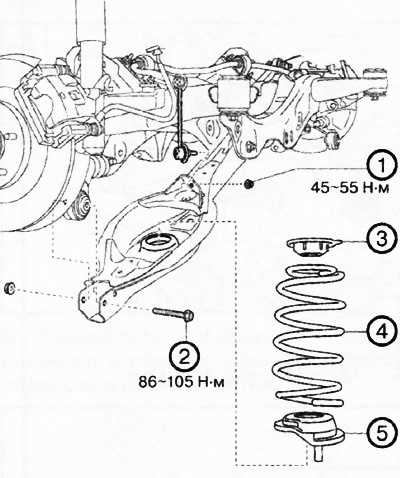
1. Rear anti-roll bar lower nut.
2. Outer bolt of the lower arm of the rear suspension.
3. Upper rubber seat of the spring.
4. Coil spring rear suspension.
5. Lower rubber seat of the spring.
Attention. Be careful not to shoot out the helical spring when removing/installing. Otherwise, the spring could cause serious injury or even death, as well as various damage to the vehicle.
Removing the rear coil spring
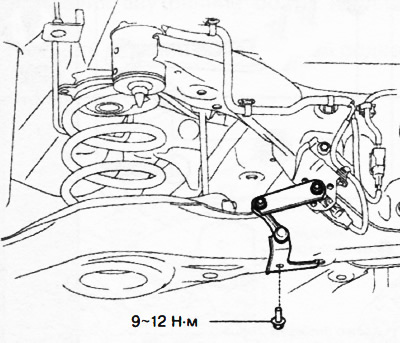
1. Versions with auto level sensor: Working from the left side of the vehicle, disconnect the auto level sensor linkage.
2. Unscrew the bottom nut of the rear anti-roll bar.
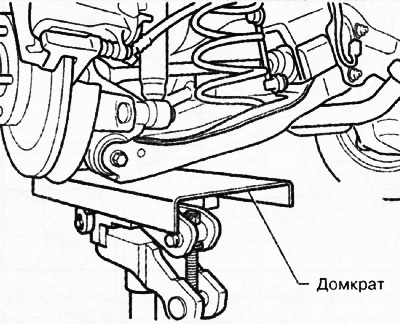
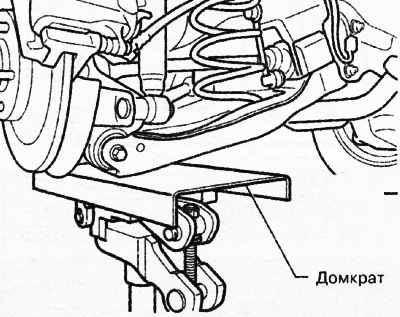
3. Support the lower arm of the rear suspension with a jack.
4. To turn away an external bolt of the lower arm of a back suspension bracket.
5. Gradually lowering the jack, remove the rear suspension coil spring from the vehicle.
6. Remove the top and bottom rubber seats from the coil spring.
Rear Suspension Coil Spring Installation
1. Place a jack under the lower rear suspension arm and raise slowly.
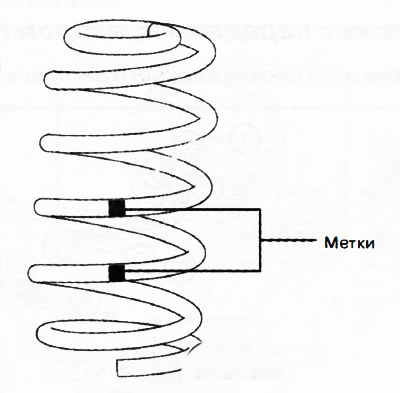
2. Install the rear suspension coil spring so that the light green mark is on top.
3. Align the top edge of the rear coil spring with the step of the top rubber seat.
4. Align the lower edge of the rear coil spring with the step of the lower rubber seat.
5. Install the rear lower arm outer bolt.
6. Check and, if necessary, adjust the wheel alignment.