
Fuel tank (injection engine)
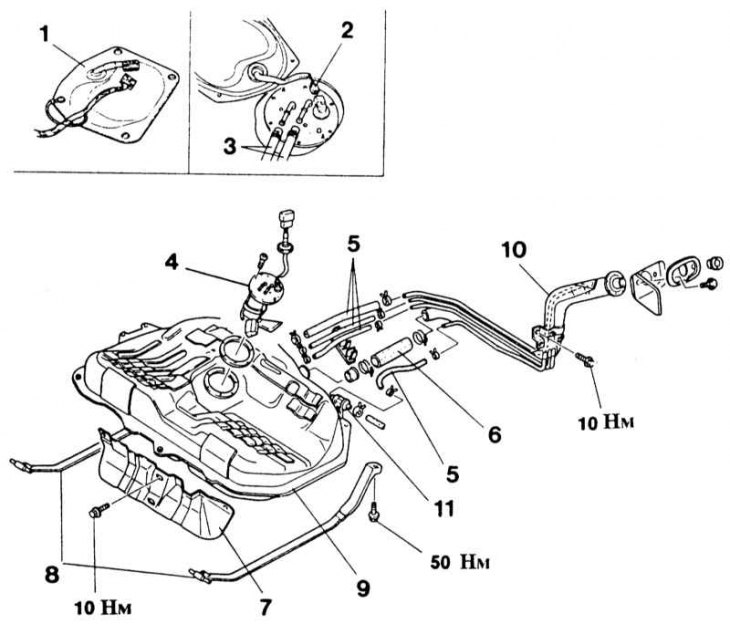
1 - fuel pump cover; 2 - fuel pump plug; 3 - fuel hoses; 4 - fuel pump with level sensor; 5 - tank ventilation hoses; 6 - filler hose; 7 - gas tank shield; 8 - tape tank holders; 9 - fuel tank; 10 - filler neck of the fuel tank; 11 - two-way check valve
The fuel tank, depending on the model and year of manufacture, can have a volume of 48 to 55 liters and is made of sheet steel. It is located in the rear suspension area under the body.
Removing
Attention! When removing the fuel tank, some fuel may come out. Fuel vapors are poisonous, so ensure that the room is well ventilated. Avoid skin contact with fuel. Wear fuel resistant gloves.
Attention! Do not work near open flames! Keep a fire extinguisher ready!
1. Disconnect the ground cable from the battery.
Attention! This erases the data from the engine fault memory or the radio's security code. Before disconnecting the battery, read the instructions in Section Removing and installing the battery.
2. Remove the rear seat, see chapter Body, car painting, car care.
3. Unscrew the fuel pump cover and disconnect the plug.
4. Loosen the hose clamps and disconnect the fuel hoses. To facilitate installation, mark the hoses with adhesive tape.
5. Raise the car.
6. Remove the drain plug from the fuel tank and drain the fuel into a clean container. After the fuel drains, install and tighten the drain plug.
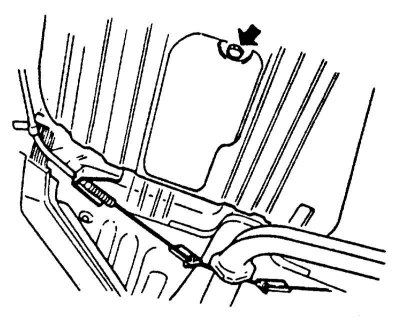
7. Disconnect fuel, vent hoses and filler hose. To facilitate installation, mark the hoses with adhesive tape.
8. Unscrew the fuel tank shield.
9. Unscrew the bolts of fastening of the tape holders of the tank, slowly lower the tank.
10. Check that all pipes and hoses are closed. Take out the fuel tank.
11. If you need to remove the fill pipe, loosen the mounting bolt and remove the pipe down.
Installation
1. If removed, install the filler neck and tighten the mounting bolt with force 10 Nm.
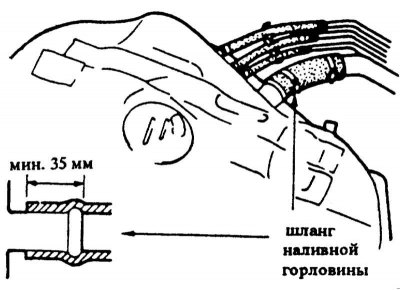
2. Install the fuel tank, put the rubber filler hose on the fitting at least 35 mm and secure with a new clamp.
3. Connect the fuel and ventilation hoses according to the marking.
Attention! All hoses must be pushed onto fittings by at least 25 mm.
4. Install the fuel tank holders and screw them firmly 50 Nm. Lay the fuel lines so that they are not flattened or bent.
5. Install the tank shield and screw firmly 10 Nm.
6. Lower the car.
7. Connect the fuel lines to the fuel pump according to the marking and secure with clamps.
8. Connect the fuel pump plugs and screw on the pump cover.
9. Install the rear seat, see Chapter Body, car painting, car care.
10. Connect the mass cable to the battery.
11. If available, set the clock and set the radio security code.
12. Check the operation of the fuel gauge on the instrument panel.