
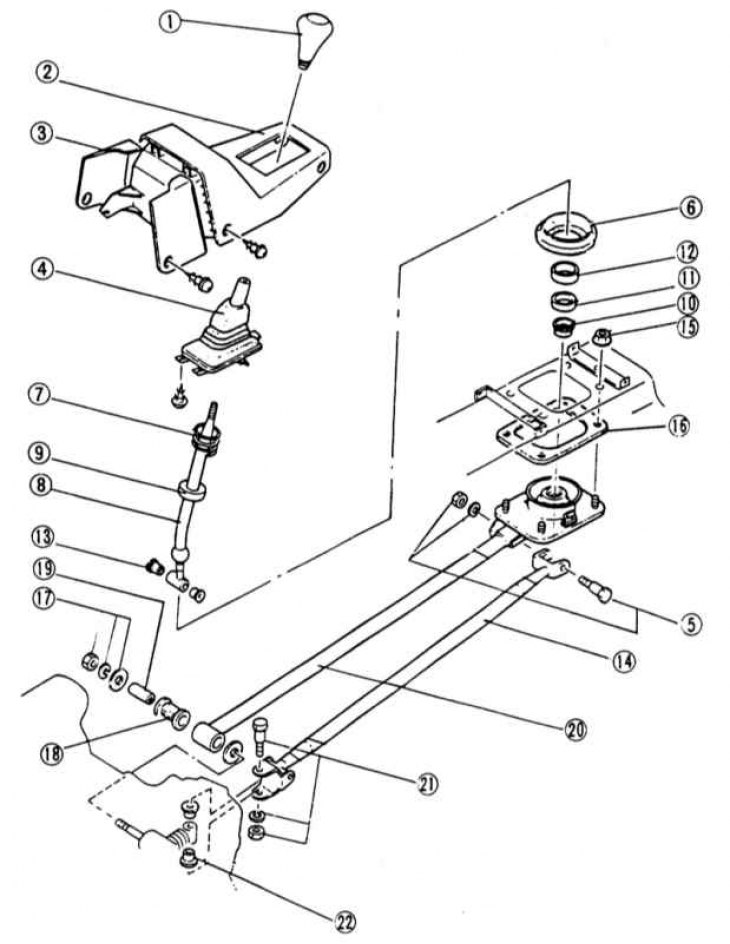
1 - shift lever handle; 2 - middle console; 3 - side wall; 4 - cuff of the shift lever; 5 - bolt and nut; 6 - rubber mount; 7 - spring; 8 - switching lever; 9 - top seat of the ball; 10 - casing; 11 - holder; 12 - lower landing place for the ball; 13 - bushing; 14 - switching rod; 15 - self-locking nut (Tighten to 10 Nm, always replace.); 16 - rubber seal; 17 - nut and washer; 18 - bushing; 19 - remote element; 20 - extension rod; 21 - bolt and nut; 22 - sleeve
The gear change mechanism is maintenance-free. Shown is the shift mechanism of a front-wheel drive car.
Attention! On all-wheel drive models, conventional shift bars replace two cables. This has the advantage that less space is required. When shifting gears, there is a difference between lateral movement (choice movement) in the idle position and the shift itself. Both movements are transmitted through the corresponding rods to the gearbox.
Removing
1. Raise the car.
2. Remove parts in numerical order.
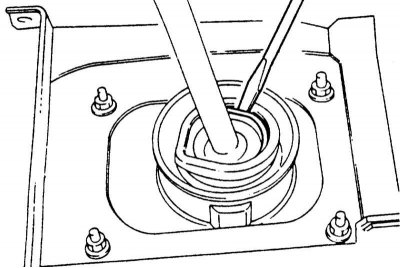
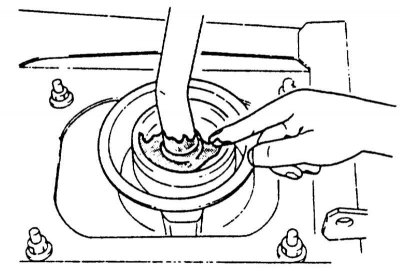
3. To remove the spring -7-, take out the hook part with a screwdriver.
Installation
1. Visually inspect all parts. Replace bent shift rods, worn pivots and weakened springs.
2. Lubricate all joints and bushings with universal grease before assembly.
3. To establish all details in sequence, return to removal.
4. Fill the shift lever bearing cavity with multipurpose grease.
5. Screw the shift rods to the gearbox with the required tightening torque, see Section Removal and installation of a transmission.