


Removal and installation
1. Disconnect the cable from the negative terminal of the battery.
2. Drain the engine oil (see chapter "Maintenance and general check and adjustment procedures").
3. Remove the lower protection.
4. Remove the front stabilizer.
5. Disconnect the center link on the left side of the vehicle.
6. Remove the parts in the order they are numbered in the figure "Removal and installation the oil pan".
Note: Before installation, clean the oil pan surface from old sealant and apply new one.
7. Installation of parts is carried out in the reverse order of removal.
8. Fill the engine with engine oil (see chapter "Maintenance and general check and adjustment procedures").
9. Start the engine and check for oil leaks.
Examination
1. Check the oil pan for deformation, damage, or breakage.
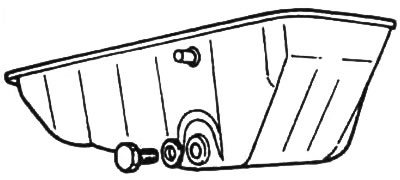
2. Check the oil pan drain hole threads.
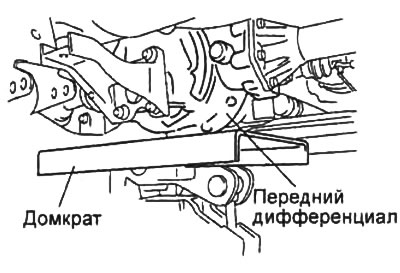
Note on removing the rear crossmember
1. Place a jack under the front differential.
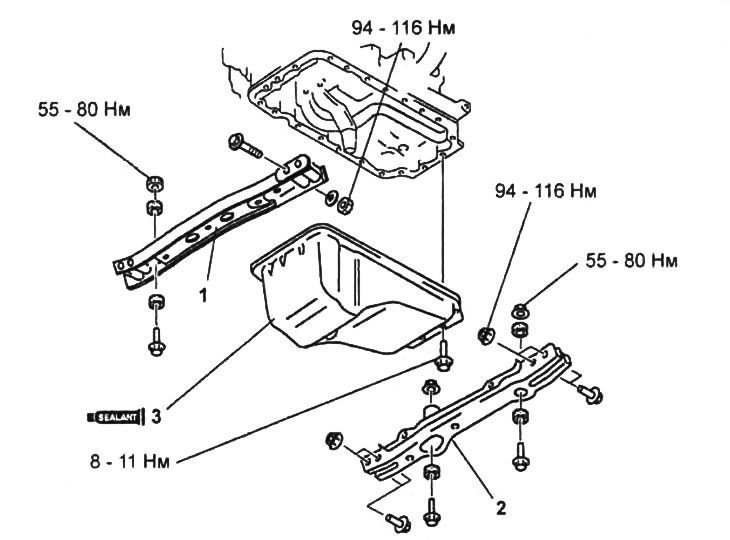
Removal and installation the oil pan.
1 - front cross beam,
2 - rear cross beam,
3 - oil pan.
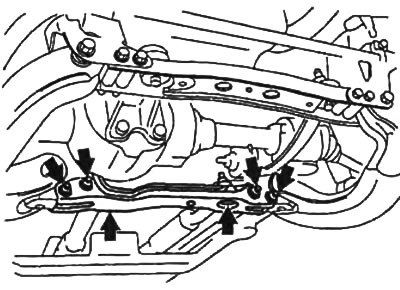
2. Unscrew the bolts and nuts shown in the figure.
Note on removing the oil pan
1. Loosen the oil pan mounting bolts.
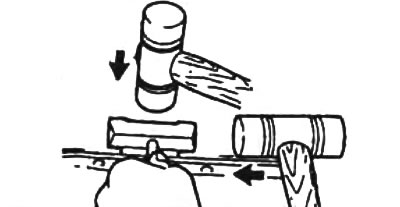
2. Insert the special tool between the oil pan and the cylinder block. Cut off the sealant and remove the oil pan.
Caution: Using any tool as a lever can easily scratch the mating surface of the oil pan and cylinder block. Before removing the oil pan, read the following instructions.
Oil pan installation note
Caution: When installing used bolts, be sure to remove the old sealant from the bolt threads. Tightening bolts with old sealant residue will cause the threads to break.
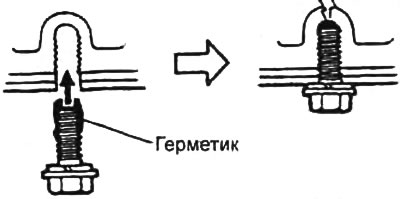
1. Apply silicone sealant to the shaded areas of the oil pan surface around the bolt holes as shown in the figure.
- Sealant thickness: 2-3 mm
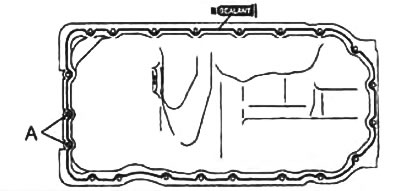
2. Tighten the oil pan mounting bolts.
Note: Tighten the bolts "A" marked in the figure above first, then tighten the remaining bolts.
Text taken from an online platform: MAZBOOK