


Removing
1. Disconnect the battery.
Dashboard Trim Panel
2. Lower the steering column down.
3. Remove the bottom trim panel.
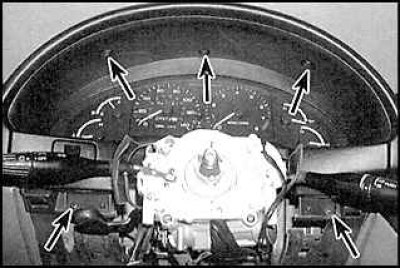
4. On Ford Probe models, remove the five mounting screws (indicated by arrows) and remove trim panel.
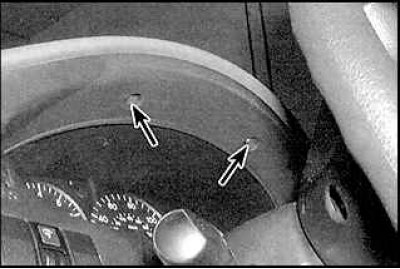
5. On Mazda models, remove the top fixing screws (indicated by arrows).
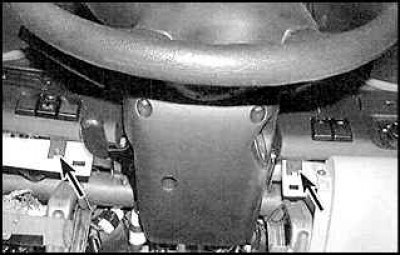
6. On Mazda models, remove the lower fixing screws (indicated by arrows), release the fixing latches and remove the trim panel.
7. Installation is carried out in the reverse order of removal.
Bottom trim panel
8. Remove the front section of the center console.
9. Remove the hood release handle.
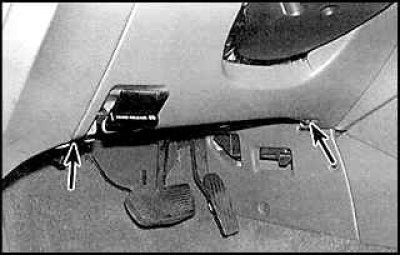
10. Loosen the fixing screws (indicated by arrows), release the latches and remove the trim panel.
11. Installation is carried out in the reverse order of removal.
Center trim panel
12. Remove the center console.
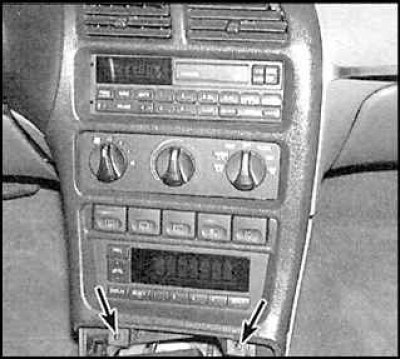
13. Loosen the bottom fixing screws (indicated by arrows), release the latches and remove the trim panel.
14. Installation is carried out in the reverse order of removal.
Glove box
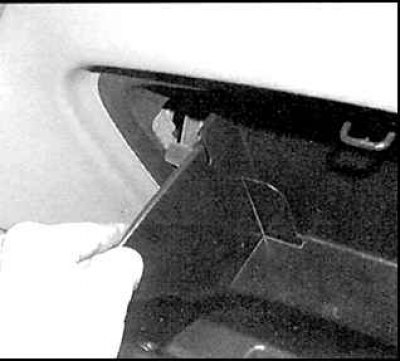
15. Open the glove compartment, squeeze the edges of the glove compartment and lower it down.
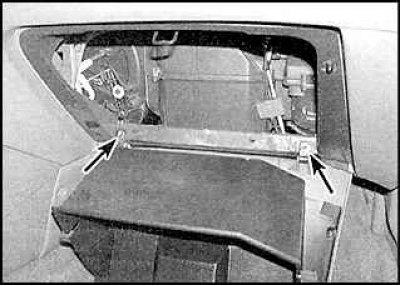
16. Loosen the fixing screws (indicated by arrows) and remove the glovebox.
Installation
17. Installation is carried out in the reverse order of removal.