


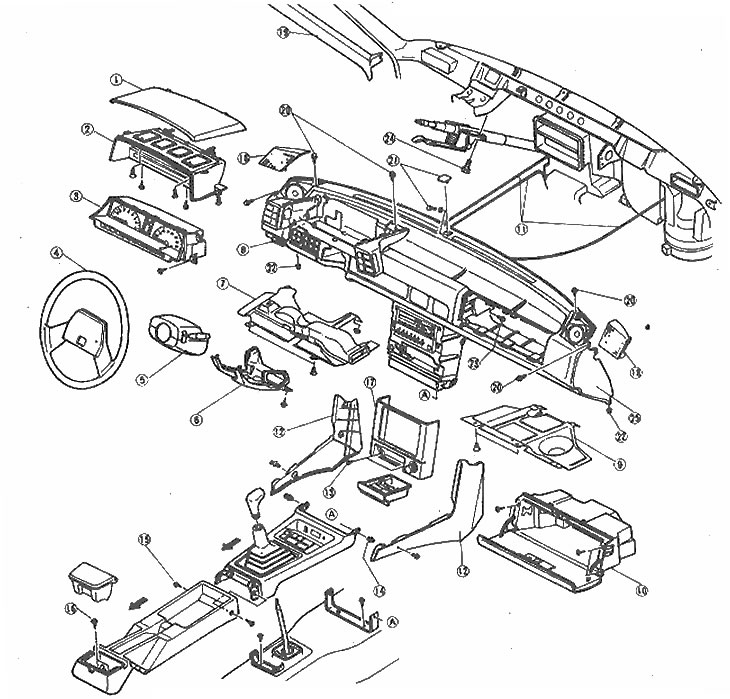
Layout of dashboard components
1. Upper cover of the measuring panel; 2. Meter covers; 3. Measuring instruments; 4. Steering wheel; 5. Steering column covers; 6. Lower air duct; 7. Bottom panel; 8. Hood release handle; 9. Lower part of the dashboard; 10. Glove compartment; 11. Heater wiring; 12. Side wall; 13. Radio cover screws; 14. Fixators; 15. Console screws; 16. Ashtray screws; 17. Radio cover; 18. Speaker cover; 19. Front cover/struts; 20. Instrument panel mounting bolt (5); 21. Instrument panel cover and bolt; 22. Instrument panel nuts (2); 23. Internal instrument panel bolts (2); 24. Steering column bolts (4); 25. Dashboard
1. Disconnect the negative cable from the battery.
2. Remove the trim and instrument panel cover (photo).
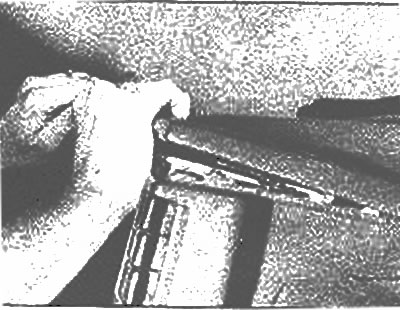
Grasp the top panel cover with both hands and pull it up firmly to remove it
3. Remove the measuring instruments (Section 12).
4. Remove the steering wheel (Section 10), top and bottom covers (photo).
(For details, see the website: «mazbook»)
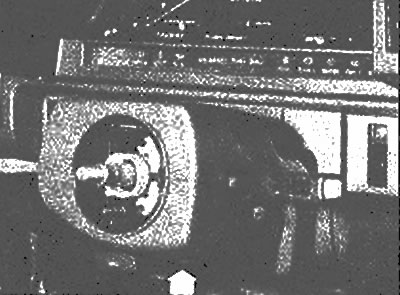
Steering column cover screw location (arrow)
5. Remove the lower air duct located under the bottom panel.
6. Remove the hood release handle and the lower part of the instrument panel.
7. Remove the glove compartment (photo).
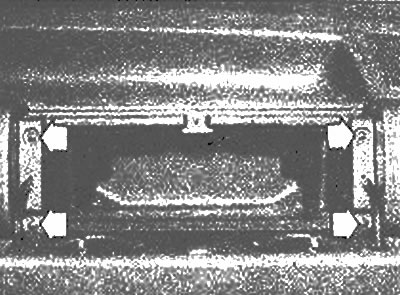
Glove compartment mounting screws (arrows)
8. Disconnect the heater control wire.
9. Remove the side panels of the console.
10. Remove the speaker and radio panel (if equipped).
11. Remove the two front pillar trim panels.
12. Remove the mounting bolt and nuts, remove the instrument panel from the vehicle.
13. Assembly is carried out in reverse order.