


Removing
Disconnect the negative cable from the battery with the ignition off. This will erase the data of their electronic memory units. See instructions in chapter «electrical equipment».
Disconnect the license plate lights by inserting a small screwdriver between the light and the bumper and prying out the light.
Attention: Between the screwdriver and the bumper, you need to put a rag so as not to scratch the parts.
Disconnect the license plate light connectors.
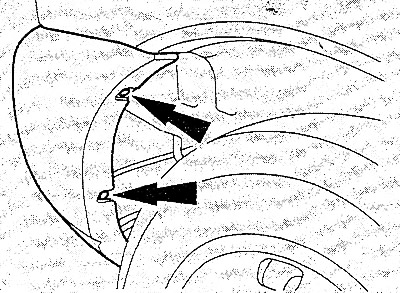
Unscrew the two bolts on the right and left side of the wheel housing.
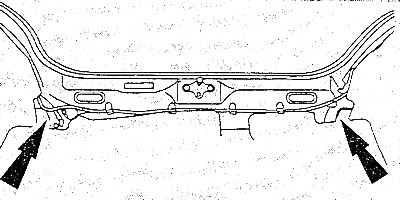
Open the rear door and use a socket wrench to unscrew the two nuts securing the bumper from the passenger compartment.
Pull the bumper out of the wheel arch and, together with an assistant, remove it from the rear of the vehicle.
Installation
Together with an assistant, bring the rear bumper, insert it into the holes and push it into place. Make sure that the studs are fully inserted into the body; the ends of the bumper must match the wheel arches.
Tighten the nuts and bolts in the wheel arches by hand.
Check whether the bumper sits horizontally and whether the gap between the bumper and the body is uniform. Tighten the bumper fasteners.
Attach the plugs to the number plate lights and press the lights into the bumper. Check the operation of the lights.
Connect the negative cable to the battery, set the clock, enter codes if necessary.