
Front edge
Turn signal and side marker lights
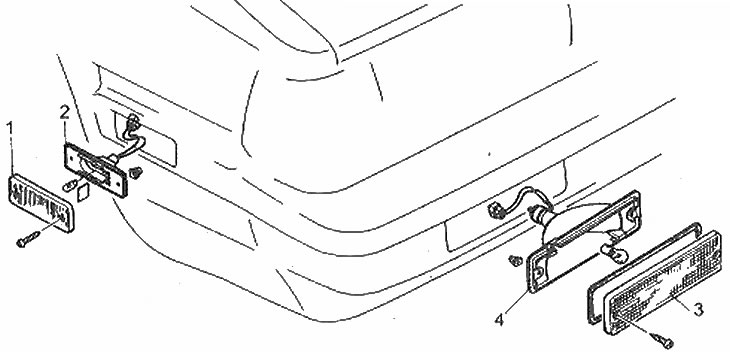
Front turn and marker lights
1. Front side marker lens; 2. Front side marker lamp assembly; 3. Turn indicator lens; 4. Turn signal lamp assembly
1. The turn signal and side marker light bulb can be replaced after removing the screws and lenses. Take the lamp and turn it in the direction of the arrow (side label) or take it and turn it counterclockwise (photo).
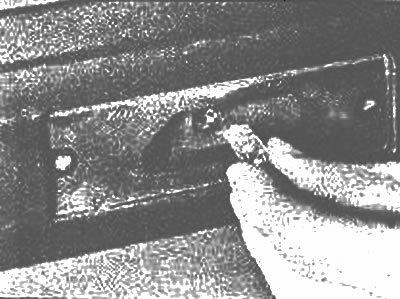
Side marker bulb plugs directly into socket | 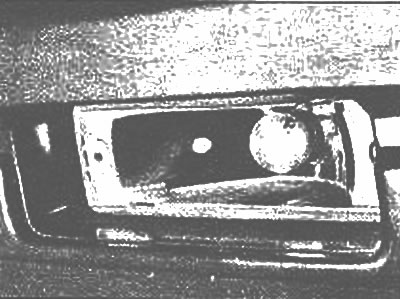
The turn signal bulb is installed or removed by pushing and turning it in the socket |
2. Install a new lamp, check for correct operation, then install the lens.
Farah (with incandescent lamp)
3. Remove the cover. Disconnect the electrical connector and remove the rubber boot (photo).
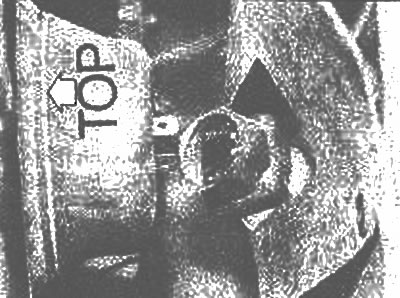
Disconnect the headlight bulb harness connector. Notice the markings «top» on the cover
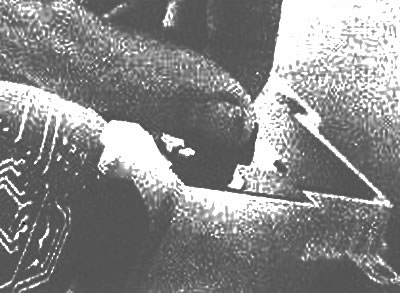
4. Pull out the spring clip and remove the glow plug (photo).
Release the spring clip and remove the bulb
Warning: If the incandescent pump has just been used, it can be very hot.
5. Do not touch the glass of the incandescent lamp with your fingers, as contamination from natural oils may crack the glass of the lamp. If you accidentally touch the glass, clean it with alcohol and a cloth.
6. Install the new bulb by inserting the tabs on the base of the incandescent bulb into the reflector socket and secure it with the spring clip.
7. Installing the rubber boot, observing the markings "TOP", and connect the wiring. Check for correct operation, then install the cover.
Interior
Ignition light
8. Remove the steering column cover for access. Remove the bulb from its socket and install a new one. Install the cover.
Interior lighting dome
9. Squeeze the lens and remove it. Remove the bulb by pulling it straight down. Pick up and place the new light bulb, test it for proper operation, and install the lens.
Replacing the incandescent lamp in the interior ceiling | 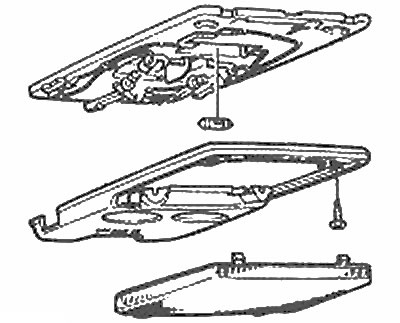
Replacing the incandescent lamp in the interior ceiling |
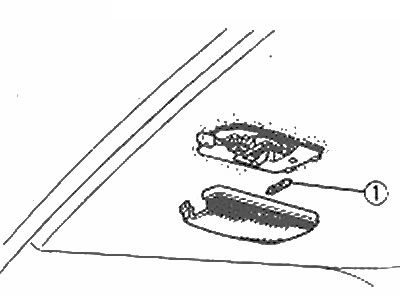
Optional upper dome light
10. Remove the thin lens/off button with a small screwdriver. Remove the bulb by turning it and pulling it out of the socket. Install a new light bulb, check if it works properly and install the lens.
Dashboard lights
11. Dashboard light bulbs can be replaced after removing the dashboard (Chapter 12) (photo).
The location of the instrument panel lights
12. Turn the holder, remove it from the panel and remove the bulb from the holder (photo). Some types of light bulbs are integral with their holder and therefore the bulb and holder must be replaced as a whole.
Rotate the holder and remove it to access the bulb
13. Assembly is carried out in the reverse order.
Radio lighting
14. The radio lighting bulb is located in the holder and is accessible after removing the radio (Chapter 11).
Heater control lighting
15. Remove the heater dashboard as described in Chapter 15. In this case, it is necessary to disconnect some wires, cables, until the panel is removed to access the light bulb (photo).
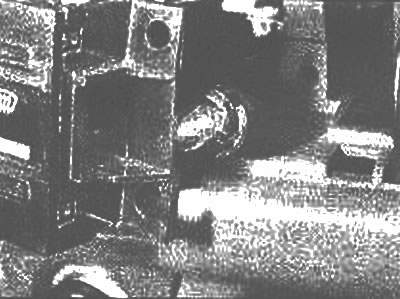
Heater control lamp
16. Pull out the old light bulb and install a new one. Check for correct operation, then install the heater instrument panel.
Glove box light
17. Remove the glove compartment, which is attached with four screws, to access the bulb (photo).
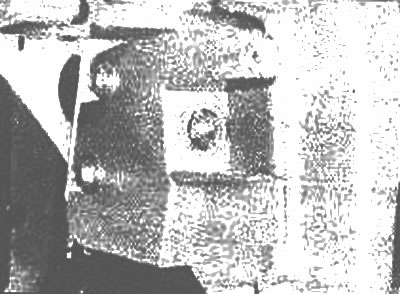
Glove box light bulb
18. Pull out the old light bulb and install a new one. Check that it works correctly, then install the glove box. Illuminated dashboard switches.
19. Remove the trim of the dashboard near the lighting bulb and remove the bulbs from the holder (photo).
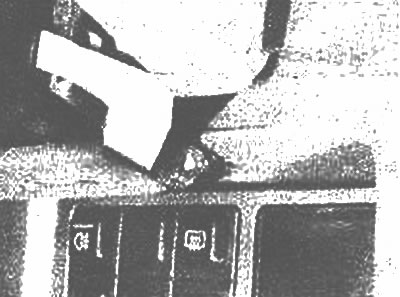
Dashboard Switch Light Bulb
20. Replace the light bulb, check for correct operation, then install the holder and trim.
Footwell lighting
21. Remove the trim under the dashboard, remove the light bulb and holder from the trim (photo).
Removing the footwell light bulb
22. Replace the light bulb and check its operation. Install the holder in the trim, why install the trim.
Rear body
Tail lights and trunk lights
23. Pull out the shades and remove the light bulb from the socket.
24. Install a new light bulb, check for correct operation, then install the lens.
License plate light
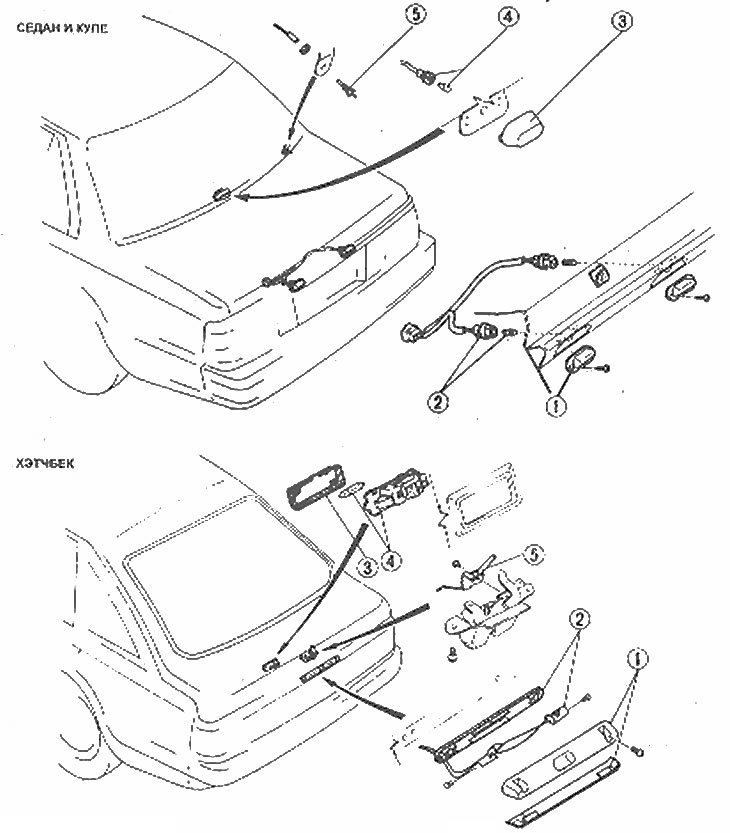
License plate panel and rear light location
1. License plate light panel lens; 2. License plate light; 3. The lens of the trunk light; 4. Bulb and trunk light holder; 5. Switch
25. Remove the license plate cover screws and bulb access cover.
Reversing lights
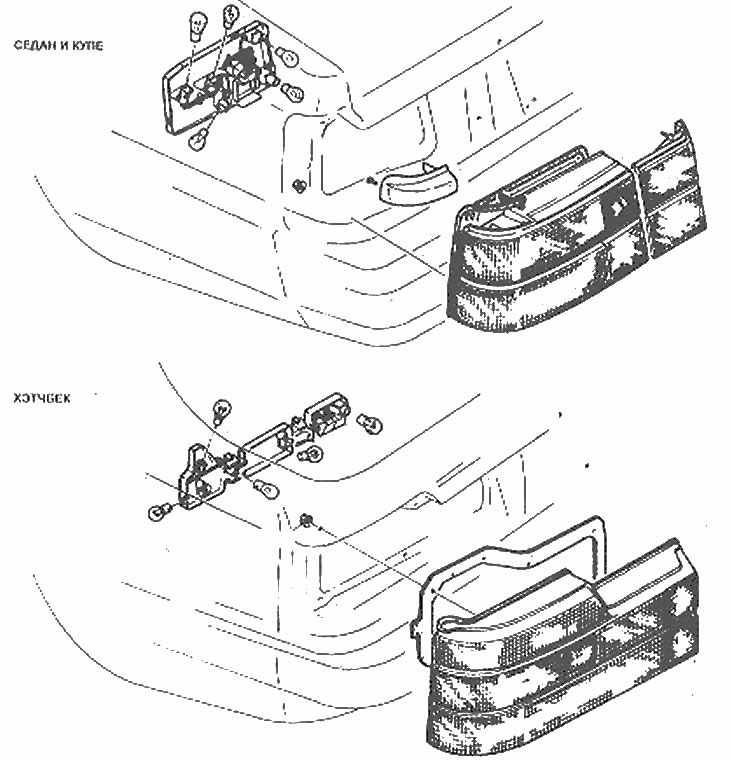
Details of installation of a back lantern and back dimensions
26. Remove the trim panel.
27. Squeeze the keys and remove the cover to access the lights of the rear of the car, the tailgate, the rear dimensions and the reverse lights (photo). When installing, make sure the latch of the keys is in place.
Squeeze the keys and lift the shroud | 
With the cover removed, the bulbs can be easily replaced |
28. Check up correctness of their work, then establish the panel of furnish of salon.