
2. Pull out the air conditioner switch assembly, ventilation grille and disconnect them to access the control mounting screws (photo).
Remove the air conditioner switch with a screwdriver to access the screws | 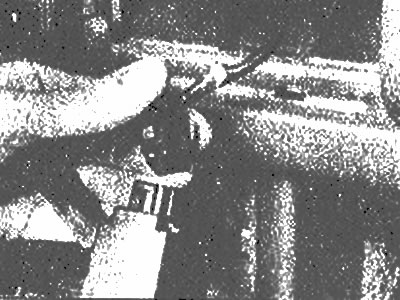
Squeeze the connector and unplug it |
3. Remove the screws securing the control assembly and remove them from the dashboard (photo).
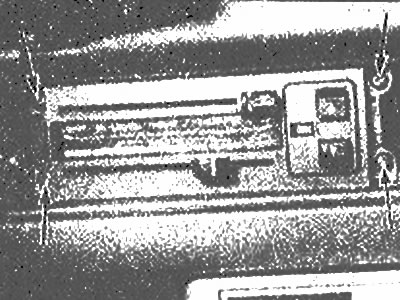
Location of the heater control screws (arrows)
4. Disconnect the electrical connector from the control box.
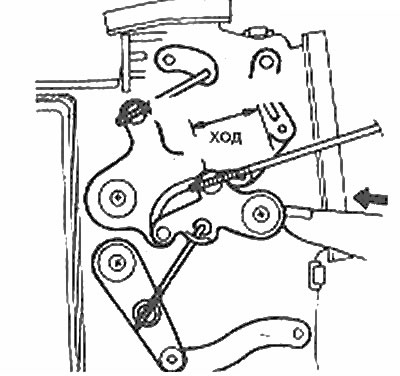
5. Disconnect control wires (photo).
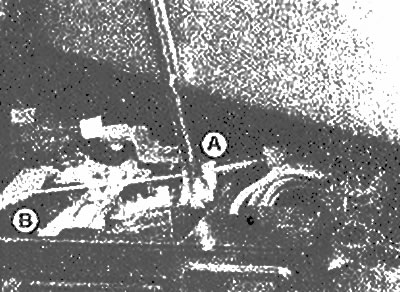
Disconnect the heater control cables by removing the clamp (A) and disconnecting the ends (IN)
6. Reassemble in reverse order, adjusting the control wires as described below.
Cable adjustment
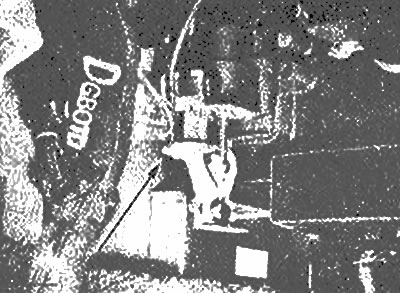
7. In the position of the handle - Defrost - and the lever all the way forward, attach the cables and install the fasteners.
8. Connect the cable to the battery, turn the fan switch to the 4th position and check that there are no air leaks.
Heater cable adjustment
Temperature control wire
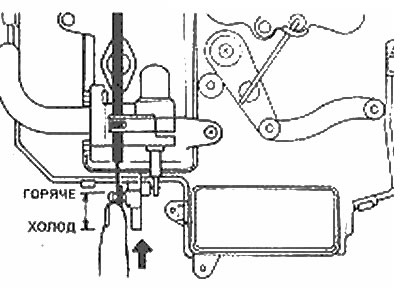
9. Set the temperature control button to the Cold position and push the high/low temperature selector lever all the way to the Cold position, attach the cable and tighten it (photo).
Heater temperature control cable correctly connected to the selector lever
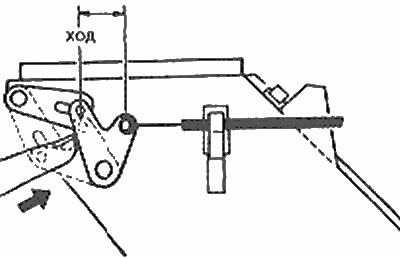
10. The select lever should move all the way from Cold to Hot as shown in the accompanying illustration.
Heater temperature cable adjustment
Fresh air recirculation selection cable
11. Pull the control handle all the way out.
12. With the recirculation/fresh air selection cable fully extended to the Rec position, connect it and install the clamp.
Air select wire adjustment recirculation/fresh
13. Check its proper operation by pulling the control handle to both sides several times.