
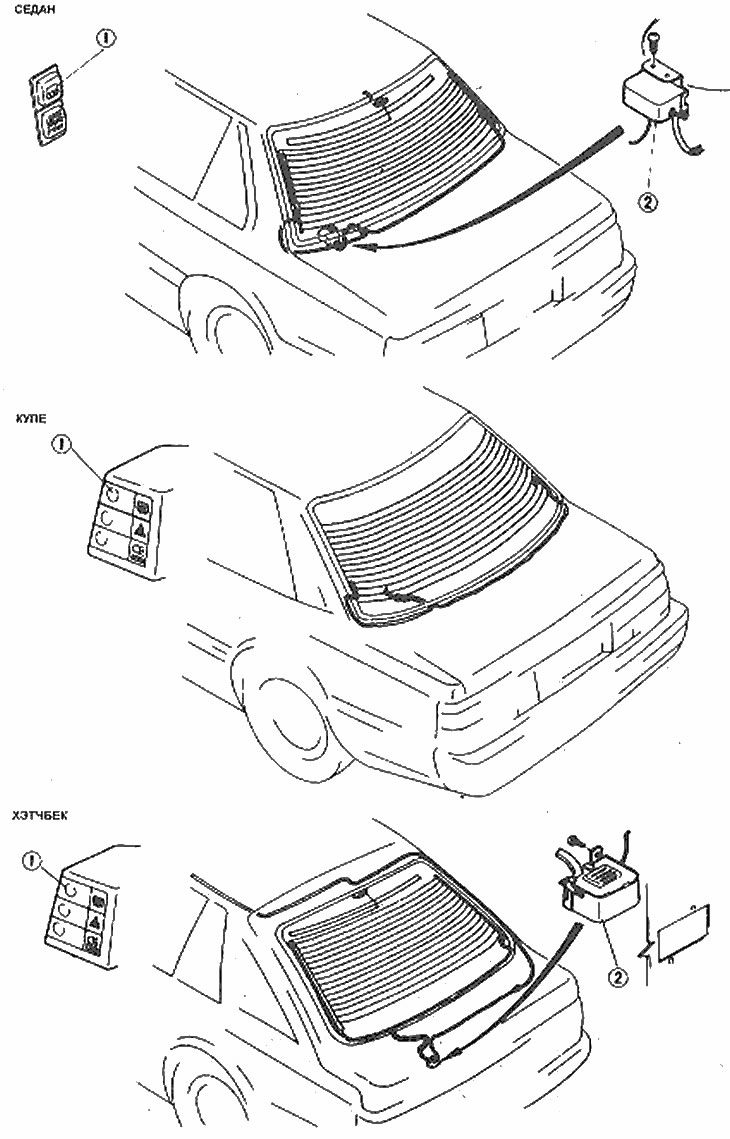
Arrangement of units of a heater of a back window
1. Switch; 2. Noise filter
1. It consists of a rear window with many horizontal elements that are soldered into the glass during the manufacturing process.
2. Small breaks in the element can be repaired without removing the rear window.
3. To check for proper mesh operation, start the engine and turn on the system.
4. Ground one wire of the light probe and gently touch each element in the lines with the other wire.
5. The brightness of the light flashes during the test should increase as the wire moves along the element from the right side to the left. If during testing the brightness of the glow is bright at both ends of the lines, then check the contact of the earth wire. All tracks must be checked in at least two places.
6. To repair the gap, it is recommended to use a repair kit specifically designed for this purpose.
7. To repair the break, first turn off the system and let it discharge for a few minutes.
8. Thoroughly clean the area to be repaired with alcohol or thinner.
9. Attach a strip of conductive tape to both ends of the damaged area. The length of the tape must be sufficient to connect the damaged area. This can be checked from outside the vehicle. Press the tape firmly against the glass so you can see its length.
10. Using a small brush or pen, apply a mixture of their silver paint to the pieces of tape, lightly overlapping the damaged area at both ends.
11. Allow the repaired area to dry for 24 hours, or dry it with hot air from a blow dryer directly onto the repaired area. At 50°C the paint will dry within 30 minutes.
12. Although the heater is now fully functional, the repaired site should not be damaged for at least another 24 hours.