
Removing
1. Loosen wheel nuts. Raise the car and place it on stands. Place wedges under the rear wheels and apply the handbrake. Remove the front wheel.
2. Loosen the tip locknut. Mark the position of the tip relative to the threaded part of the tie rod (pic. 16.2).

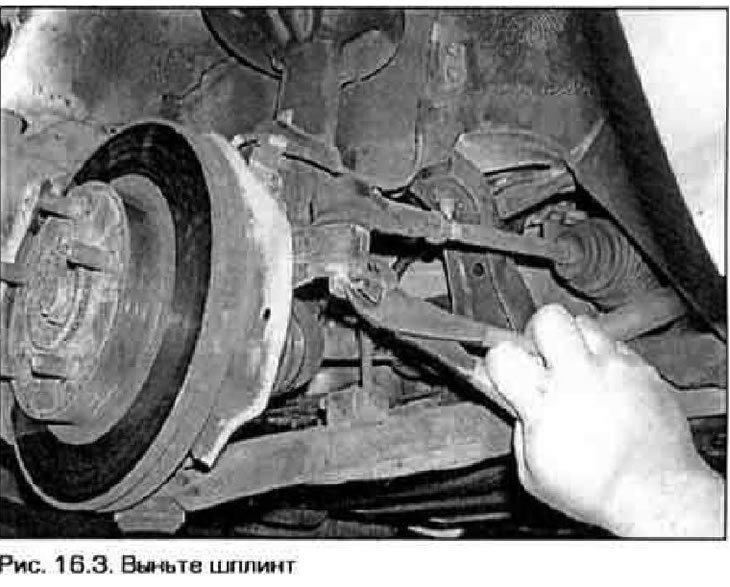
3. Remove cotter pin (pic. 16.3) and loosen the tie rod nut (do not unscrew the nut completely).
4. Disconnect the ball pin of the tip from the steering knuckle using a puller (pic. 16.4).

5. Turn away a tip from steering draft.
Installation
6. Screw a tip on steering draft to a mark, then insert a tip finger into a rotary fist. Tighten locknut.
7. Screw the castle nut onto the pin and tighten it to the required torque. Install a new cotter pin in the slot of the castle nut (if necessary, slightly tighten the nut, tightening it, but in no case loosening it).
8. Establish a wheel and screw nuts of its fastening. Lower the vehicle and tighten the wheel nuts to the required torque (see technical data at the beginning of chapter 1).
9. Check wheel alignment and adjust if necessary.