


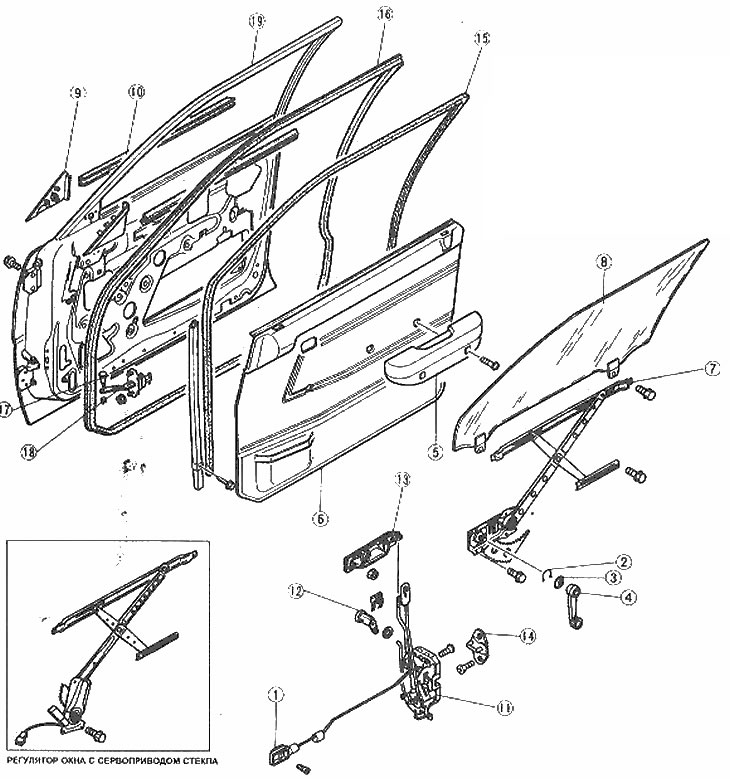
Front door window and power window installation details
1. inner door handle cover; 2. Thrust ring; 3. Frame; 4. Regulator handle; 5. Armrest; 6. door trim panel; 7. Regulator; 8. Glass; 9. External trim panel; 10. Molding; 11. Door lock; 12. Key cylinder; 13. External handle; 14. Impact plate; 15. Glass channel; 16. Gasket; 17. Locking pin; 18. Door latch; 19. Door
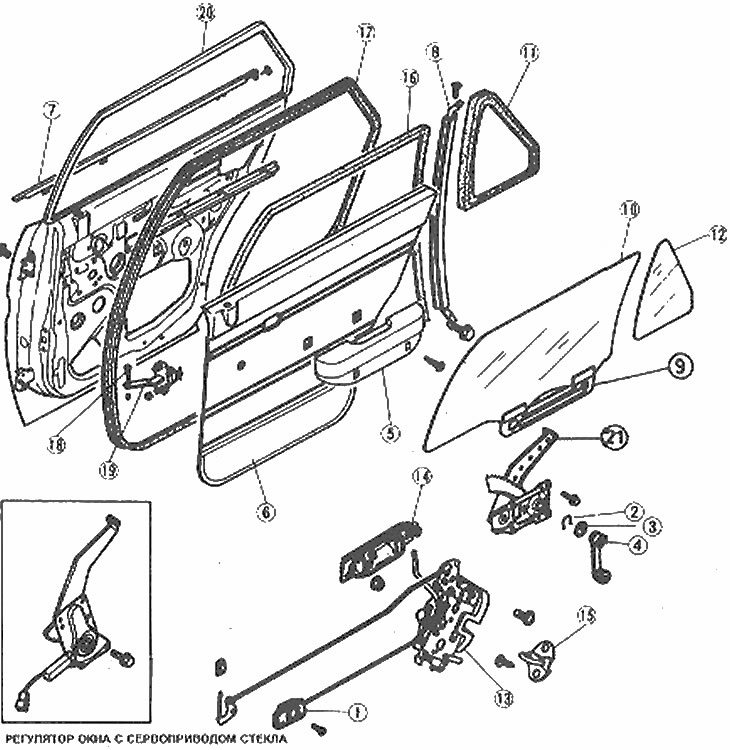
Rear door glass and regulator parts
1. Inner cover of the handle; 2. Thrust ring; 3. Frame; 4. Regulator; 5. Armrest; 6. Trim panel; 7. Molding; 8. Central channel; 9. Lifting suspension; 10. Glass; 11. Triangular window gasket; 12. Triangular saloon window; 13. Door lock; 14. External handle; 15. Impact plate; 16. Glass channel; 17. Gasket; 18. Locking pin; 19. Door latch; 20. Door; 21. Regulator
1. Lower the door glass and remove the door trim panel and waterproof film (Chapter 16).
2. On power window models, disconnect the negative battery cable.
3. On the rear doors, remove the alignment molding.
4. On models equipped with power windows, disconnect the motor connector.
5. If necessary, move the regulator to a position so that the glass installation bolts are accessible through the holes.
(The article is reprinted from the portal: «MAZBOOK.ru»)
6. On the front doors, remove the bolts and lift the glass up and out of the door window.
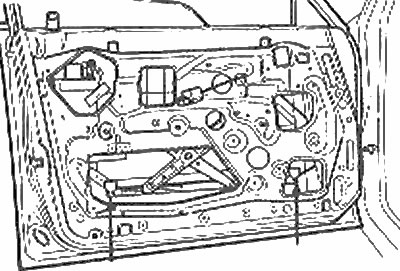
Front door glass installation bolts (arrows)
7. On the rear doors, remove the screw and bolt and pull the center channel out. Place the back of the door glass down, remove the lifting hanger from the roller, then lift the glass up and out of the door. Remove the rear door window glass.
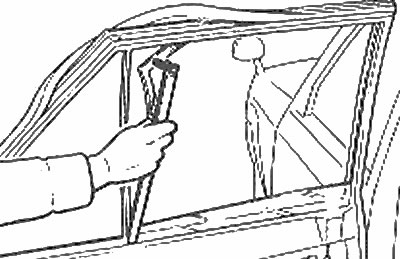
Removing the central channel of the triangular rear door window |
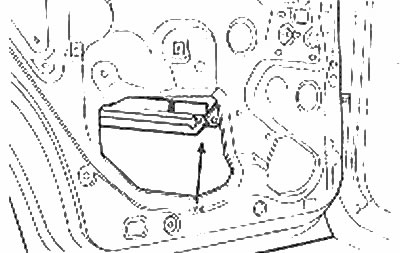
Rear door window lift and roller |
8. On both front and rear doors, remove the mounting bolt and remove the regulator through the service opening in the door.
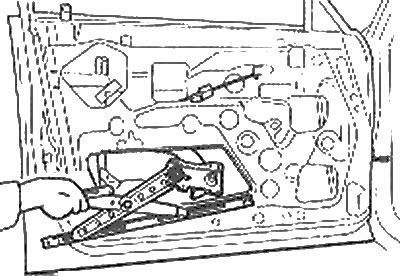
Removing the front door window glass adjustment mechanism
9. On windows with power windows, unscrew the motor and remove it from the regulator.
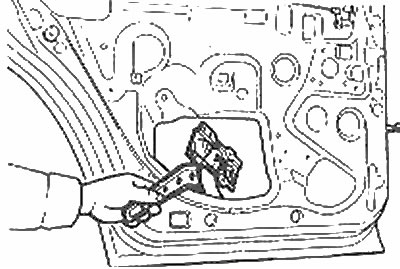
Removing the rear door window glass adjustment mechanism
Warning: Be very careful when removing the motor as the spring will be released allowing the governor mechanism to snap back into position.
10. Assembly is carried out in reverse order, paying attention to the following points.
11. Apply soapy water to the triangular window channel to facilitate installation.
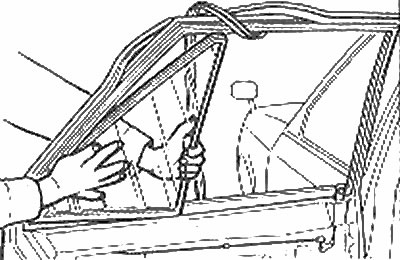
Install the rear door interior triangular window into the channel using soapy water
12. On models with power window control, disconnect the negative battery cable and turn the control knob to the down position before installing the motor.
13. After installation, lift and lower the glass up and down several times to make sure it moves easily and smoothly. Adjust the position of the regulator with the mounting bolts as necessary.