
Warning. Wear gloves when working inside doors to avoid scratching your hands from the sharp edges of the door panels.
Removing
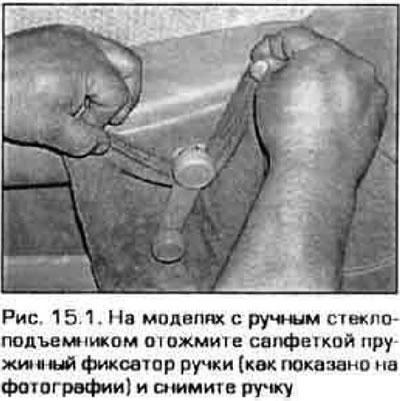
1. On manual window models, remove the window handle (pic. 15.1). To do this, put a napkin between the handle and the lining and press the spring clip from below. For this purpose, there is a special device with a hook, although its use is not necessary.
2. Raise the door lock button to open the lock.
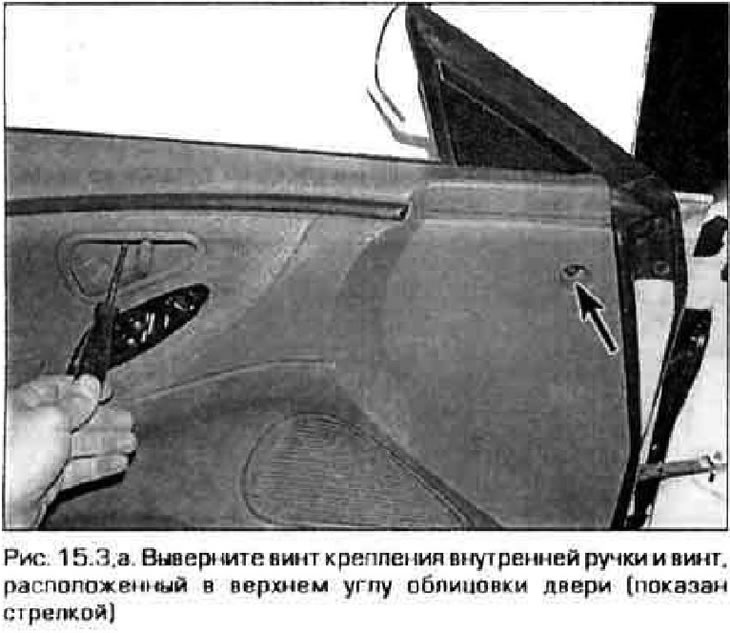
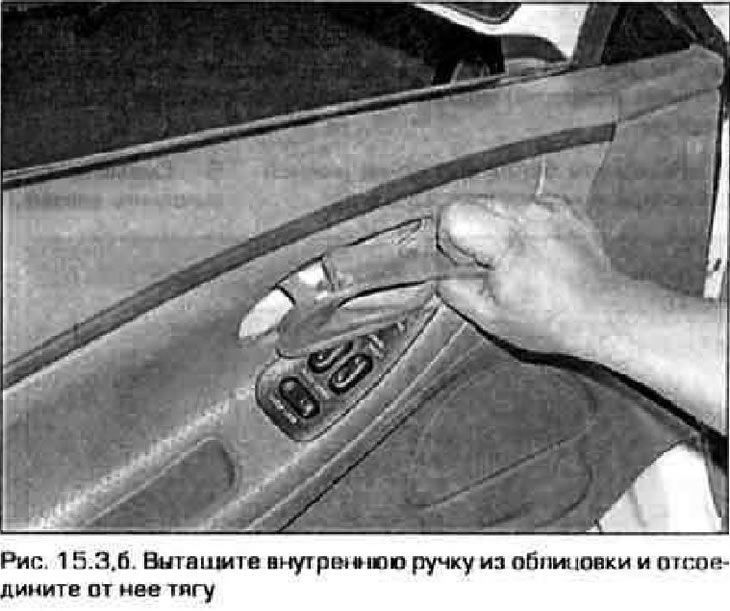
3. Remove the screw securing the swirl door handle, as well as the screw located in the upper front corner of the door (pic. 15.3, a, b).
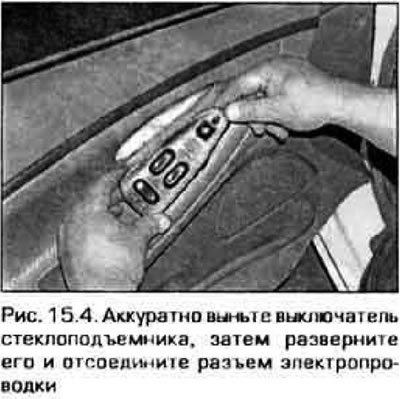
4. Pull out the power window switch (for models with power windows) and unplug it (pic. 15.4).
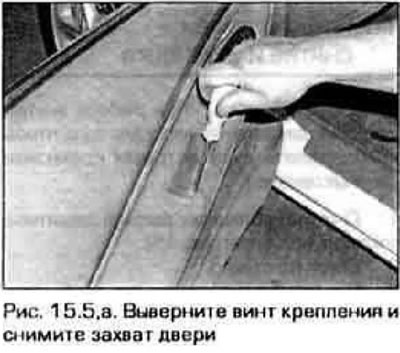
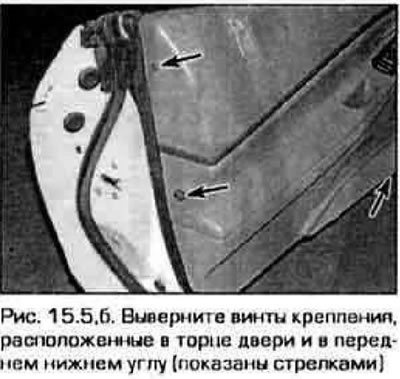
5. Remove the screw from the armrest, then remove the remaining screws securing the trim (pic. 15.5, a, b). Carefully pull the lining towards you, overcoming the resistance of the clamps. Carefully detach the trim edges.
6. After detaching the clamps, lift the lining up, disconnect all electrical wiring connectors and remove the lining from the car.
7. To gain access to the outside door handle or power window, fully raise the window, remove the power window control unit (if it exists), remove the door bracket as well as the speaker (see chapter 12). Then carefully peel off the protective cover.
Installation
8. Before installing the cladding, insert all the fasteners into the cladding (latches can fall out or break when removing the cladding).
9. Connect sockets of electroconducting of the switch of the central lock and switches of a window regulator. Then put the cover back in place. Press the lining in the area of the latches so that they enter the holes in the door. Install the inner handle and tighten its fixing screw. Install the power window switch (if it exists) and pocket, and tighten the screw securing it. Install the power window handle (models with manual window).