
Warning. Wear gloves when working inside doors to avoid scratching your hands from the sharp edges of the door panels.
Door lock
1. Raise the glass, then remove the door lining and protective coating (see paragraph 15).
2. Inside the door, disconnect the rod that connects the outer handle to the lock and the rod that connects the lock to the cylinder. Disconnect the rod connecting the inner handle to the lock, as well as the rod of the central locking actuator from the lock rod.
3. All rods of the lock are fastened with plastic clips. To disconnect the rod, first unhook part of the retainer from the rod, then remove the rod from the hole of the retainer. On models with central locking, disconnect the wiring connector from the lock.
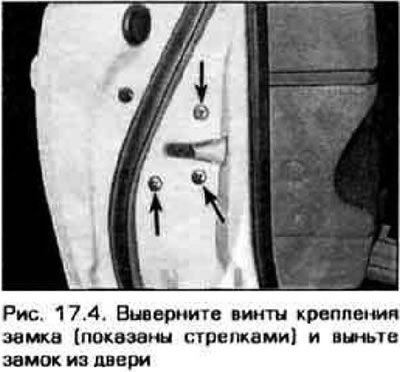
4. Remove the screws securing the lock to the door (pic. 17.4), remove the lock from the door.
5. Installation is performed in the reverse order of removal.
Lock cylinder and external handle
6. To remove the outer handle and lock cylinder, lift the glass, then remove the door lining and protective coating (see paragraph 15).
Caution, be careful not to scratch the paint on the door. To protect the door, stick an insulating tape around the outer handle.
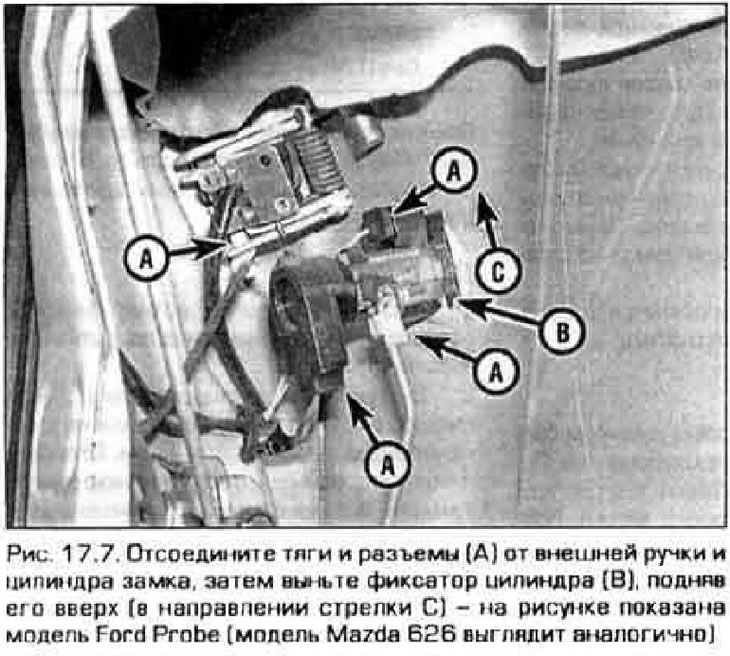
7. From connect the outer handle rod from the lock rod, the cylinder rod from the lock rod, and (in the Ford Probe model) latch of fastening of the switch to the cylinder of the lock (pic. 17.7).
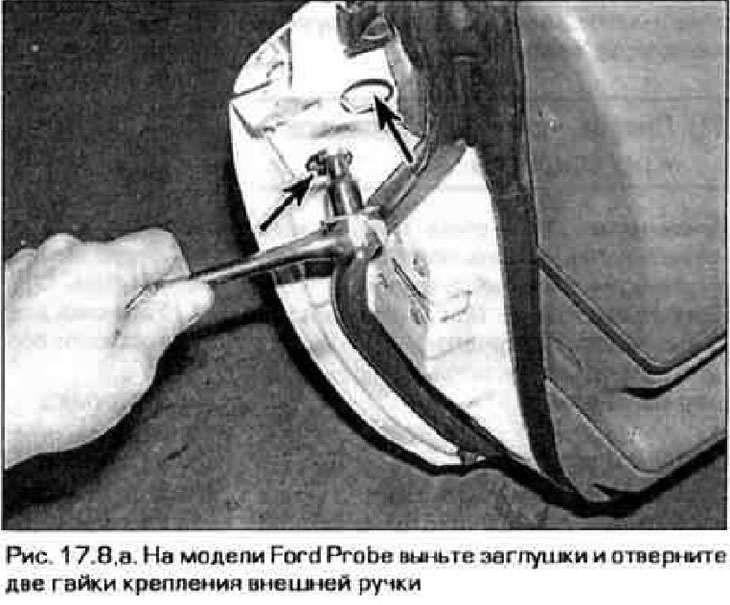
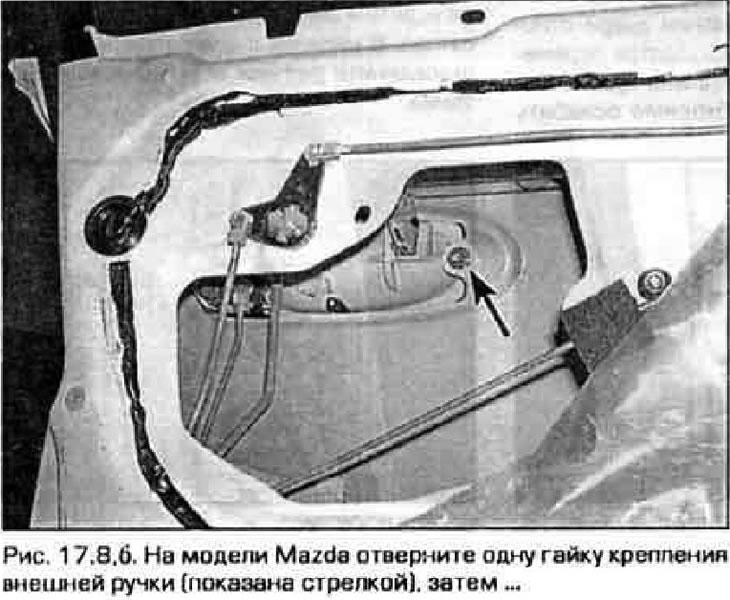
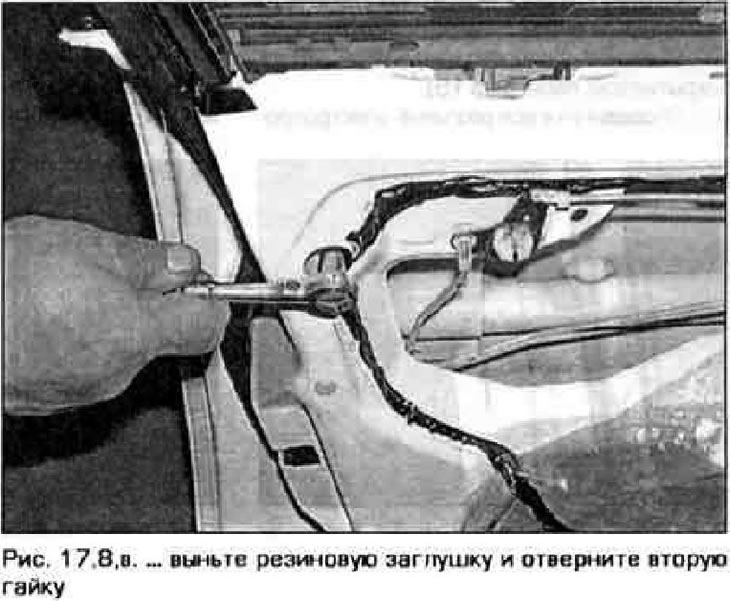
8. In the Ford Probe model, remove the rubber plugs from the door and unscrew the outer handle mounting nuts through the holes (pic. 17.8,a). On the Mazda model, unscrew the nuts securing the handle (pic. 17.8.6, in).
9. Remove the handle with the lock cylinder from the car. To remove the cylinder from the handle in the Mazda model, you need to remove the retainer. On models with central locking, disconnect the electrical connector and remove the cylinder from the handle.
10. Installation is made in sequence, return to removal.