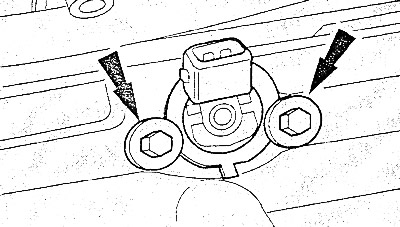
Removal
Disconnect the negative cable from the battery with the ignition off.
This will erase the data from the electronic memory units. See the instructions in the chapter "Electrical equipment".
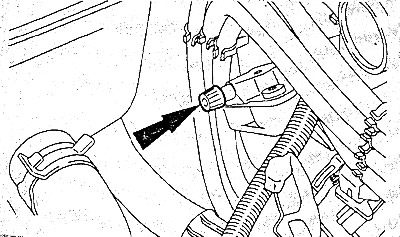
Bleed the fuel pressure. For this purpose, workshops install a special device on the valve (remove valve cap) fuel distributor pipes. Then carefully open the tap to relieve the pressure. Remove the tap and put on the protective cap.
If there is no special tap, then pull the fuel line off the fuel filter.
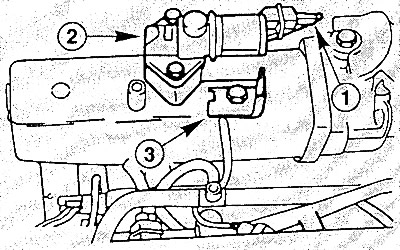
Remove the plug (1) and unscrew the idle air control valve (2).
Disconnect the gas cable from the throttle lever from the support.
Unscrew one bolt and remove the gas support mount.
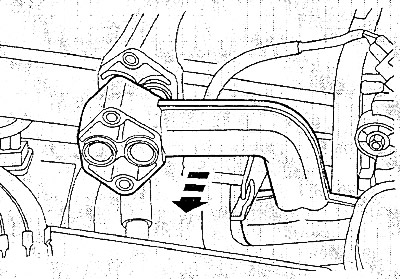
Remove the incoming air resonator.
Disconnect the air supply hose between the air filter housing and the intake pipe by loosening the two clamps.
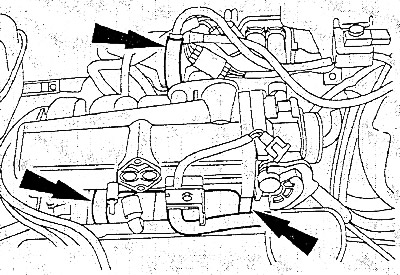
Remove the engine crankcase ventilation hoses.
Remove the spark plug plugs and unhook the high-voltage wires from the guides.
Disconnect the potentiometer plug from the throttle body.
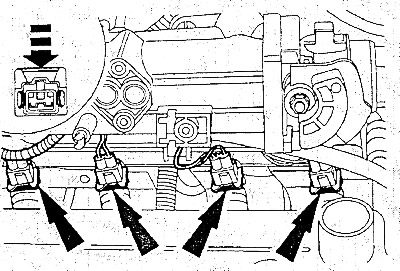
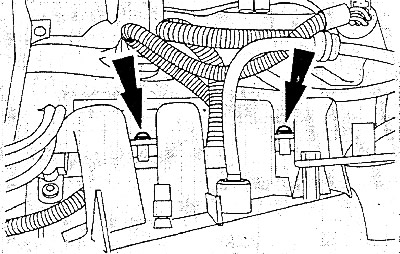
Unscrew the bolts securing the injector wire harness. Disconnect the wire harness plug.
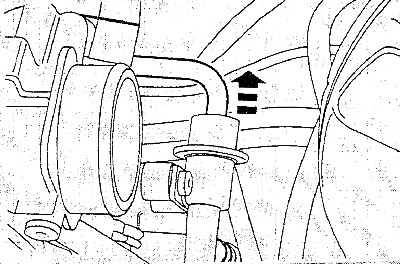
Pull the vacuum hose off the fuel pressure regulator. If necessary, remove the pressure regulator by unscrewing the two bolts and using a screwdriver, pry the regulator off the distributor pipe.
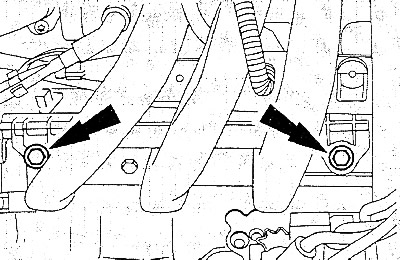
Unscrew the two bolts securing the fuel distributor pipe.
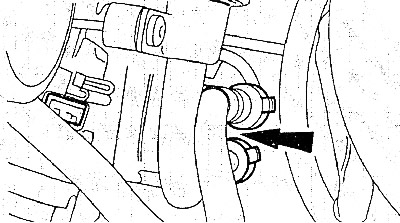
Unscrew the bolt securing the fuel lines from the holder on the cylinder head.
Squeeze the side tabs of the quick-release connections of the fuel lines and pull the fuel lines together. In doing so, place a thick rag underneath to collect the leaking fuel.
Note: Quick release couplings are marked to avoid confusion when removing them.
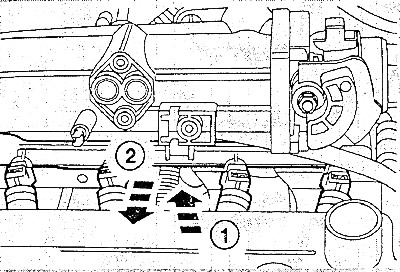
Pull the fuel distributor pipe together with the injectors out of the intake pipe. The injectors are inserted.
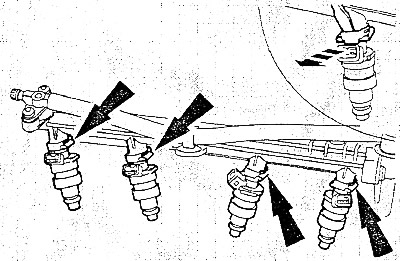
Remove the side fasteners and take out the injectors.
Installation
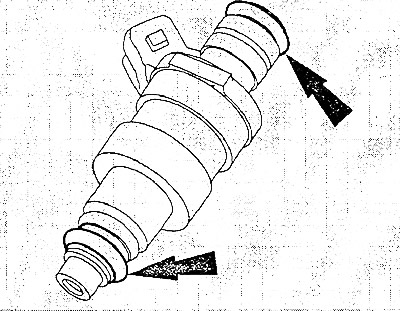
Replace all O-rings. To facilitate installation, lubricate the rings with clean engine oil.
Press the injectors with the fuel distributor pipe evenly into the intake pipe and insert the mounting brackets from the side.
Place the return and supply fuel hoses onto the distributor pipe.
Install and secure the fuel line holder with a bolt.
Attach the vacuum hose to the fuel pressure regulator.
Connect and bolt the injector wiring harness.
Place the plugs on the injectors.
Place the plug onto the throttle body.
Connect the engine crankcase ventilation hoses.
Place the plugs on the spark plugs, lay the high-voltage wires and secure them in the holders. The wires are marked with numbers from 1 to 4. The wires must be installed in the corresponding cylinders. The first cylinder is located on the V-belt side of the engine (on the right, if you look in the direction of travel).
Install a resonator for incoming air.
Install the idle air control valve and fit the plug.
Install the throttle cable support, insert the throttle rod and adjust it.
Connect the negative cable to the battery, set the clock readings, enter the codes.
Specially for 1.25/1.4L engines
Note: This describes only the differences that you need to pay attention to when removing the injectors.
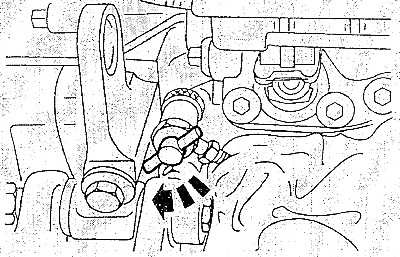
Warning: Fire hazard, no smoking! The fuel system is under pressure, relieve the fuel pressure using the special drain cock on the distributor pipe valve. Collect the leaking fuel with a rag. If there is no cock, then pull the fuel line off the filter.
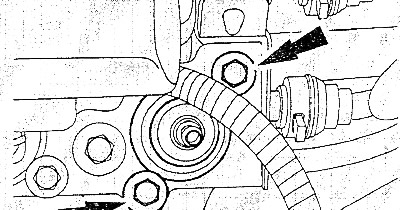
Pull the vacuum hose off the fuel pressure regulator. Unscrew the two bolts and remove the regulator.
Pry off the middle cover of the injector wiring harness and remove the crankcase ventilation hose from the cylinder head.
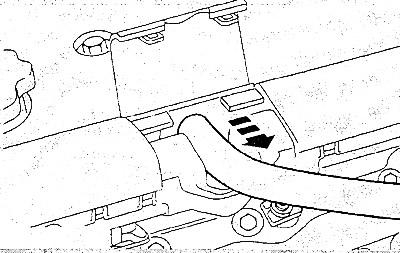
Remove the plugs from the injectors.
Unscrew two bolts and remove the injectors.
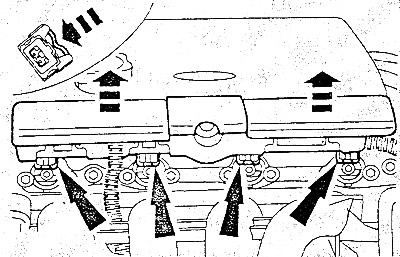
Always replace the O-rings on the injectors. To facilitate installation, lubricate the O-rings with clean engine oil.