
Removal and installation
1. Disconnect a wire from the negative plug of the storage battery.
2. Remove the refrigerant from the system.
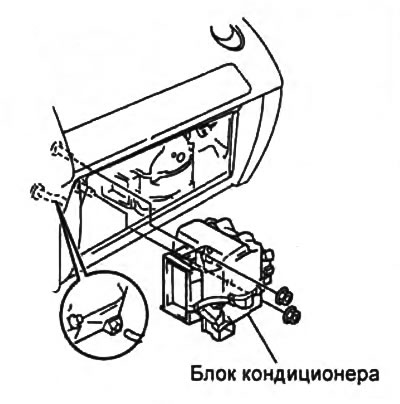
3. Remove the glove box.
4. Disconnect the cables from the heater fan assembly.
Note: Plug the open ends of the tubing immediately to avoid contamination of the system.
5. Disconnect the refrigerant pipes.
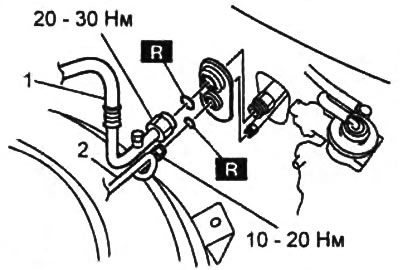
1 - low pressure line hose,
2 - refrigerant circulation tube.
6. Remove the air conditioning unit.
7. Install in the reverse order of removal.
8. After installation, check the efficiency of the refrigerant circulation system.
Installation note
If a new air conditioner unit is being installed (evaporator), then add 40 ml of P046XC compressor oil to the refrigeration line.
Disassembly and assembly
Disassemble the air conditioner unit in the sequence of numbers shown in the figure "Disassembly and assembly of the air conditioner unit".
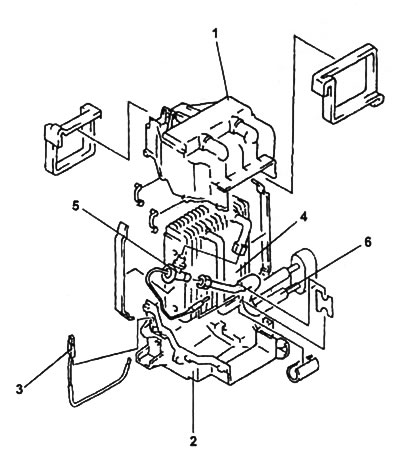
Disassembly and assembly of the air conditioner unit.
1 - air conditioning unit housing (upper),
2 - air conditioning unit housing (lower),
3 - air temperature sensor behind the evaporator,
4 - evaporator,
5 - expansion valve,
6 - high pressure line tube.
Note: Installation is in the reverse order of removal.
Expansion tube installation note
1. Replace O-rings.
Note: before installing O-rings, lubricate them with compressor oil.
2. Using two wrenches, tighten the screw connections to the specified torque.
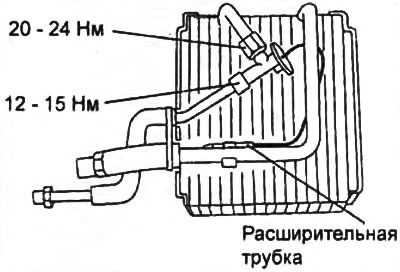
3. Install the expansion tube as shown in the figure.
Note on installation of the air temperature sensor after the evaporator
Install the air temperature sensor downstream of the evaporator as shown in the figure.
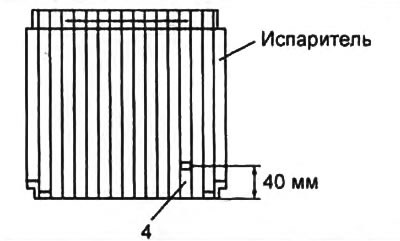
Evaporator check
1. Check the evaporator for damage and compressor oil leaks.
If damage or leaks are found, replace the evaporator.
2. Check the evaporator heat exchanger plates for kinks. If bent plates are found, straighten them with a slotted screwdriver.