


Examination
1. Disconnect the negative battery cable and then the positive battery cable.
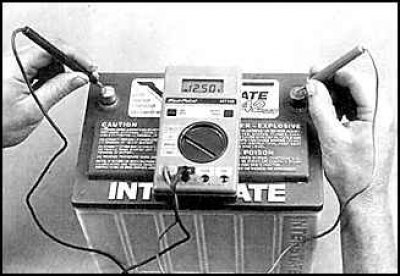
2. Check the charge level of the battery.
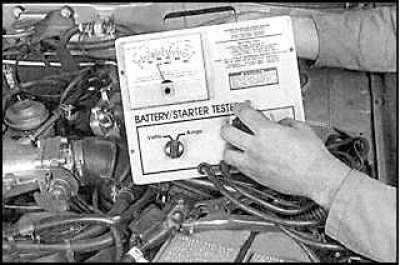
3. Check that when a load is applied to the battery, the voltage does not drop below 9.6 volts.
Battery connection wires
4. Periodically inspect the entire length of the battery connection wires for damage, cracks, or corrosion.
5. Clean wire contacts from corrosion, if necessary.
Replacement
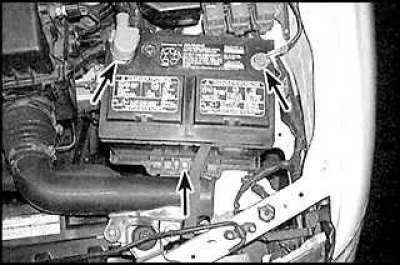
1. Disconnect the negative battery cable and then the positive battery cable. Remove the battery retainer (arrow).
2. Remove the battery.
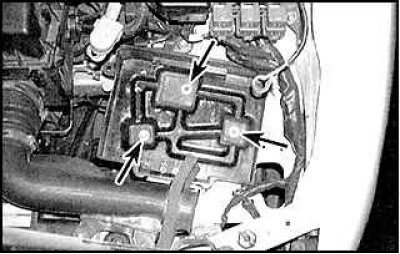
3. Unscrew the fixing bolts and remove the battery shelf. Clean the shelf from corrosion, if necessary.
4. Installing a new battery is carried out in the reverse order of removal.
Battery connection wires
5. When disconnecting wires, always disconnect the negative battery cable first.
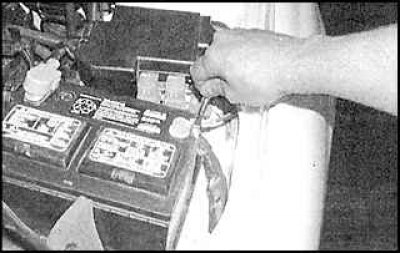
6. Unscrew the clamp nuts and disconnect the wires from the battery.
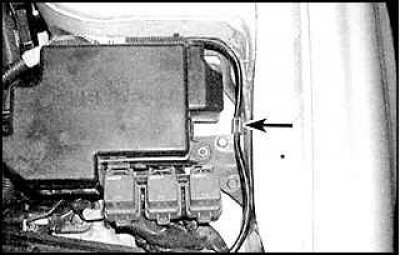
7. Remove the wires from the mounting clips (indicated by an arrow).
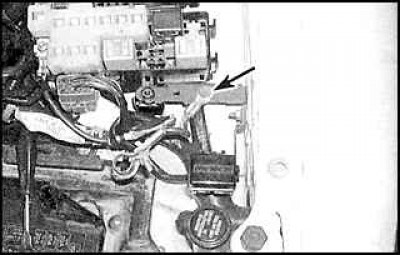 | 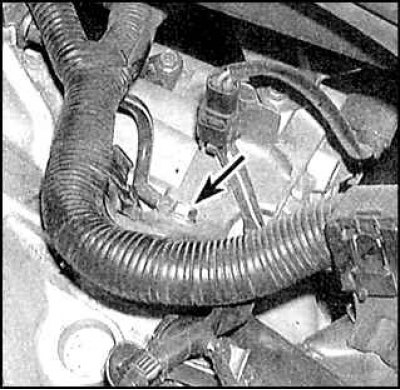 |
8. The battery negative terminal wire is attached to the bracket in the engine compartment (indicated by the arrow in the photo on the left) and to the gearbox (fastening is indicated by an arrow in the photo on the right).
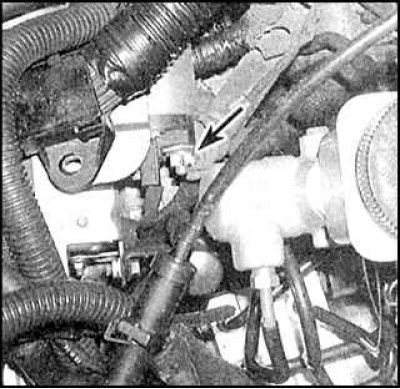 | 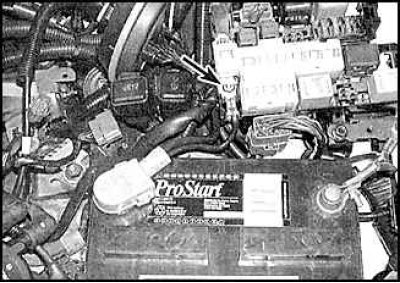 |
9. The positive battery terminal wire is connected to the starter (indicated by the arrow in the photo on the left) and fuse/relay box (the connection is indicated by the arrow in the photo on the right) in the engine compartment.
10. Clean contacts and install new wires.