
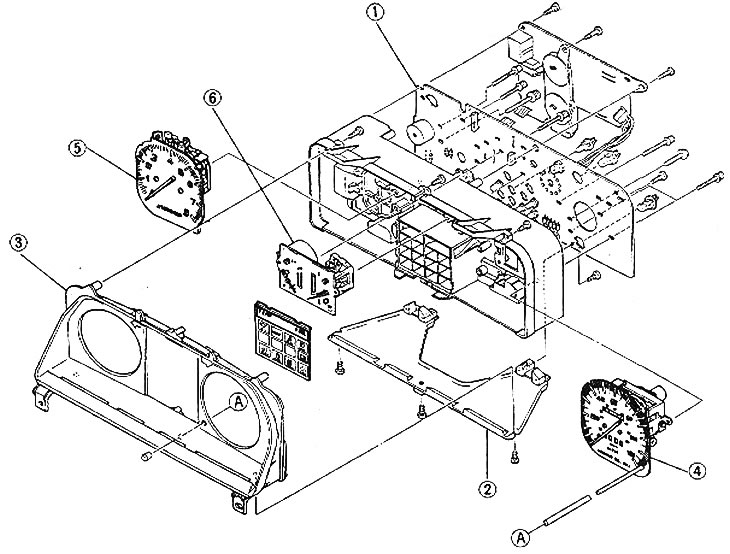
Exploded view of the analog instrument cluster of later models
1. PCB panel; 2. backlight plate; 3. Front cover; 4. Speedometer; 5. Tachometer; 6. Fuel gauge and water temperature gauge
1. Disconnect the negative battery cable.
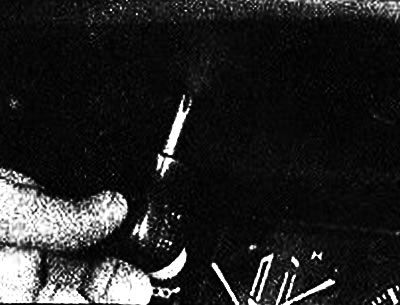
2. Lower the tilt steering wheel (if available). Otherwise, remove the steering wheel completely. Remove steering column shrouds for additional workspace (photo).
Removing the steering wheel | 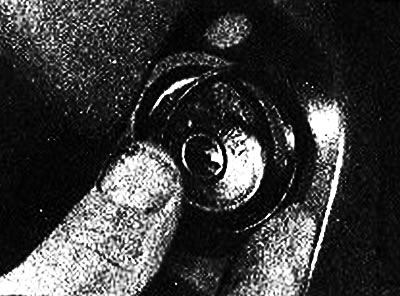
Removing the environment of the ignition switch |
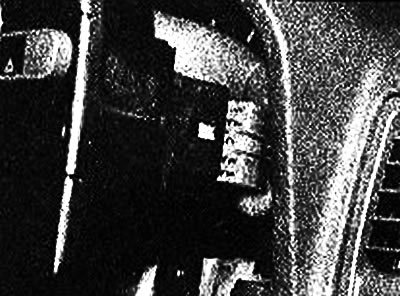
Remove the screws... | 
...and separate the steering column shrouds |
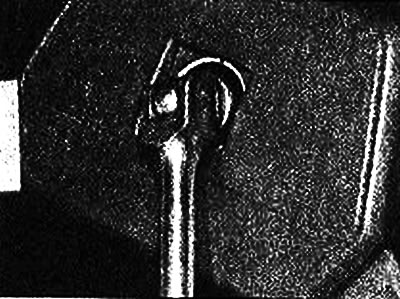
3. Disconnect the speedometer drive cable from the transmission from the engine compartment by unscrewing the bushing. Pull out the cable from the support hangers and push it through the baffle as far as possible.
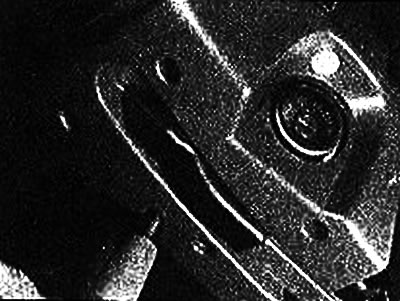
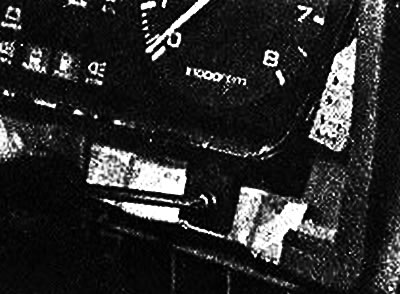
4. Remove the screws from the instrument panel surround, loosen the instrument panel fasteners and disconnect the electrical wiring from the switches (photo).
Remove the top screws of the dashboard surround... | 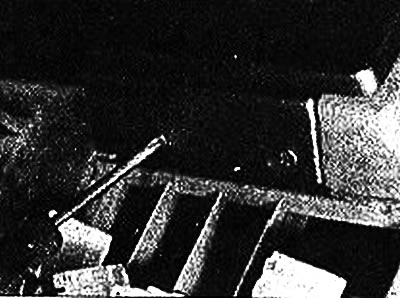
...and bottom screws... |
...and disconnect the wires
5. Remove the mounting screws and pull out the dashboard far enough to access the back of it (photo).
Removing the lower instrument panel screws... | 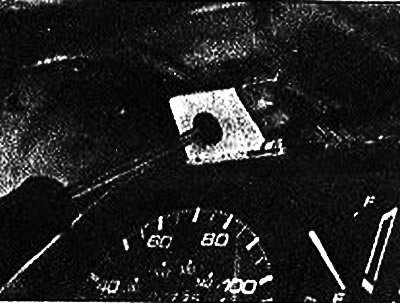
... and top screws |
6. Disconnect the wiring connector and the speedometer drive cable, remove the dashboard (photo).

Dashboard Speedometer Wiring and Cable Connectors on Left Hand Models | 
Dashboard Speedometer Wiring and Cable Connectors on Right Hand Models |
7. Assembly is carried out in the reverse order.