


Contents: Note on removing/installing crackers ⇓ Note on removing the valve stem seal ⇓ Valve Guide Removal Note ⇓ Note on installing the guide bushing ⇓
1. Remove the parts in the order they are numbered in the "Cylinder Head Disassembly and Assembly" figures.
2. Installation of parts during assembly is carried out in the reverse order of removal.
Note on removing/installing crackers
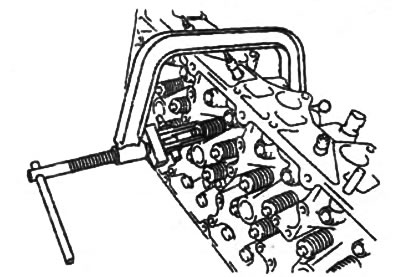
Using a special tool, compress the valve spring and remove/install the crackers.
Note on removing the valve stem seal
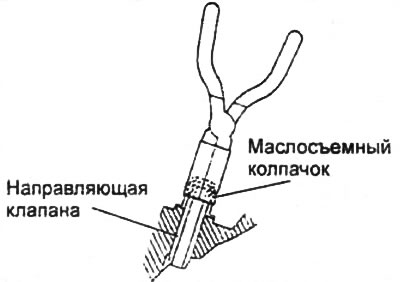
Note: The puller will not be able to clamp the valve stem seal unless the spring seats are removed.
Using a special tool, remove the oil seal as shown in the figure.
Valve Guide Removal Note
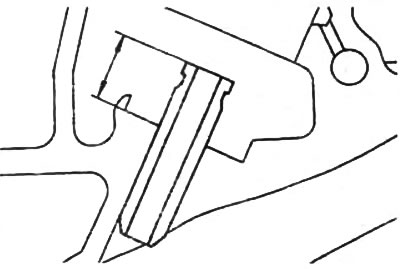
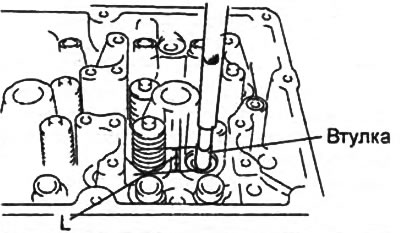
1. Check the protrusion of the guide bushings relative to the surface of the cylinder head.
Performance:
- inlet - 15.0 - 17.5 mm
- release - 17.0 - 17.5 mm
The text of the article is taken from the website [mazbook]
If the protrusion is not as specified, replace the guide bushing.
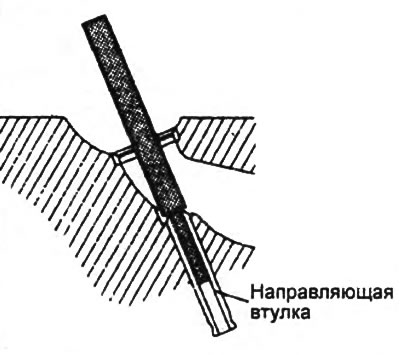
2. Insert the special tool from the combustion chamber side as shown in the figure and press out the guide sleeve.
Note on installing the guide bushing
1. Place a mark on the valve guide bushing at a distance "L" from its end.
Distance "L":
- inlet - 15.0 - 17.5 mm
- release - 15.0 - 17.5 mm
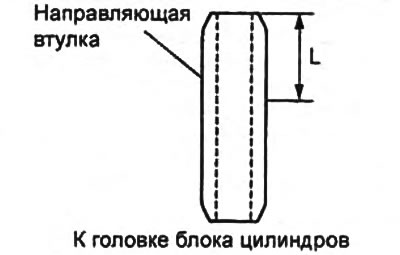
2. Using a special tool, press the valve guide bushing into the cylinder head, working from the top of the head. Press the bushing until the mark on the bushing is flush with the surface of the cylinder head.
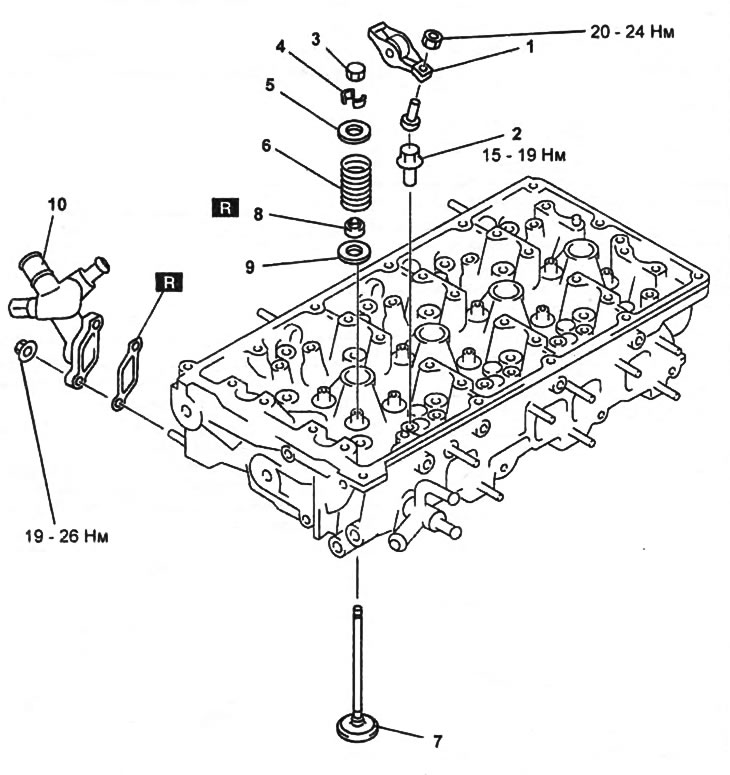
Disassembly and assembly of the cylinder head.
1 - rocker arm,
2 - support bolt,
3 - valve cover,
4 - crackers,
5 - valve spring plate,
6 - valve spring,
7 - valve,
8 - oil seal,
9 - valve spring seat,
10 - cooling system pipe.
3. Make sure that the protrusion "L" of the guide sleeve is within the set range specified in item "1".