


Removing
Attention: If the pads are to be used further, they must be marked before removal. Changing pads between the right and left wheels and vice versa is not allowed. Such replacement can lead to uneven operation of the brakes. It is necessary to install only original brake pads or pads recommended by the manufacturer. All pads on disc brakes must be replaced at the same time, even if only one of them has reached the wear limit.
Mark the position of the front wheels on the hubs, so that you can then install them in their original positions. Loosen the wheel nuts while the vehicle is on the ground. Raise and support the car in front, remove the front wheels.
Pull the caliper outward by hand, pushing back the brake pistons a little.
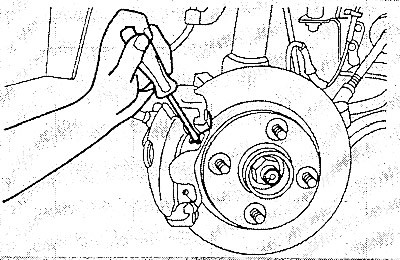
Pry off the brake pad retaining spring with a screwdriver from the caliper and remove it.
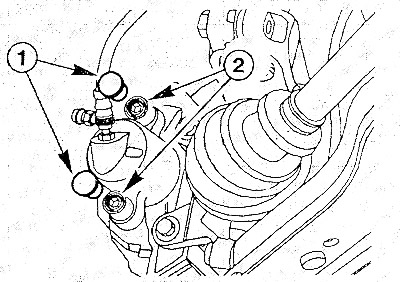
Use a blunt screwdriver to pry off the top and bottom protective caps (1) and take them out.
Unscrew both guide pins (2) from the support.
Hang the caliper on the body with a wire.
Attention: The caliper must not hang on the brake hose, i.e. The hose must not be kinked or under tension.
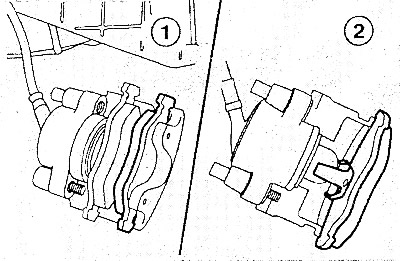
Remove outer brake pad from caliper (1).
Pull out the inner brake pad (with pressure spring) from the brake piston (2).
Installation
Attention: When the brake pads are removed, do not press the brake pedal, otherwise the piston will be squeezed out of the caliper housing. If the piston was accidentally squeezed out, then remove the brake caliper and assemble it in a workshop.
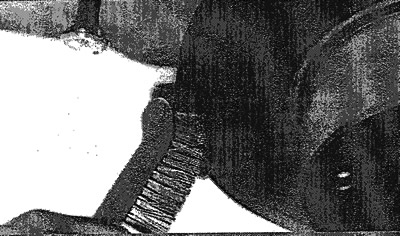
Clean the guide surface or shoe socket in the body with a soft metal brush and wipe with a cloth and alcohol. Do not use mineral solvents (gasoline, kerosene) or tools with open edges. If the brake pads are to be reused, clean them too.
Before installing the pads, you need to feel the brake disc with your fingers, checking it for scratches. Badly scratched discs should be replaced.
Measure the thickness of the brake discs and, if necessary, replace worn discs.
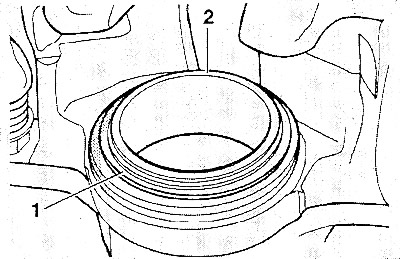
Check dust cap (1) on the piston (2) for damage. A damaged cap must be replaced, as dirt that gets inside will quickly lead to a leaky caliper. In this case, you will have to remove the caliper and repair it (In workshop).
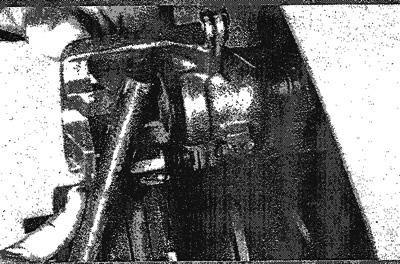
Press in the brake pistons using a special tool that can be made from a piece of durable wood. When doing this, take care not to warp the piston or damage the piston surface and the dust cap.
Attention: When the piston is pressed in, the brake fluid will be squeezed out of the brake cylinders into the reservoir. Monitor the fluid level in the reservoir and, if necessary, suck it out of the reservoir.
Precautions: use a glass or plastic container to collect liquid. Brake fluid is poisonous and must not be sucked in by mouth through a hose. After replacing the pads, the liquid level in the tank should not exceed the mark «MAX», because Brake fluid expands when heated. Spilled brake fluid can damage paintwork, leading to corrosion.
Attention: If the pads are worn differently, then this is not a cause for concern. With a difference in thickness of more than 2 mm between the inner and outer pads, the caliper guide pins or pistons must be checked for freedom of movement. To do this, insert a block of wood into the caliper, and the assistant should slowly press the brake pedal. The pistons should easily push in and out. To check another caliper must be installed. Make sure that the brake piston is not completely squeezed out. With a tight piston stroke, the caliper needs to be repaired (In workshop).
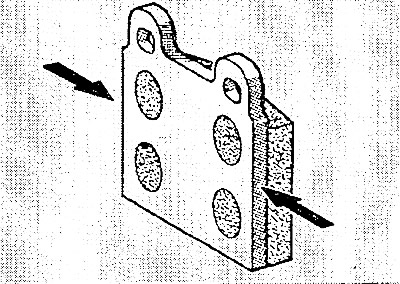
The following operation is not always necessary: to prevent brake squeaking, the back side of the pad and its sides can be (arrows) lubricate with a thin layer of grease. Lubrication must never get on the working surfaces of the brake pads or on the brake disc. If this does happen, immediately wipe off the grease and clean the block with alcohol.
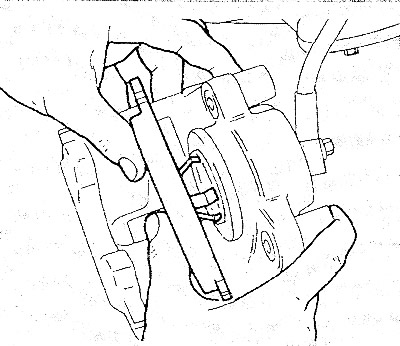
Insert inner block (with pressure spring) into the brake piston.
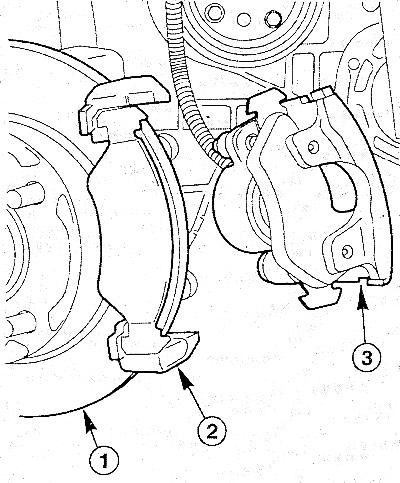
Put the outer block on the bracket (2).
Install brake caliper (3) and tighten the two guide pins in the bracket to 60 Nm.
Insert two protective caps. (1 - brake disc).
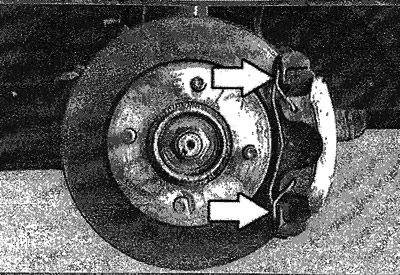
Insert the mounting spring into the caliper.
Note: After inserting into both holes, the retaining spring must be pressed under the retaining bracket. If the fastening is incorrect, it is impossible to regulate the wear of the outer pad, i.e. the pedal travel will increase.
Install the front wheels so that the marks made earlier match. Before doing this, lubricate the centering hole of the disc with grease. Tighten the wheel nuts. Lower vehicle and tighten nuts crosswise to 90 Nm.
With the vehicle stationary, depress the brake pedal several times so that the pads rest against the brake disc.
Check the brake fluid level in the reservoir, top up if necessary «MAX».
Conduct a security check.
Security check
Are the brake lines tight?
Is the brake hose in the mount?
Are the bleed valves tight? Is there enough brake fluid?
Carry out a density test with the engine running. To do this, press the brake pedal with a force of 200-300 N (20-30 kg) for 10 seconds. The pedal must not fall. Check the tightness of all connections.
Carefully run in new pads, to do this, on a road with little traffic, brake the car several times from 80 to 40 km / h, gently pressing the pedal. Let the brakes cool down between braking.