
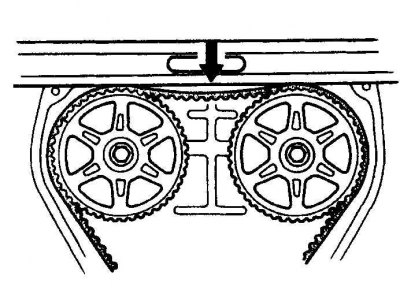
Timing belt and related parts (1.8L DOHC)
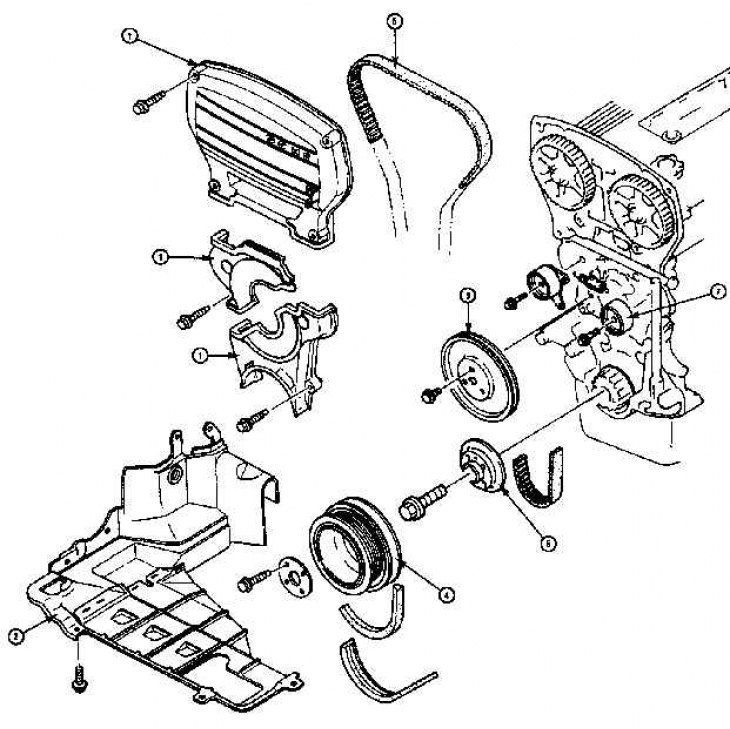
1. Belt covers; 2. Engine protection plate; 3. Water pump pulley; 4. Crankshaft pulley 5. Thrust belt flange; 6. Gas distribution belt; 7. Belt tensioner pulleys
Removing
1. Disconnect the negative battery cable.
2. Put the car on the handbrake.
1.6 L Models
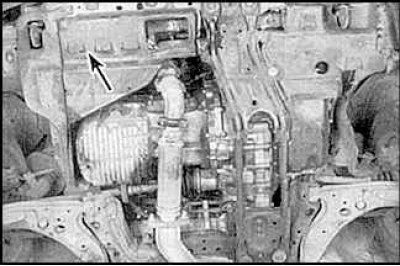
3. Remove the engine protection plate.
4. Remove the power steering and air conditioning drive belt.
5. Remove the alternator drive belt and unscrew the spark plugs.
6. Unscrew the bolts and remove the water pump pulley.
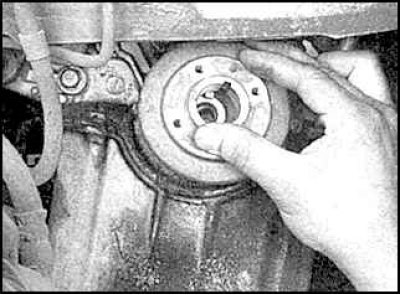
7. Unscrew the four bolts of the crankshaft pulley and remove the pulley.
8. Remove the crankshaft sprocket center bolt.

9. Remove the thrust flange of the timing belt.
10. Remove the top and bottom belt covers.
11. Rotate the crankshaft.
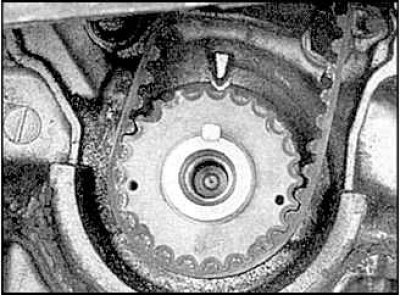
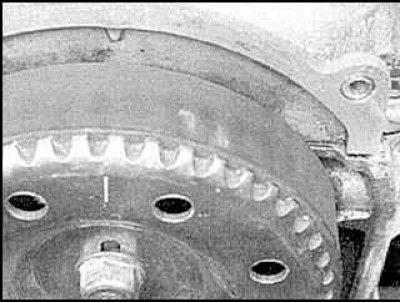
12. Align the timing marks of the camshaft sprocket (SOHC) and timing marks of the crankshaft sprocket (SOHC).
13. Note the direction of rotation of the belt.
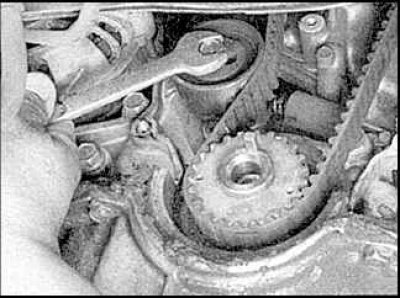
14. Loosen the belt tensioner and remove the belt.
1.8 L Models
15. Remove the engine protection plate.
16. Remove the power steering, air conditioning and alternator drive belts.
17. Unscrew the bolts and remove the water pump pulley.
18. Remove the spark plugs and remove the dipstick.
19. Unscrew the four bolts of the crankshaft pulley and remove the pulley.
20. Remove the timing belt covers.
21. Remove the crankshaft sprocket bolt.
22. Remove the belt thrust flange.

23. Turn the crankshaft so that the timing marks of the crankshaft and camshaft sprocket align (SOHC).

24. Turn the crankshaft so that the timing marks of the crankshaft and camshaft sprocket align (1.8L DOHC).
25. Note the direction of rotation of the belt.

26. Loosen the belt tensioner and remove the belt.

27. If you need to remove the camshaft sprockets to replace the seals, remove the valve covers, unscrew the sprocket bolts and remove the sprockets.
Examination
1. Remove idler pulleys and inspect their bearings.
2. If the belt has been severely damaged, clean the sprockets of any remaining belt stuck in them.
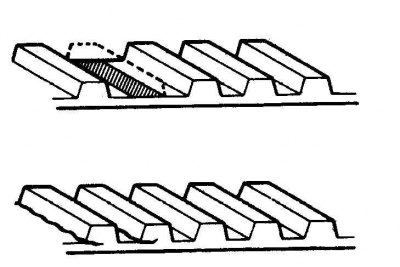
3. Inspect the belt for cracked or missing teeth. If the belt teeth are broken or cracked, the camshafts or oil or water pump shafts are likely to be seized.
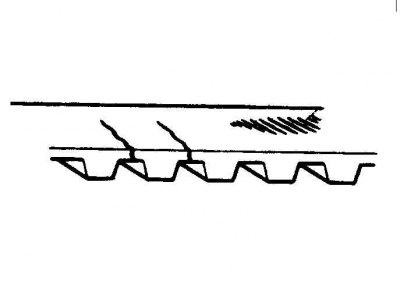
4. If the belt is badly worn or cracked, the shaft sprockets must be checked.
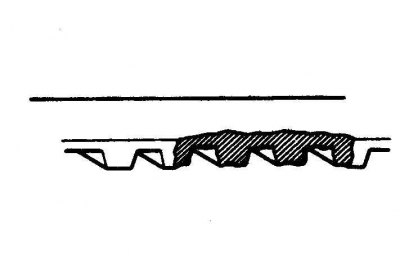
5. If the side surface of the belt is damaged, it is necessary to check the thrust flange and the installation of the sprockets.
6. If necessary, replace the belt and correct any problems.
Installation
1. Clean the belt area.
2. Install idler pulleys and tensioner pulley.
3. Install the shaft sprockets and tighten the bolts.
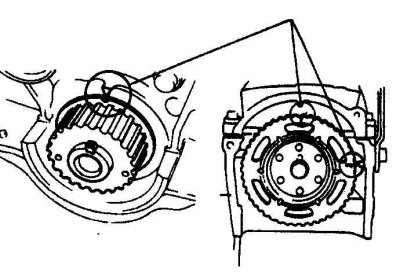
4. Align the timing marks of the crankshaft and camshaft sprockets (SOHC).
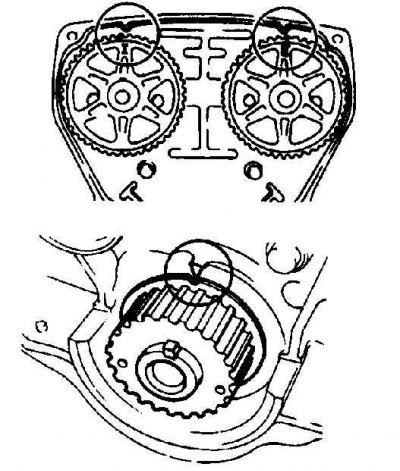
5. Align the timing marks of the crankshaft and camshaft sprockets (1.8L DOHC).
6. Put the belt on the sprockets.
1.6 L Models
7. Install the belt thrust flange and crankshaft sprocket bolt.
8. Rotate the crankshaft two full turns and align the timing marks.
9. Check that the marks on the camshaft sprocket are correctly aligned with the marks on the cylinder head.
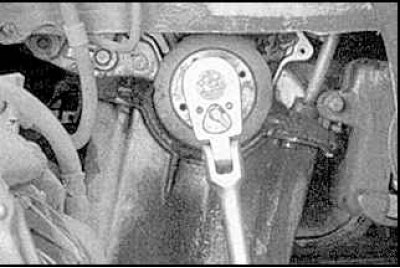
10. Loosen the tensioner pulley bolt to tighten the belt.
11. Tighten the tensioner pulley bolt.
12. Rotate the crankshaft two full turns and align the timing marks.
13. Check the belt tension by pressing the belt between the crankshaft and camshaft sprockets by hand. The belt should flex approximately 13 mm, but not less than 11 mm.
14. Readjust the belt tension if necessary.
15. Tighten the crankshaft sprocket bolt.
16. Install the remaining parts. Check engine operation.
1.8 L Models
17. Fit the belt thrust flange and crankshaft sprocket.
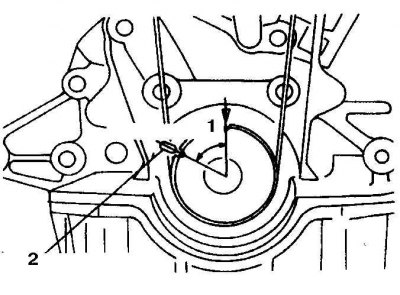
18. Turn the crankshaft clockwise 1 and 5/6 turns and align the crankshaft sprocket timing mark with the tension setting mark located on the cylinder block.
1. Approximately 60°
2. Tension setting mark
19. Loosen the tensioner pulley bolt to tighten the belt.
20. Tighten the bolt.

21. Rotate the crankshaft 2 and 1/6 turns and align the timing marks on the camshaft and crankshaft sprocket.
22. Check belt tension (1.8L DOHC). For 1.8 l 9.5-11.1 mm.
23. Readjust the belt tension if necessary.
24. Tighten the crankshaft sprocket bolt.
25. Install the remaining parts. Check engine operation.