
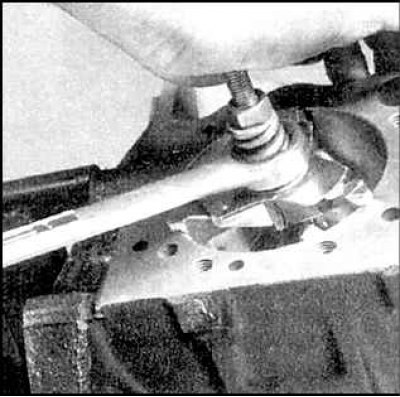
2. Using a special tool, remove the ledge in the upper part of the cylinder, formed as a result of wear and deposits of combustion products. Do not attempt to remove the piston without removing the ledge or you will damage the piston.
3. Turn the engine over, crankshaft up.
4. Using feeler gauges, measure the side clearance of the connecting rods. If the clearance exceeds the allowable limits, the connecting rod must be replaced. If you have any doubts, contact the experts.
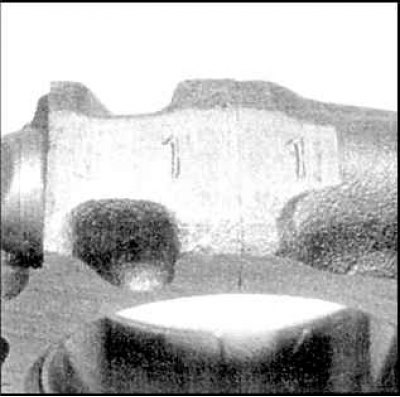
5. If the connecting rods and connecting rod caps are not numbered, number them.
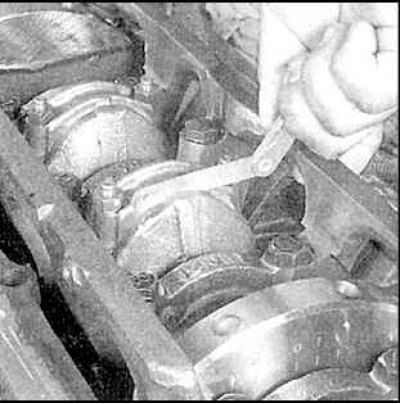
6. Loosen the nuts on each connecting rod cap in 1/2 turn increments. Tighten the nuts, and remove the cover of the first connecting rod and the bearing shell.
7. Remove the bearing shell and remove the connecting rod with the piston.
8. Remove the rest of the connecting rods and pistons in the same way.
9. Fold the elements of each of the pistons separately so as not to confuse them.