


Removal
1. Loosen the wheel nuts. raise the front of the car and place it on supports. Remove the wheel.
2. Unscrew the nut securing the stabilizer bar link to the suspension arm (see paragraph 6).
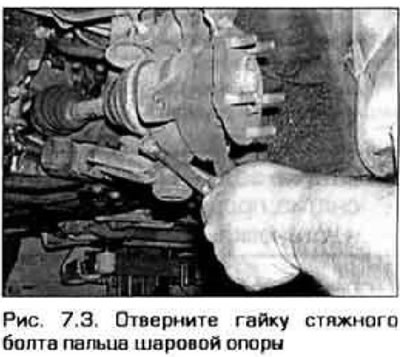
3. Unscrew the ball joint tightening bolt (figure 7.3).
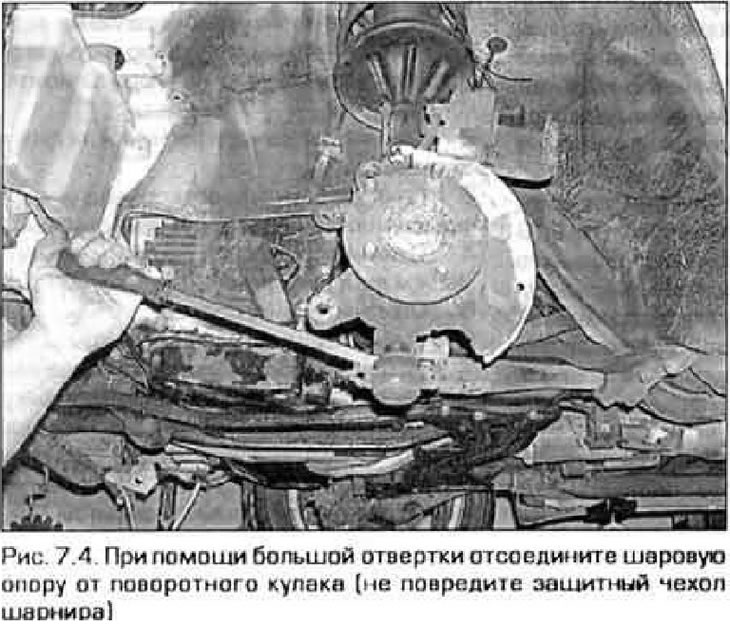
4. Disconnect the ball joint pin from the steering knuckle using a large screwdriver (figure 7.4). Do not damage the support cover. Disconnect the suspension arm from the steering knuckle.
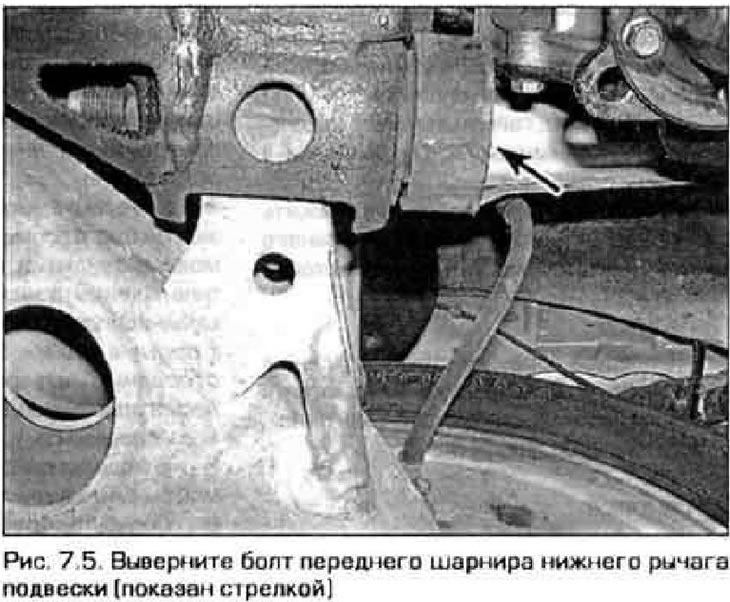
5. Remove the front lower arm pivot bolt (figure 7.5).
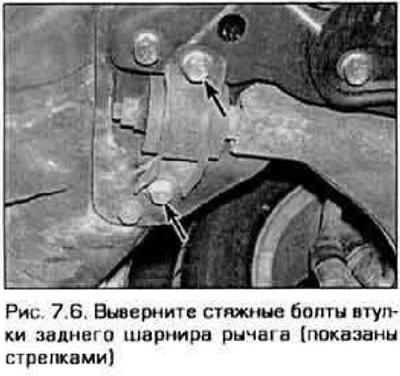
6. Unscrew the tightening bolts of the rear control arm hinge bushing (figure 7.6). Remove the suspension arm from the vehicle.
Examination
7. Inspect the front and rear control arm bushings for damage or wear. If the front control arm bushing needs replacing, please contact a service station as a press is required to replace the bushing. If the rear bushing needs replacing, unscrew the nut from the suspension arm and remove the bushing together with the bracket from the arm axle. Install the new bushing, lock washer and tighten the retaining nut to the specified torque.
8. Inspect the lever and make sure it is not deformed or broken. Replace the lever if necessary. DO NOT attempt to straighten a bent control arm.
Installation
9. Installation is carried out in the reverse order of removal. Tighten all connections to the specified torque.
10. Install the wheel and tighten the nuts. Lower the vehicle and tighten the wheel nuts to the specified torque (see Technical data at the beginning of Chapter 1).