


Contents: Examination ⇓ Replacement ⇓
Examination
Note: Before starting work, check that the fuse is working properly.
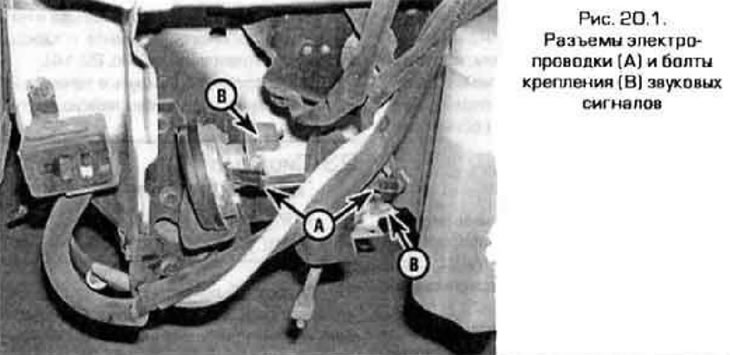
1. Disconnect the wiring connectors from the horn (figure 20.1).
2. To check, apply battery voltage to the horn connectors using two wires. If the sound signals do not work, replace them.
The article is copied from the website: Mazbook
3. If the horns work, measure the voltage at the horn connector terminals while the horn button is pressed. If voltage is present at the connector, check the grounding of the audio signals.
4. If there is no voltage at the connector. check the horn relay (see paragraph 5).
5. If the relay is working properly, check the control circuit and the power circuit of the relay. If there is no voltage in one of the circuits, check the wiring between the fuse and the relay.
6. If voltage is present at both ends of the relay, press the horn button and check the connection between the relay and the horn switch, as well as the horn connection to the vehicle ground. If necessary, repair the connection. If the wiring is OK, replace the horn switch.
7. If the horn switch ground connection is good, repair any open or short in the wiring between the horn switch and the relay.
Replacement
8. To access the sound signals, remove the front left wheel liner (see chapter 11).
9. Disconnect the electrical wiring connectors and unscrew the bracket mounting bolts (see Figure 20.1).
10. Installation is carried out in the reverse order of removal.