
Mazda model
1. Disconnect the wiring connectors and remove the halogen lamps from the headlight (see paragraph 14).
2. Remove the radiator grill (if it exists) (see chapter 11).
3. On some Mazda models, the headlights (parking light and direction indicators) combined in the headlight housing. In other models, the headlight housing is made as a separate unit. On models with split headlights, remove the headlights to gain access to the outer headlight mounting bolts (see paragraph 18) (pic. 16.3). On models with a grille, remove the grille to gain access to the internal headlight mounting bolts (Removing the grille is described in chapter 11).
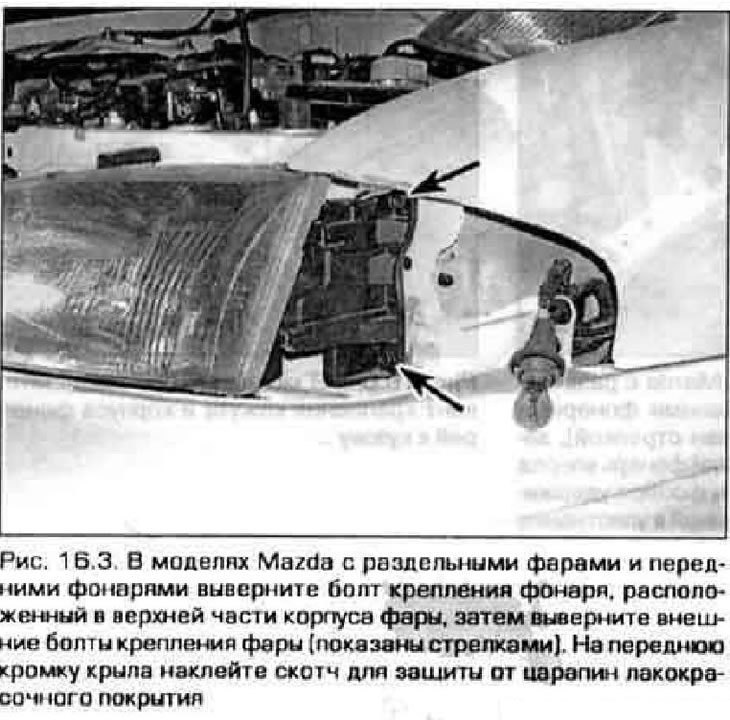
4. Turn out bolts of fastening of a headlight and remove it.
Note. Before removing the headlight, stick adhesive tape on the leading edge of the wing to protect the paintwork from scratches.
5. Installation is made in sequence, return to removal. After installing the headlight, adjust it (see paragraph 15).
Probe Model
6. On Probe models with moving headlights, the headlight housing can be removed to replace or service the headlight motors.
7. Turn on the headlights and move the headlight housings to the upper position. Disconnect the wire from the negative battery terminal (see chapter1).
Warning. If your car radio has an anti-theft system, make sure you have the unlock code before disconnecting the battery.
8. To remove the headlight located on the driver's side, you must first remove the battery (see chapter 5).
9. Remove the screws from the back of the headlight (or nuts) mounts (pic. 16.9, a, b).
Caution: When releasing the bolts securing the headlamp support bracket, support it in the up position.
 |  |
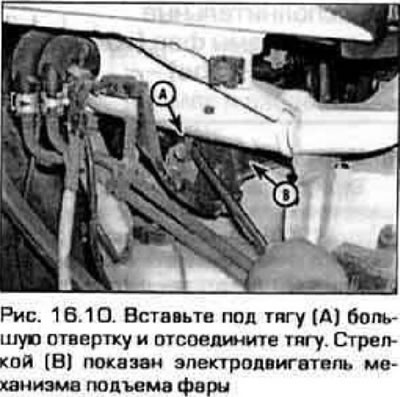
10. Disconnect the electrical connector from the headlight, then disconnect the headlight movement mechanism rod (pic. 16.10). Remove headlight.
11. Installation is made in sequence, return to removal. After installing the headlight, adjust it (see paragraph 15).