


Contents: Examination ⇓ Replacement ⇓
Always disconnect the negative battery terminal first and reconnect it last. Otherwise, when loosening the positive terminal, the key may accidentally touch the housing part and cause a short circuit.
Warning. If your vehicle's audio system is equipped with anti-theft protection, make sure you have the unlock code before disconnecting the battery.
Examination
1. Disconnect the negative cable from the battery first, then the positive cable.
2. Check the battery charge level. On a maintenance-free battery, look at the color of the indicator on the top wall. If the indicator is black, charge the battery. Then measure the voltage at the battery terminals (Fig. 3.2).
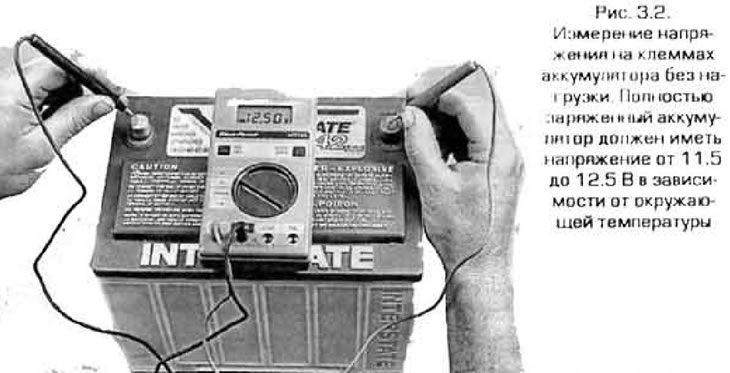
Note: Before measuring voltage, the surface charge of the battery must be removed. To do this, turn on the high beam headlights for ten seconds, then turn them off and wait a couple of minutes. Turn off all power consumers and measure the voltage at the battery terminals with a voltmeter or tester. The voltage should be within 11.5-12.5 V or slightly more. If the voltage is below the specified value, charge the battery before continuing with the load test. Do not test a battery that is not sufficiently charged under load.
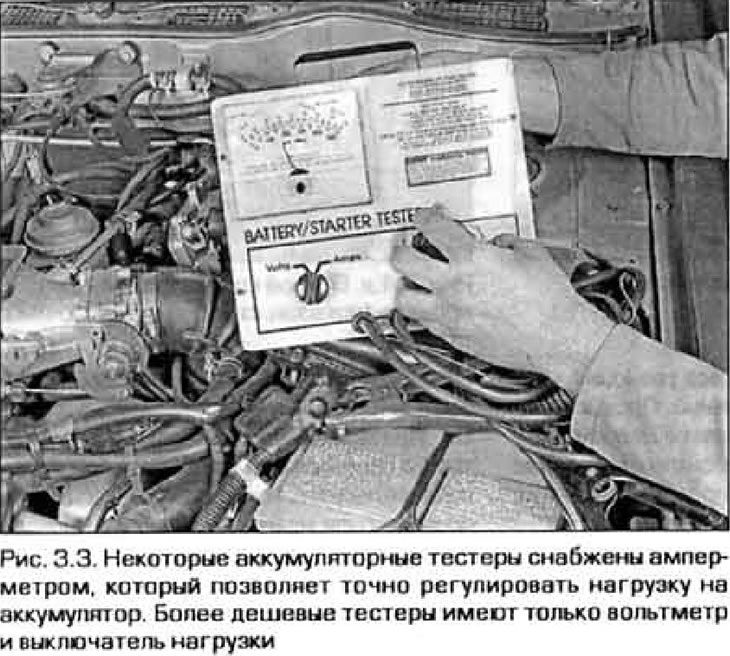
3. Perform a battery load test. This test can only be performed correctly using a special battery tester. This tester allows you to measure the battery voltage when the starter and other powerful consumers are turned on. Connect the tester to the battery terminals (figure 3.3). Turn on the load according to the manufacturer's instructions. In addition to energy-intensive automotive units, the tester has a built-in graphite shunt, which allows you to load the battery with additional current. Turn on the load for no more than 15 seconds and make sure that. that the battery voltage does not drop below 9.6 V. If the battery is discharged or in poor condition, the tester will detect this immediately. Note: At low ambient temperatures, the voltage under load may be slightly less than specified. The instructions included with the tester contain a table of temperature corrections. So, at a temperature of about 0°C, the minimum voltage should be about 9.1 V.
Replacement
4. Disconnect the negative cable from the battery first, then the positive cable (figure 3.4).
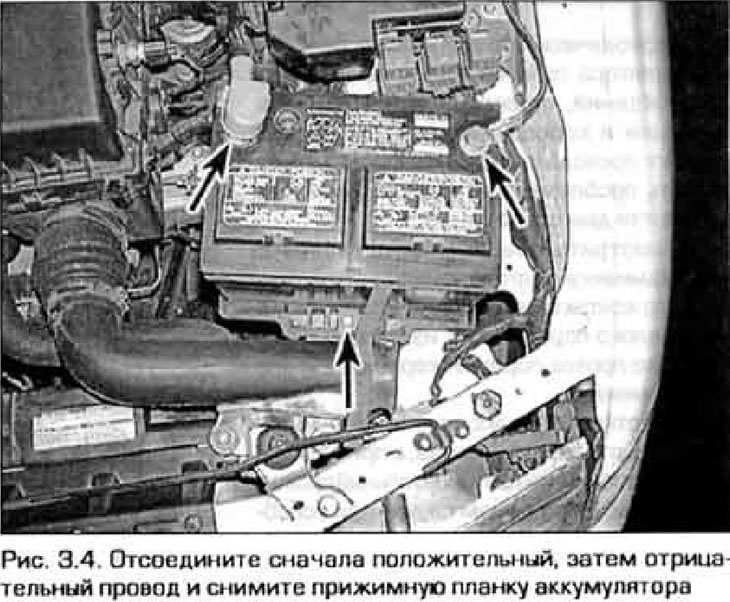
5. Remove the battery retaining clip.
6. Remove the battery from the tray. Be careful - it is heavy.
7. Inspect the tray under the battery for corrosion.
The article is copied from the resource www.MAZbook.ru
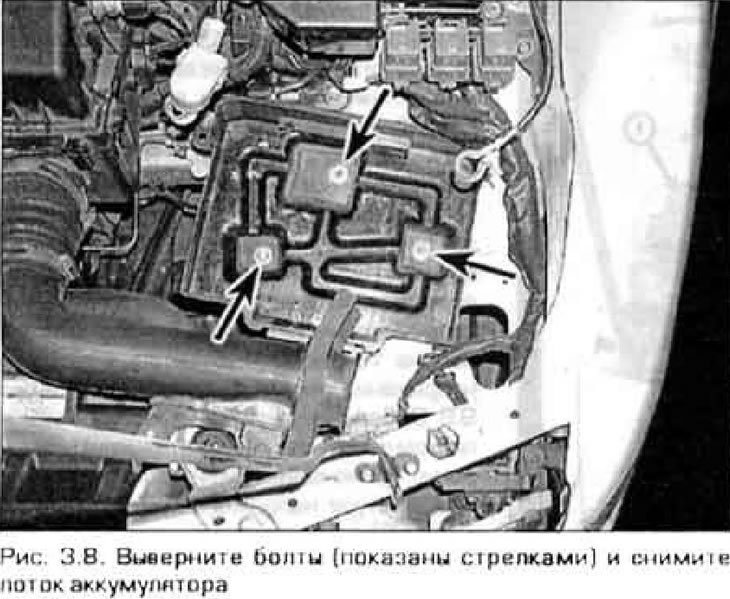
8. If the tray is corroded, remove the bolts and the tray (Fig. 3.8). Sand the corroded areas down to bare metal and paint them with primer.
9. When replacing a battery, ensure that the new battery has the same or better characteristics as the old one (i.e. nominal voltage, polarity, capacity, current in starter mode, etc.).
10. Install the battery in the reverse order of crushing.