
Removing
1. Disconnect the negative battery cable.
2. Disconnect the positive terminal wire of the ignition coil.
3. Unscrew the two fastening screws and remove the cover of the breaker-distributor.
4. Install a wrench on the crankshaft pulley bolt and rotate the engine until the piston of the first cylinder reaches TDC (photo). A full description is given in Section 1, Chapter 37.
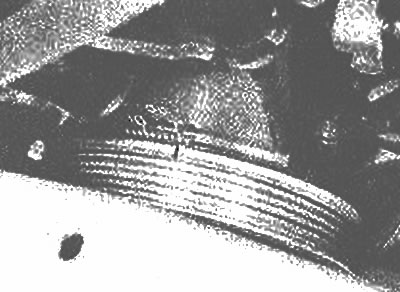
The mark on the crankshaft pulley is in the TDC position... | 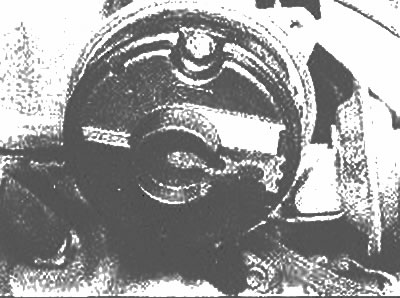
... and the position of the distributor slider |
5. Mark the fastening of the distributor flange to the engine (photo).
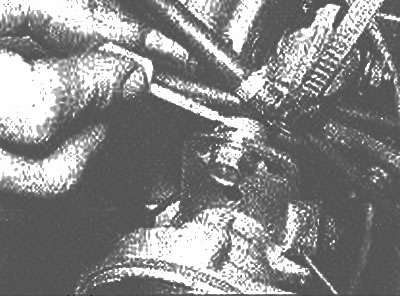
Marking of fastening of a distributor casing on the engine
6. Disconnect the vacuum correction hoses, unscrew the fastening bolt. Remove the distributor from the engine.
Installation (if the crankshaft was not rotated after the distributor was removed)
7. Lubricate the O-ring with clean engine oil.
8. Install the distributor in place so that the slider is directed to the contact of the spark plug wire of cylinder No. 1, align the marks made during removal and install the mounting bolt.
9. Connect the vacuum hoses and ignition coil wire.
10. Install the distributor breaker cover and connect the battery cable. Check ignition timing (Section 1, Chapter 34).
Installation (if the crankshaft was turned after the distributor was removed)
12. Remove the spark plug from the number one cylinder and place your finger over the spark plug hole, then turn the crankshaft with a wrench. When you feel compression, continue turning the crankshaft slowly until the alignment mark on the crankshaft pulley aligns with the mark on the engine.
13. Then follow the steps described in paragraphs 7-11.