


Fuel tank connections and fastening diagram
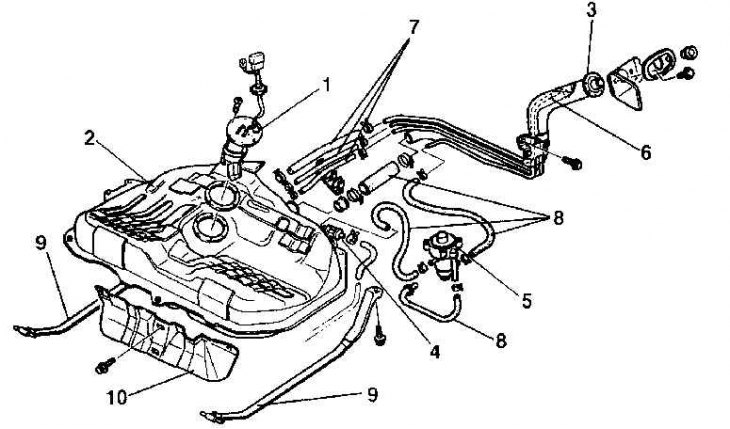
1. Fuel pump; 2. Fuel tank; 3. Filler neck; 4. Check valve; 5. Check valve and shut-off valve; 6. Separator; 7. Fuel vapor collection system hoses; 8. Fuel hoses; 9. Mounting strip; 10. Isolator
Cleaning and repairing the fuel tank
Any work on the tank or filler neck must be performed by highly qualified personnel with experience in such dangerous and responsible work.
Even after cleaning and flushing the fuel system, residual explosive vapors may accumulate that could ignite during tank repair.
If the fuel tank is removed from the vehicle, it should not be stored in a location where there is a risk of vapor explosion from a spark or open flame.
Use special caution in a garage with a natural gas supply, as emergency gas lighting can cause an explosion.
Removal and installation
1. Disconnect the hoses and connector from the fuel pump.
The article is reprinted from the portal mazbook.ru
2. Place a jack under the fuel tank.
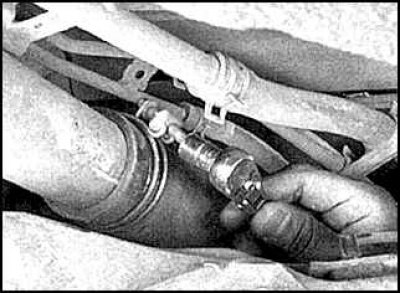
3. Loosen the filler neck hose clamp.
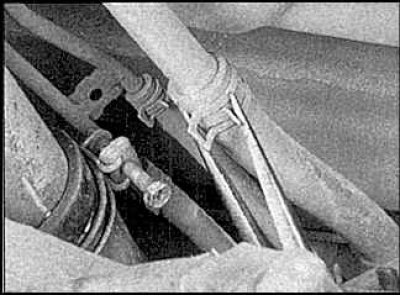
4. Disconnect the fuel vapor collection system hoses from the fuel tank.
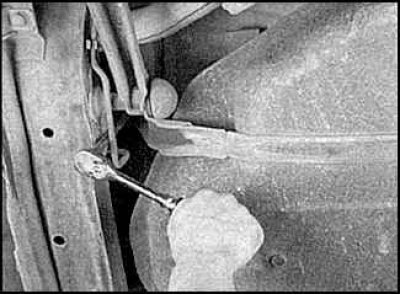
5. Loosen the mounting clamp bolts and remove the fuel tank.
6. Installation is carried out in the reverse order of removal.