


Periodically inspect the joints for damage or signs of grease leakage. Check the integrity of the anthers and the reliability of the clamps.
Removing
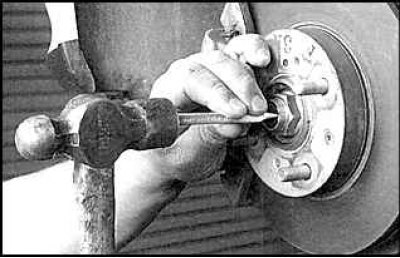
1. Remove the heel from the hub nut
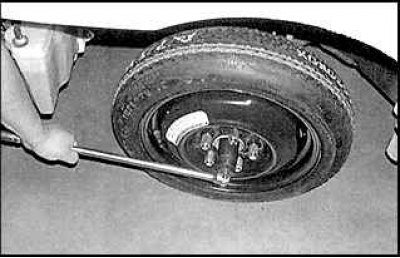
2. Loosen the hub mounting nut.
3. Raise the car and place it on stands. Remove the wheel.
4. Disconnect the anti-roll bar from the suspension arm.
5. Disconnect the lower control arm from the hub bracket. Remove the hub mounting nut.
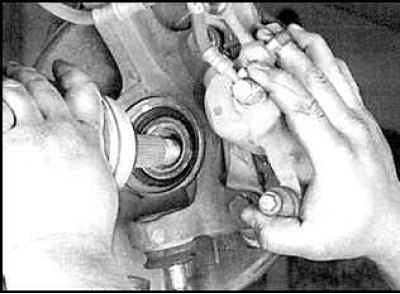
6. Pull the hub bracket out and remove the end of the axle shaft from the hub.
7. To remove the right axle shaft, remove the inner end of the axle shaft from the gearbox using a large screwdriver or crowbar, placing it between the hinge cover and the intermediate bearing mount.
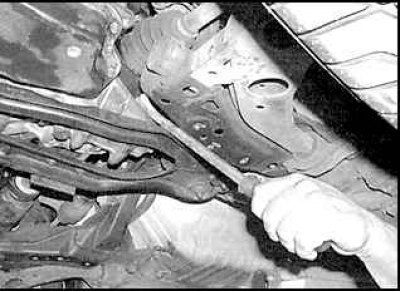
8. To remove the left half shaft, remove the inner end of the half shaft from the transmission with a large screwdriver or crowbar, placing it between the transmission and the hinge housing.
Installation
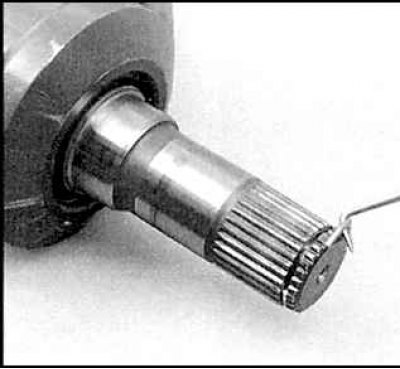 | 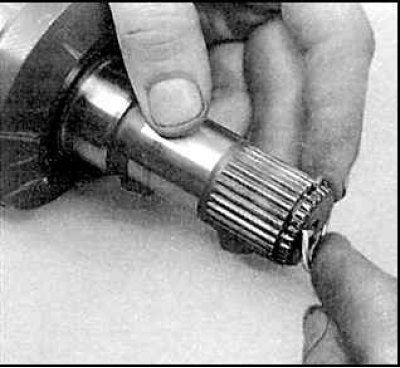 |
1. Remove the old retaining ring at the inner end of the shaft and install a new one. Lubricate the gearbox or intermediate bearing oil seal and insert the end of the axle shaft into place. Check that the retaining ring securely fixes the axle shaft.
2. Lubricate the splines of the outer joint and insert the end of the axle shaft into the hub.
3. Connect the lower control arm to the hub bracket and tighten the mounting bolt to the correct torque.
4. Install a new hub nut and tighten securely.
5. Connect the anti-roll bar to the suspension arm. Replace the wheel and lower the vehicle to the ground.
6. Tighten the hub mounting nut to the required tightening torque.