


Caution! The models described in this manual are equipped with air bags. When working in the airbag area, always turn them off (see chapter 12) to avoid accidental activation, which could result in injury.
Gear shift lever
1. Unscrew the handle from the end of the lever.
2. Remove the center console (see chapter 11).
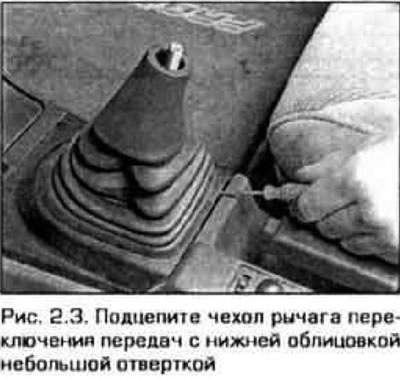
3. Remove the gear shift boot (figure 2.3).
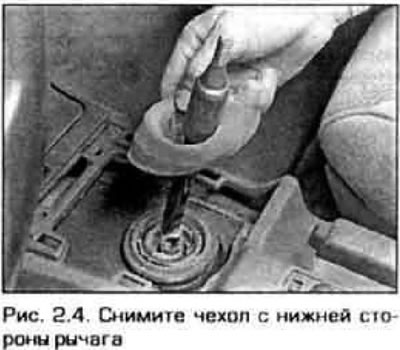
4. Remove the cover from the bottom of the lever (figure 2.4).
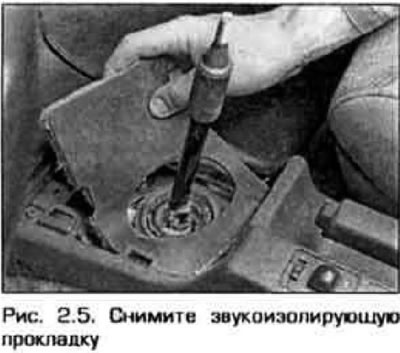
5. Remove the sound-insulating pad, if present (figure 2.5).
6. Remove the steel snap ring. If there is a plastic ring under the steel one, remove it as well.
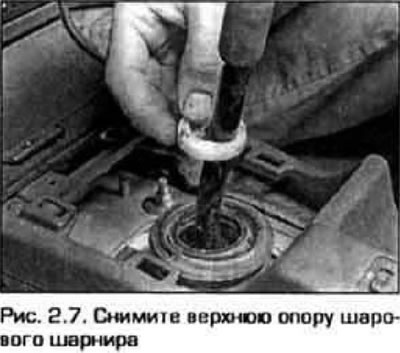
7. Remove the sealing ring and the upper support of the ball joint of the lever (figure 2.7).
8. Raise the vehicle and support it securely.
9. Under the vehicle, disconnect the catalytic converter from the exhaust downpipe (see chapter 6).
Caution! Do not begin work in the exhaust system area until it has cooled completely.
10. Move the exhaust system away from the rubber hangers and lower the system to the ground.
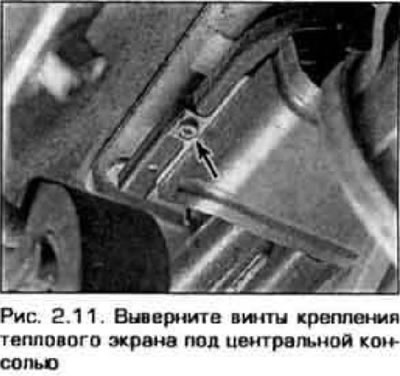
11. Loosen the screws securing the heat tap and remove it (Fig. 2.11).
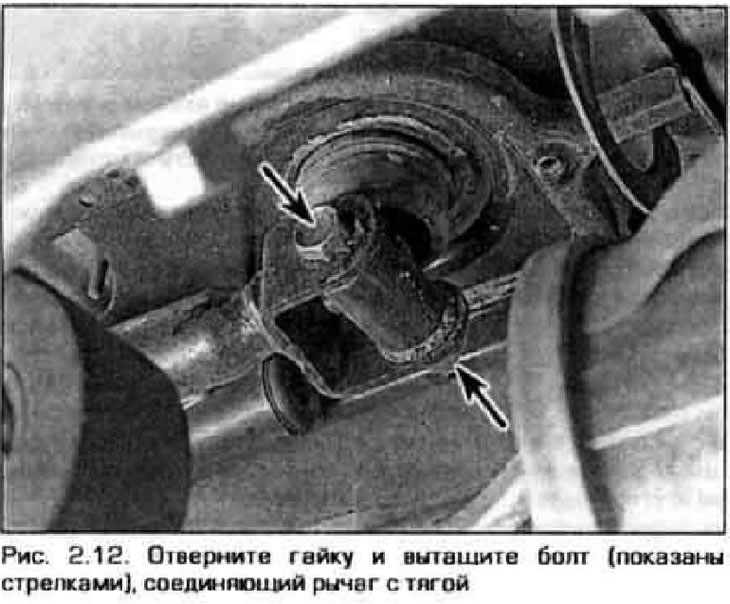
12. Loosen the nut and remove the bolt connecting the lever to the rod (Fig. 2.12). Use a hammer and punch to knock the gear shift lever out of the housing.
13. Pull the gear shift lever out of the housing.
14. The lever is installed in reverse order. Tighten the heat shield mounting screws to the specified torque.
Lever body
15. Remove the gear shift lever (see pl. 1.13).
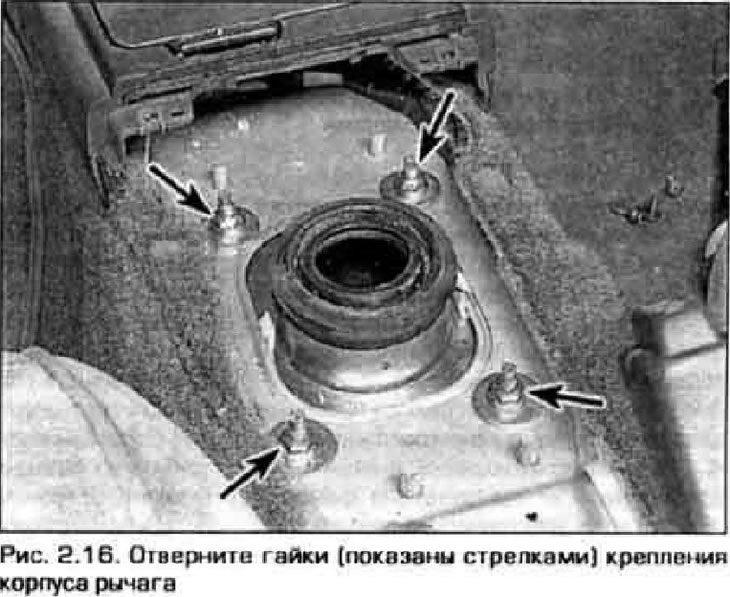
16. Unscrew the four nuts securing the housing to the support plate (figure 2.16).
17. Unscrew the torque rod tightening bolt. Separate the lever housing from the body.
18. The housing is installed in reverse order. Tighten the bolts to the specified torque.
Traction
19. Remove the gear shift lever (see paragraphs 1-13).
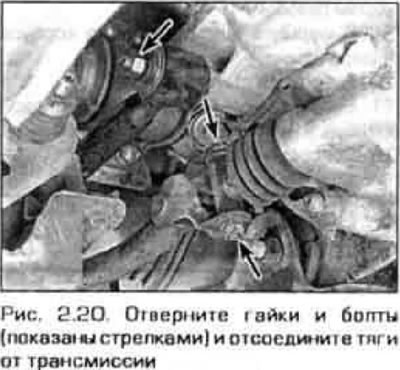
20. Disconnect the gear shift rod and torque rod from the transmission (figure 2.20). Unscrew the reaction rod bolt on the lever housing (see item 17).
21. Installation of the rods is carried out in reverse order. Tighten the tie rod bolts to the specified torque.