
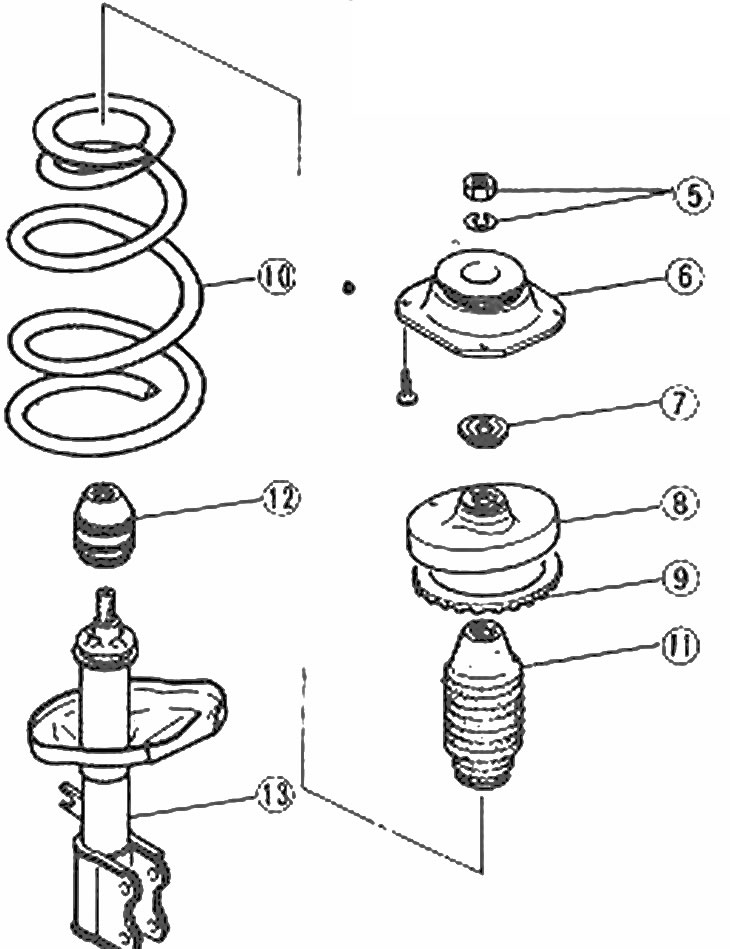
Front Suspension Strut/Shock Absorber Parts
5. Piston rod nut and washer; 6. Mounting block; 7. Bearing; 8. Upper spring support; 9. Spring seat; 10. Spring; 11. Dust cover; 12. Rebound stopper; 13. Shock absorber
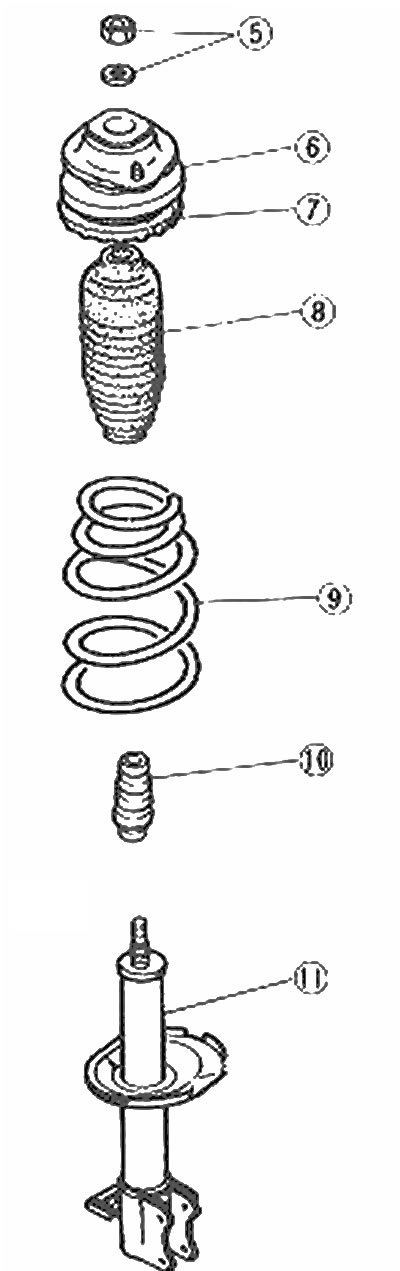
Rear Suspension Strut/Shock Absorber Parts
5. Piston rod nut and washer; 6. Mounting block; 7. Upper spring support; 8. Dust cover; 9. Spring; 10. Rebound stopper; 11. Shock absorber
Warning: This work should only be done if you have spring compression equipment, or adequate equipment. The use of temporary or unequal spring extractors may result in damage and/or injury.
1. Remove the strut, shock absorber assembly as described in Chapter 8 or 9. When applicable, also remove the 3-way damper switch (actuating mechanism).
2. Clamp the mechanism assembly together with the protective jaws. Install a spring extractor, compress the spring until pressure forces it out of its seat.
3. Make sure the compressor is secure, then unscrew and remove the piston rod nut and washer.
4. Lift the mounting block, bearing (on the front pillar) and upper spring support (photo).

Removing the suspension strut mounting block | 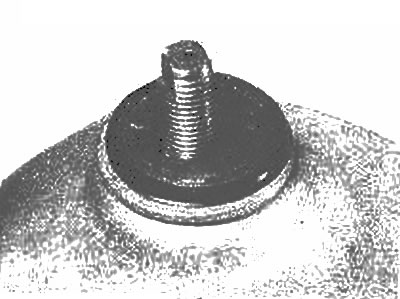
Front suspension strut bearing |
5. Carefully remove the compressed spring. Set it down without vibration.
6. Dust cover and ricochet stop can now be removed from the shock (photo).
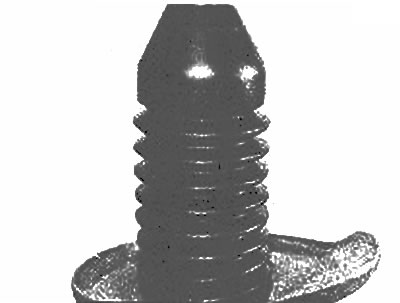
Suspension strut dust cover | 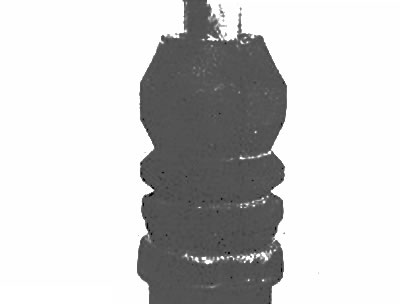
Suspension strut ricochet stopper |
7. If a new spring is to be installed, carefully remove the old spring again and then install the new one.
8. Assembly is carried out in the reverse order. The easiest thing to do is tighten the piston rod nut to the specified torque after the strut/shock assembly has been installed to the vehicle.