


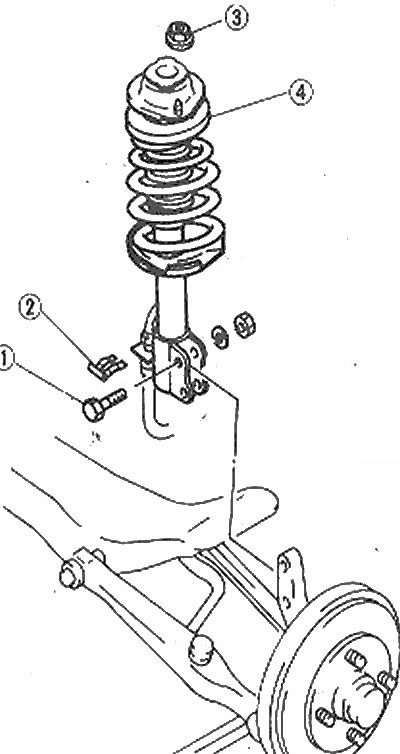
Location of the rear shock absorber assembly components
1. Bottom sprinkling bolt; 2. Hose clamp; 3. Upper mounting nut; 4. Shock absorber strut assembly
1. In the rear compartment of the vehicle, remove the rear panel for access. On models equipped with a three-way damping control, disconnect the regulator switch. Remove the two upper nuts securing the strut to the chassis.
2. If the strut needs to be removed, loosen the piston rod nut one or two turns (not possible on models with rattling damping paths). If necessary, hold the piston rod to prevent it from turning. Do not remove the nut completely.
3. Make alignment marks between the top of the rack and the body mount so that it can be installed in the same position.
4. Raise the rear of the car and support it securely on the jack stands.
5. Remove the bracket and disconnect the high-pressure brake line pipe from the strut.
6. Remove the two bolts and nuts securing the strut to the steering knuckle, and remove the strut assembly from the vehicle.
7. Inspect the strut for fluid leaks, torn or damaged dust boots, and rust or damage to the spring. Further disassembly of the rack is described in Chapter 21.
8. Assembly is carried out in the reverse order, tighten all connections with the tightening force specified Specification. Observe the alignment marks made during removal.
[For details, see the website: MazBook.ru]