


2. Clamp the shaft in a vice using two dies to protect it from damage. Measure the gear clearances with a feeler gauge and compare the results with the data given in Specifications (photo).
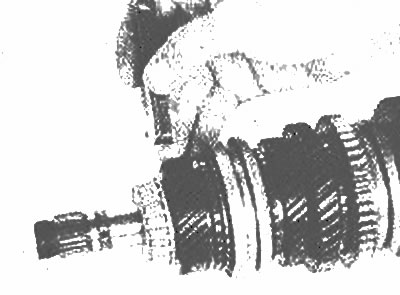
Measure the gear clearances with a feeler gauge
3. Use a puller to remove the roller bearing from the end of the shaft. Remove the 4th gear.
4. Remove the synchronizer locking ring.
5. Remove the synchronizer retaining rings for 3rd and 4th gears.
6. Carefully pull the synchronizer of the 3rd and 4th gears off the shaft.
7. Remove the 3rd gear locking ring.
8. Remove the 3rd gear assembly.
9. Remove the thrust washer retaining ring and the washers themselves.
10. Remove the 2nd gear.
11. Remove the synchronizer locking ring.
12. Remove the 1st gear retaining ring.
13. To remove the 1st gear pinion and the 1st/2nd gear synchronizer assembly, special tools are required. This procedure must be performed by the dealer.
14. Remove the bearing using a puller.
15. Inspect the gear and synchronizer for wear and damage.
16. Check the output shaft for wear or damage to the friction and contact surfaces, grooves or teeth. Also, check to see if the oil passages are clogged.
17. Install the synchronizer rings into place to ensure they slide easily and smoothly. Measure the gap with a feeler gauge and compare the obtained value with the data given in Specifications (photo).
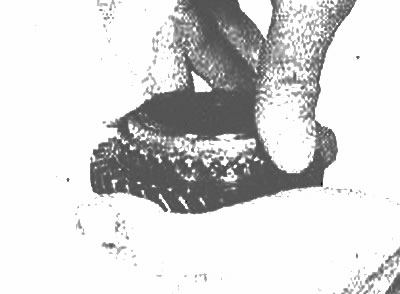
Make sure the synchronizer locking ring moves freely
18. Inspect the synchronizer and fork for damage and wear.
19. Disassemble the synchronizer and inspect its grooves and working surfaces for wear. Inspect the springs to ensure they are not warped or weakened.
20. Assemble the synchronizer. The raised portion of the crackers should face the outer edge of the hub. When installing the spring, make sure that it fits into the corresponding recesses of the crackers.
21. Measure the gap between the synchronizer and the fork using a feeler gauge (photo).
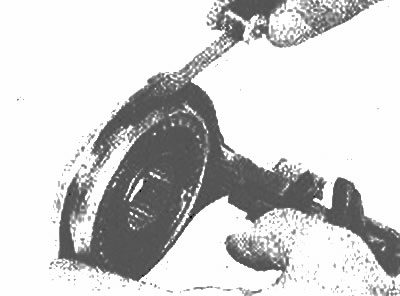
Measure the gap between the synchronizer and the fork
22. Replace all worn or damaged components with new ones.
23. Install the bearing onto the end of the shaft.
24. Turn the shaft over and install the synchronizer of the 1st and 2nd gears with the groove for the gear engagement fork facing down.
25. Install the thrust rings of the 1st and 2nd gear assembly.
26. Install the locking ring on the synchronizer, aligning its groove with the hub crackers.
27. Install the 2nd gear.
28. Install the synchronizer locking ring onto the hub, aligning its groove with the hub crackers.
29. Install the thrust washer retaining rings.
30. Install the 3rd gear pinion and 3rd gear synchronizer ring.
31. Install the 3rd/4th gear synchronizer with the grooved side facing down. A press may be required for installation.
32. Install the 3rd/4th gear retaining ring.
Information copied from the portal (Mazbook)
33. Install the 4th gear synchronizer locking ring, and then the gear itself.
34. To remove the bearing from the shaft, contact your dealer or service station.