MazBook.ru
English Русский
Български
Беларускі
Український
Српски
Hrvatski
Română
Polski
Slovenský
Magyar
• Bookmark • Sitemap • Contacts •   
Cars Opel Cars Ford Cars Volkswagen Cars Audi Cars Kia Cars Renault Cars Peugeot


Familia Capella Mazda3 Mazda6 CX-? Others Articles
Capella 3 (1982-1992, petrol) Capella 3 and 4 (1982-1992) Capella 4 (1987-1992) Capella 5 (1991-1997) Capella 6 (1997-2005, petrol)

Adjustment and routine maintenance of later models (Mazda Capella GC)

  • Home
  • Mazda Capella
  • Capella GC (1982-1992)
  • General information
  • Late models
  • Adjustment and routine maintenance of later models
0
Contents: Every 10,000 km or every 6 months,…⇓ Every 20,000 km or every 12 months,…⇓ Every 40,000 km or after 24 months,…⇓ Adjusting the drive belt ⇓ Idle speed, checking and adjusting…⇓ Checking and adjusting the ignition…⇓ Checking the rear disc brake ⇓ Checking and adjusting the shock…⇓ Replacing the fuel filter (EG1…⇓ Replacing the air filter element…⇓ Replacing the wiper blade ⇓

Every 10,000 km or every 6 months, whichever comes first


  • Check and adjust (if necessary) idle speed and mixture (EGI engine)
  • Check and adjust (if necessary) ignition timing angle (EGI engine)
  • Check the rear disc brakes

Idle speed adjustment

Idle speed adjustment


Every 20,000 km or every 12 months, whichever comes first


  • Check and adjust (if necessary) throttle damper (EGI engine)

Every 40,000 km or after 24 months, whichever comes first


  • Replace the fuel filter (EGI engine)
  • Replace the air filter element (EQI engine)

Adjusting the drive belt


1. On later models, there is no idler pulley to adjust the drive belt tension, all adjustment is done by moving the generator or air compressor. The deviation dimensions are given in the Specifications.


Idle speed, checking and adjusting the mixture (EGI engine)


2. Apply the parking brake and place the gear shift lever in neutral.

3. Connect the tachometer to the engine and turn off all electrical devices.

4. Start the engine and warm it up to normal temperature, then increase the engine speed to 2500-3000 rpm and hold it for three minutes.

5. Stop the engine and connect the exhaust gas analyzer to the muffler outlet pipe.

6. Start the engine at idle speed. If the electric cooling fan is running, wait until it stops.

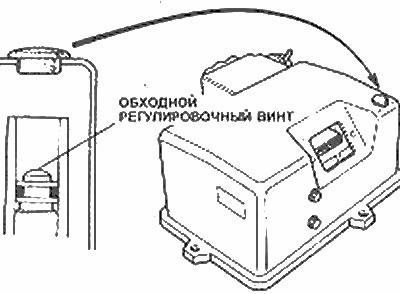
7. Check that the idle speed is within the specifications. If not, turn the air adjustment screw (photo) as needed.

Idle speed adjustment (EGI engine)

Idle speed adjustment (EGI engine)


8. To adjust the mixture, first disconnect the air injector hoses from the air filter and plug them.

9. Warm up the engine for three minutes at 2500 to 3000 rpm, then let it idle. If the electric cooling fan is running, do not wait for it to stop.

10. Check the CO level as given in Specifications. If it is not normal, remove the rubber plug from the air cleaner and turn the bypass air adjustment screw as required using Mazda special tool number 49 HC27 140.


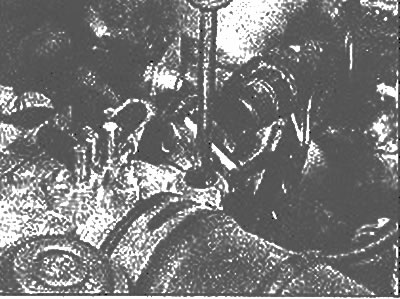
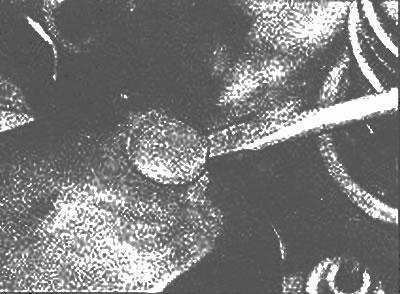
Using a lever, remove the rubber plug that hides the mixture adjustment screw (EGI engine)

Using a lever, remove the rubber plug that hides the mixture adjustment screw (EGI engine)
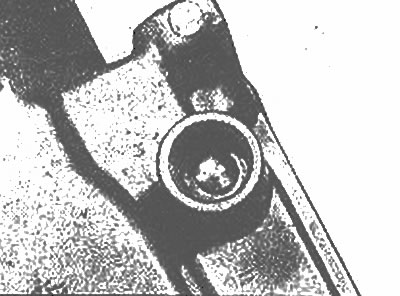
View of the idle mixture adjustment screw on the EGI engine (with the air flow meter removed)

View of the idle mixture adjustment screw on the EGI engine (with the air flow meter removed)

11. Install the rubber plug, then adjust the idle speed as described in Step 7.

Checking and adjusting the ignition timing (EGI engine)


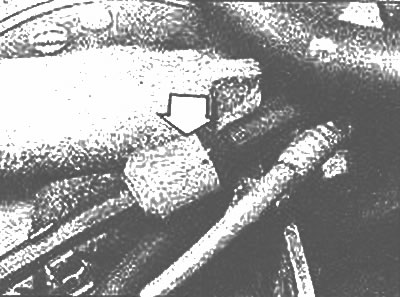
12. The procedure is mainly described in Section 1, Chapter 34, but in addition, the vacuum distributor capsule hose must also be disconnected and connected before checking and adjusting the ignition timing. Install the hose and check that the vacuum delay valve is installed correctly (photo).

Vacuum hoses distributors...

Vacuum hoses distributors...
...and the vacuum delay valve on the EGI engine

...and the vacuum delay valve on the EGI engine


Checking the rear disc brake


13. Check the front wheels, then jack up the rear of the car and support it on axle stands. Remove the rear wheels.

14. Check the gaps in the rear of each caliper to ensure the lining material thickness on each pad is at least 1.0 mm. If it is less, replace all four rear pads at the same time.

15. Check the high-pressure brake line pipes, check the caliper for damage and leaks.

16. Check the rear discs for wear depth and, if necessary, replace them.

17. Install the rear wheels and lower the car to the ground.

Checking and adjusting the shock absorber (EGI engine)


18. Hold the throttle valve fully open, then press the shock absorber rod with your finger and check that the rod moves slowly. Once you release the rod, it should move quickly.

19. To adjust it, first start the engine and warm it up to normal temperature.

20. Stop the engine and connect the tachometer.

21. Start the engine at 3500 rpm, then slowly reduce it and check that the throttle lever touches the shock absorber rod at 3000±100 rpm.

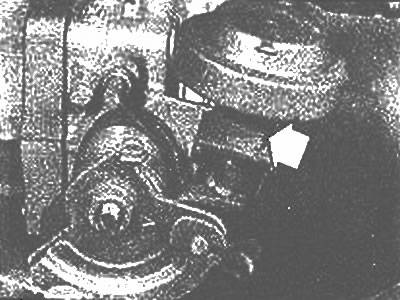
22. If necessary, loosen the lock nut and reinstall the shock absorber (photo).

Shock absorber and adjustment lock nut (indicated by the arrow) on an EGI engine

Shock absorber and adjustment lock nut (indicated by the arrow) on an EGI engine


23. After adjustment, tighten the lock nut. Remove the tachometer.

Replacing the fuel filter (EG1 engine)


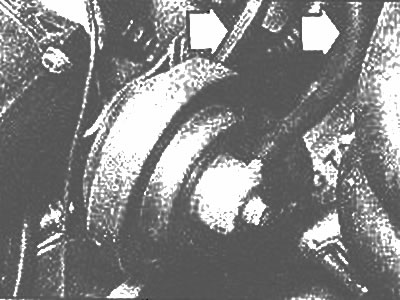
24. The fuel filter is located on the left side in the engine compartment (photo).
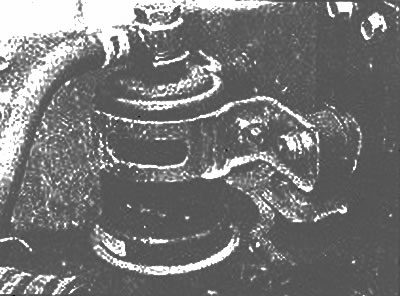
Fuel filter on an EGI engine

Fuel filter on an EGI engine


25. Place a rag under the fuel filter to collect any spilled fuel.

26. Unscrew the bolts and remove the fasteners from the top and base of the fuel filter. Remove the washers.

27. Unscrew the rubber mounting nuts and remove the fuel filter. Loosen the clamp bolt and remove the suspension.

28. Check the rubber seals and replace them if necessary.

29. Install the new fuel filter using the reverse of the removal procedure.

Replacing the air filter element (EGI engine)


30. Unscrew the four bolts securing the air filter cover and air flow meter from below to the body.

31. Lift the cover and remove the air filter element (photo).
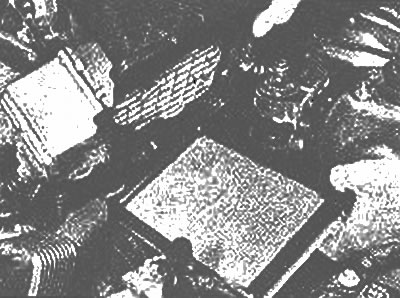
Removing the air filter element on an EGI engine

Removing the air filter element on an EGI engine


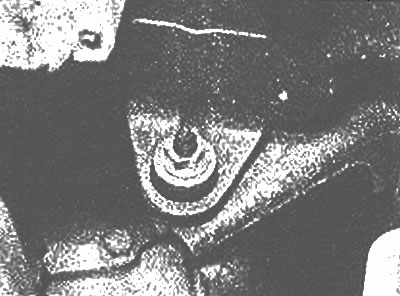
32. Wipe clean the inside of the cover and the lower mount to the body. If necessary, the lower housing can be completely removed by unscrewing the mounting nuts and disconnecting the air intake manifold (photo).

Lower air filter mount to the body (EGI engine)

Lower air filter mount to the body (EGI engine)


33. Install the new element using the reverse of the removal procedure.

Replacing the wiper blade


34. Since October 1984, the wiper blades and holders have been changed and are now connected by a hook and turn instead of a pin and socket.

35. To remove the wiper blade, first turn it towards you, then pull it out of the mount and remove it. Assembly is carried out in reverse order.
This article is available at: russian, bulgarian, belarusian, ukrainian, serbian, croatian, romanian, polish, slovak, hungarian
This text was checked by: Evdokia Filimonova
Share with friends on social networks:

Previous
Capella 3 » Late models
Next

Late model specifications
Late model engine
Carburetor (late models) — description
Automatic air choke cover — removal and installation
Automatic air damper — checking and adjustment
Electronic Gas Injection (EGI) — description
More articles on repairing other Mazda models
Car Models Table Mazda Familia 5 (1985-1989)
Maintenance of the wearable card «Advanced Key» Mazda3 BK (2003-2009)
Maintenance of the wearable card «Advanced Key» Mazda6 GG (2002-2008)
Car maintenance — running in a car Mazda CX-5KE (2012-2017)
Vehicle maintenance plan Mazda 121 (3) (1996-2003)
Link in different formats to this article
Comments and feedback from visitors
No comments yet


How much will 13 + 34 ?


Capella 6 (1997-2005, petrol) 
  • General information
  • Introduction to guide
  • User manual
  • Troubleshooting
  • Maintenance
  • Power unit
  • 4-cylinder engines
  • 6-cylinder engines
  • Engine overhaul
  • Cooling and ventilation
  • Power and exhaust systems
  • Engine electrics
  • Control system
  • Transmission
  • Mechanical gearbox
  • Automatic gearbox
  • Clutch and drive shafts
  • Chassis
  • Brake system
  • Car suspension
  • Steering
  • Body
  • Exterior (external elements)
  • Interior (internal elements)
  • Doors, windows and locks
  • Electrical equipment
  • Equipment and devices
  • Electrical circuits
Capella 5 (1991-1997) 
  • General information
  • User manual
  • Maintenance
  • Helpful hints
  • Power unit
  • Petrol engines 1.6 and 1.8
  • Petrol engines 2.0
  • 2.5 petrol engines
  • Overhaul engines 1.6 and 1.8
  • Overhaul engines 2.0 and 2.5
  • Diesel engine 2.0
  • Engine electrics
  • Cooling system
  • Air conditioner
  • Carburetor Nikki 30/34
  • Power system (1.6 and 1.8)
  • Power system (2.0 and 2.5)
  • Control system
  • Transmission
  • Mechanical gearbox
  • Automatic gearbox
  • Clutch and axles
  • Chassis
  • Brake system
  • Suspension and wheels
  • Steering
  • Body
  • Exterior (external elements)
  • Interior (internal elements)
  • Doors and windows
  • Electrical equipment
  • Equipment and devices
  • Electrical circuits
Capella 4 (1987-1992) 
  • General information
  • Introduction to manual
  • Vehicle specifications
  • Power unit
  • Engine repair
  • Lubrication system
  • Cooling system
  • Fuel system (carburetor)
  • Fuel injection (FE)
  • Fuel injection (DOHC)
  • Fuel system (diesel)
  • Ignition system
  • Transmission
  • Clutch
  • Gearbox
  • Drive shafts
  • Chassis
  • Front suspension
  • Rear suspension
  • Steering system
  • Brake system
  • Electrical equipment
  • Equipment and devices
  • Electrical circuits
Capella 3 and 4 (1982-1992) 
  • General information
  • User manual
  • Maintenance
  • Power unit
  • Gasoline engine
  • Engine overhaul (gasoline)
  • Diesel engine
  • Cooling and heating
  • Supply system
  • Ignition system
  • Emission reduction
  • Transmission
  • Clutch
  • Mechanical gearbox
  • Automatic gearbox
  • Drive shafts
  • Chassis
  • Brake system
  • Suspension and wheels
  • Steering
  • Body
  • Exterior (external elements)
  • Interior (internal elements)
  • Electrical equipment
  • Equipment and devices
  • Power devices
  • Electrical circuits
Capella 3 (1982-1992, petrol) 
  • General information
  • User manual
  • Maintenance
  • Troubleshooting
  • Late models
  • Power unit
  • Engine in car
  • Engine overhaul
  • Cooling and heating system
  • Fuel and exhaust system
  • Engine electrical system
  • Emission control system
  • Transmission
  • Mechanical gearbox
  • Automatic gearbox
  • Clutch and drive shafts
  • Chassis
  • Brake system
  • Suspension and wheels
  • Steering
  • Body
  • Exterior (external elements)
  • Interior (internal elements)
  • Electrical equipment
  • Equipment and devices
  • Lighting and lamps
  • Electrical circuits
MazBook.ru © 2018–2026 · Mobile version · Articles and news · Sitemap: EN BG BY UA RS HR RO PL SK HU · Feedback · Site search · Add to bookmarks Familia 5 (BF) · Familia 6 (BG) · Capella 3 (GC) · Capella 3 and 4 (GC) · Capella 4 (GD) · Capella 5 (GE) · Capella 6 (GF) · Mazda3 BK · Mazda6 GG · CX-5KE · Mazda 121 (3) · Mazda BT-50 (1) ·
By continuing to use the site, you agree to the use of cookies 🔐