MazBook.ru
English Русский
Български
Беларускі
Український
Српски
Hrvatski
Română
Polski
Slovenský
Magyar
• Bookmark • Sitemap • Contacts •   
Cars Opel Cars Ford Cars Volkswagen Cars Audi Cars Kia Cars Renault Cars Peugeot


Familia Capella Mazda3 Mazda6 CX-? Others Articles
Capella 3 (1982-1992, petrol) Capella 3 and 4 (1982-1992) Capella 4 (1987-1992) Capella 5 (1991-1997) Capella 6 (1997-2005, petrol)

Rear brake disc pads — replacement (Mazda Capella GC)

  • Home
  • Mazda Capella
  • Capella GC (1982-1992)
  • General information
  • Late models
  • Rear brake disc pads — replacement
0
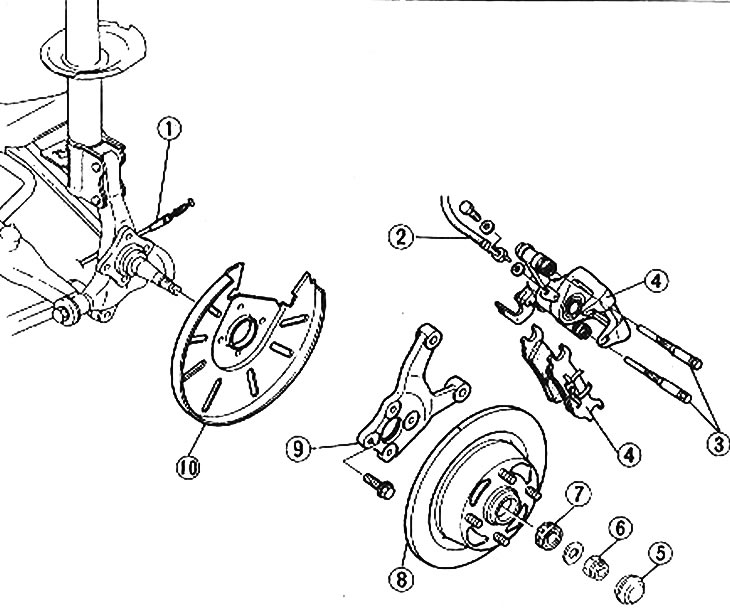
Rear brake disc pad and caliper parts

Rear brake disc pad and caliper parts

1. Handbrake cable; 2. High-pressure brake line pipe; 3. Guide pins; 4. Brake pads and calipers; 5. Hub cap; 6. Lock nut; 7. Bearing; 8. Disk; 9. Caliper mounting bracket; 10. Mudguard


1. Block the front wheels, then jack up the rear of the car and support it on axle stands. Remove the rear wheels and apply the parking brake.

2. Loosen the lock nut and remove the parking brake cable housing from the caliper hanger.

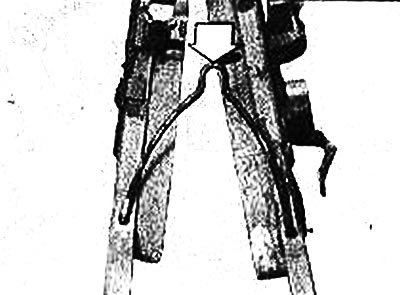
3. Disconnect the inner parking brake cable from the caliper lever (photo).
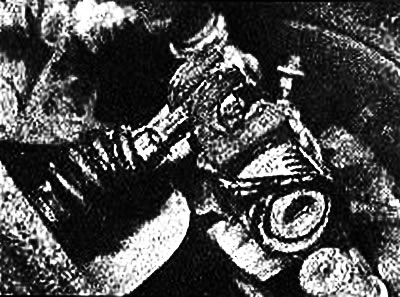
Bottom view of the parking brake, inner cable and caliper lever

Bottom view of the parking brake, inner cable and caliper lever
Disconnect the inner parking brake cable (marked with an arrow)

Disconnect the inner parking brake cable (marked with an arrow)


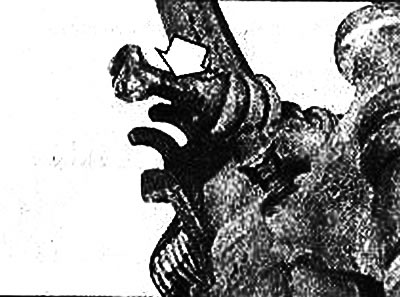
4. Unscrew and remove the upper and lower caliper guide pins. Remove the caliper from the mounting bracket and leave it on the disc splash guard or axle stand to avoid deforming the hydraulic hose (photo).
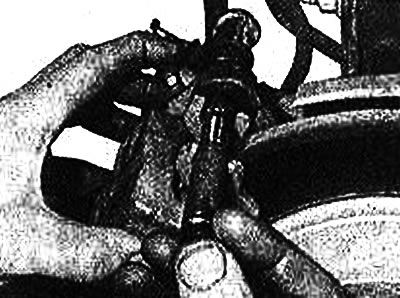
Removing the upper brake caliper guide pin

Removing the upper brake caliper guide pin
Rear brake pads and disc caliper resting on the disc mudguard

Rear brake pads and disc caliper resting on the disc mudguard

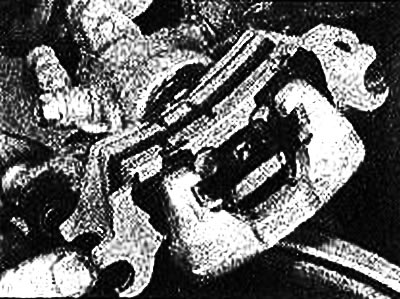
5. Use a screwdriver to remove the brake disc pads from the caliper. Note the location of the anti-rattle spring (photo).
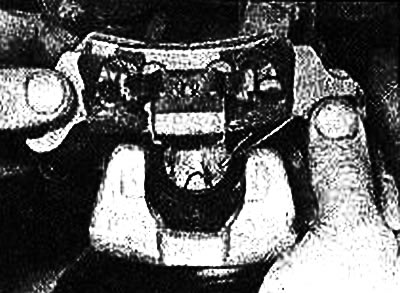
Removing the rear brake disc pads

Removing the rear brake disc pads
Brake disc pad anti-rattle spring (marked with an arrow)

Brake disc pad anti-rattle spring (marked with an arrow)


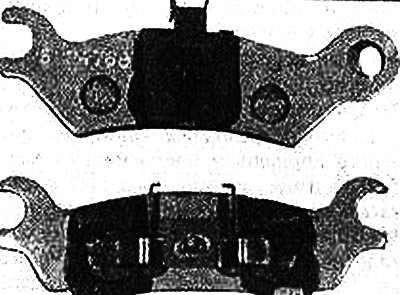
Inner (upper) and outer (lower) rear brake disc pads

Inner (upper) and outer (lower) rear brake disc pads


6. Wipe clean the internal resonator of the caliper and check the piston seal for leaks of hydraulic fluid. If there is a leak, remove the caliper for repair or replacement. Clean the outer pad on the caliper.

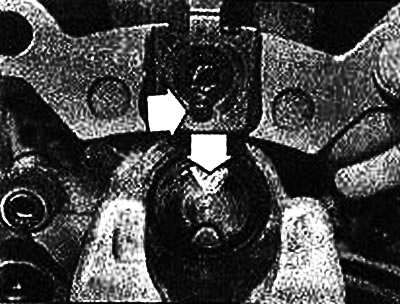
7. Using a pair of insulated pliers, turn the piston clockwise while simultaneously pressing it into the caliper (photo). Reinstall the automatic adjustment mechanism to its original position and, allowing for the necessary additional space, install the new pads. The final position of the fuses should be as shown in the photo so that the locating pin on the inner socket fits into the innermost fuse.
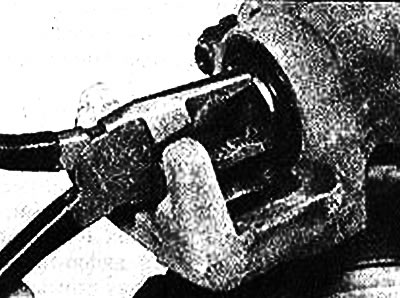
Rotating the caliper piston with pliers

Rotating the caliper piston with pliers
Inner shoe dowel pin and piston guard alignment (arrows)

Inner shoe dowel pin and piston guard alignment (arrows)


8. A tube of primer is included with the new brake disc pads - apply it to the back of the outer pad just to install it.

9. Place the anti-rattle spring into the holes in the brake disc pads. Holding both pads together, lower them into the caliper, making sure the dowel pin on the outer pad fits into the retainer and piston, and the spring on the outer pad is clipped to the ends of the caliper fork.

10. Place the caliper on the mounting bracket. Apply a small amount of high-melting-point grease to the surface of the guide pins and bushings, then insert the guide pins and tighten them to the specified torque (photo). Clean the cones on the guide pins so they don't come loose.
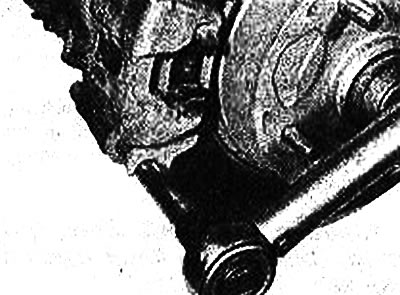
Tightening the rear caliper guide pin

Tightening the rear caliper guide pin


11. Install the parking brake cable housing onto the suspension and tighten the lock nut.

12. Insert the inner parking brake cable onto the caliper lever.

13. Install the rear wheels and lower the vehicle to the ground.

14. Press the brake pedal several times after installing the brake disc pad.
This article is available at: russian, bulgarian, belarusian, ukrainian, serbian, croatian, romanian, polish, slovak, hungarian
This text was checked by: Evdokia Filimonova
Share with friends on social networks:

Previous
Capella 3 » Late models
Next

Front brake discs — general description
T-piece Solenoid Valve (EGI) — check, remove and install
Air Injector Nozzles (EGI) — removal and installation
Thin Valves (EGI) — inspection, removal and installation
EGR Valve (EGI) — removal, inspection and installation
Rear Disc Brake Caliper — removal and installation
Rear Disc Brake Caliper Repair
Rear brake disc (rotor) — inspection, removal and installation
Front suspension strut — removal and repair
Plastic body parts — repair
More articles on repairing other Mazda models
Replacing rear disc brake pads Mazda Familia 5 (1985-1989)
Removal and installation the rear disc brake mechanism Mazda3 BK (2003-2009)
Replacement of brake light/tail light bulbs, rear turn signal bulbs Mazda6 GG (2002-2008)
Replacing rear brake pads Mazda CX-5KE (2012-2017)
Checking the thickness of brake pads Mazda 121 (3) (1996-2003)
Link in different formats to this article
Comments and feedback from visitors
No comments yet


How much will 27 + 36 ?


Capella 6 (1997-2005, petrol) 
  • General information
  • Introduction to guide
  • User manual
  • Troubleshooting
  • Maintenance
  • Power unit
  • 4-cylinder engines
  • 6-cylinder engines
  • Engine overhaul
  • Cooling and ventilation
  • Power and exhaust systems
  • Engine electrics
  • Control system
  • Transmission
  • Mechanical gearbox
  • Automatic gearbox
  • Clutch and drive shafts
  • Chassis
  • Brake system
  • Car suspension
  • Steering
  • Body
  • Exterior (external elements)
  • Interior (internal elements)
  • Doors, windows and locks
  • Electrical equipment
  • Equipment and devices
  • Electrical circuits
Capella 5 (1991-1997) 
  • General information
  • User manual
  • Maintenance
  • Helpful hints
  • Power unit
  • Petrol engines 1.6 and 1.8
  • Petrol engines 2.0
  • 2.5 petrol engines
  • Overhaul engines 1.6 and 1.8
  • Overhaul engines 2.0 and 2.5
  • Diesel engine 2.0
  • Engine electrics
  • Cooling system
  • Air conditioner
  • Carburetor Nikki 30/34
  • Power system (1.6 and 1.8)
  • Power system (2.0 and 2.5)
  • Control system
  • Transmission
  • Mechanical gearbox
  • Automatic gearbox
  • Clutch and axles
  • Chassis
  • Brake system
  • Suspension and wheels
  • Steering
  • Body
  • Exterior (external elements)
  • Interior (internal elements)
  • Doors and windows
  • Electrical equipment
  • Equipment and devices
  • Electrical circuits
Capella 4 (1987-1992) 
  • General information
  • Introduction to manual
  • Vehicle specifications
  • Power unit
  • Engine repair
  • Lubrication system
  • Cooling system
  • Fuel system (carburetor)
  • Fuel injection (FE)
  • Fuel injection (DOHC)
  • Fuel system (diesel)
  • Ignition system
  • Transmission
  • Clutch
  • Gearbox
  • Drive shafts
  • Chassis
  • Front suspension
  • Rear suspension
  • Steering system
  • Brake system
  • Electrical equipment
  • Equipment and devices
  • Electrical circuits
Capella 3 and 4 (1982-1992) 
  • General information
  • User manual
  • Maintenance
  • Power unit
  • Gasoline engine
  • Engine overhaul (gasoline)
  • Diesel engine
  • Cooling and heating
  • Supply system
  • Ignition system
  • Emission reduction
  • Transmission
  • Clutch
  • Mechanical gearbox
  • Automatic gearbox
  • Drive shafts
  • Chassis
  • Brake system
  • Suspension and wheels
  • Steering
  • Body
  • Exterior (external elements)
  • Interior (internal elements)
  • Electrical equipment
  • Equipment and devices
  • Power devices
  • Electrical circuits
Capella 3 (1982-1992, petrol) 
  • General information
  • User manual
  • Maintenance
  • Troubleshooting
  • Late models
  • Power unit
  • Engine in car
  • Engine overhaul
  • Cooling and heating system
  • Fuel and exhaust system
  • Engine electrical system
  • Emission control system
  • Transmission
  • Mechanical gearbox
  • Automatic gearbox
  • Clutch and drive shafts
  • Chassis
  • Brake system
  • Suspension and wheels
  • Steering
  • Body
  • Exterior (external elements)
  • Interior (internal elements)
  • Electrical equipment
  • Equipment and devices
  • Lighting and lamps
  • Electrical circuits
MazBook.ru © 2018–2026 · Mobile version · Articles and news · Sitemap: EN BG BY UA RS HR RO PL SK HU · Feedback · Site search · Add to bookmarks Familia 5 (BF) · Familia 6 (BG) · Capella 3 (GC) · Capella 3 and 4 (GC) · Capella 4 (GD) · Capella 5 (GE) · Capella 6 (GF) · Mazda3 BK · Mazda6 GG · CX-5KE · Mazda 121 (3) · Mazda BT-50 (1) ·
By continuing to use the site, you agree to the use of cookies 🔐