
2. There are several varieties of drive belts. Removed belts must only be replaced with identical belts.
3. The number of belts used on a particular model depends on the components it is equipped with. The belts are used to drive the alternator, power steering pump and air conditioner compressor. Depending on the location of the pulleys, the belt may drive one or more components.
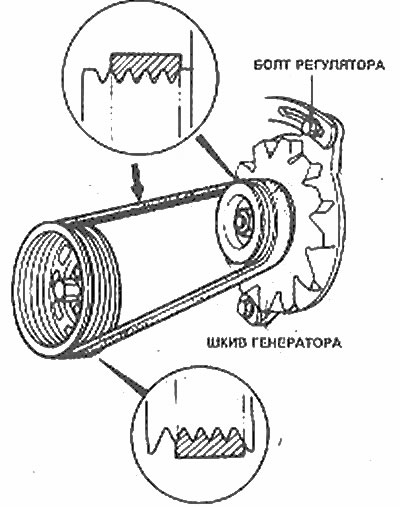
4. Various belt mounting profiles are shown in the illustrations.
5. Open the hood (engine off) and find the drive belts. Move along the belt, feeling it with your fingers to check the belts for cracks or splits. Use a flashlight if necessary. Also check for worn or frayed (brilliant) places. Both sides of the belt must be inspected, which means you will have to turn the belt over to inspect the reverse side.
6. The tension of each belt can be checked by pressing the belt in the middle of one of its runs (at the points indicated by arrows in the illustrations). Press firmly on the belt with your thumb and use a ruler to determine how far it deviates. Compare the value obtained with the data given in the Specifications (photo).
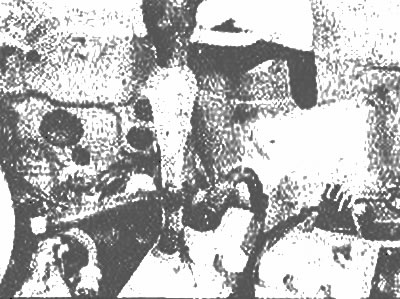
Installing a belt that drives only the generator. The tension test point is marked with an arrow (Chapter 6)
7. If the belt tension needs to be adjusted, move the component it drives in the desired direction.
Installing the belt driving the alternator and power steering pump. The tension test point is marked with an arrow (Chapter 6)
8. Each component has an adjusting bolt and a hinge bolt. Both bolts must be loosened slightly to allow the component to be moved. On the power steering and air conditioning compressor belt, the tension is changed by turning the idler pulley adjusting bolt (photo). Before adjusting, loosen the idler pulley locknut and re-tighten it when the adjustment is complete.
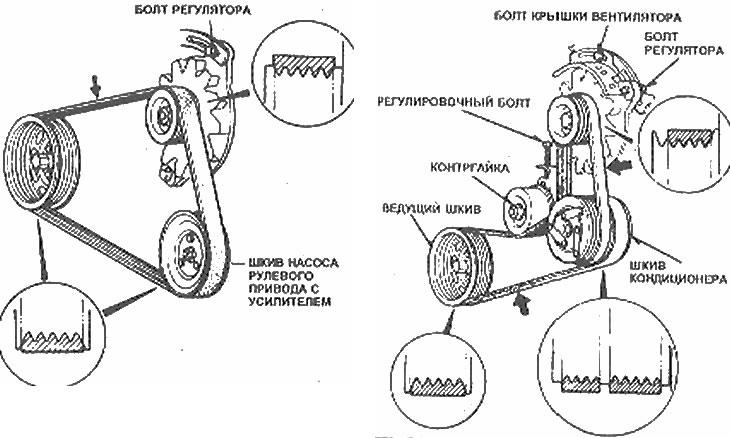
Installing the belt on models with air conditioning. Tension test points marked with arrows (Chapter 6)
9. After loosening the two bolts, move the component away from the engine to tighten the belt or towards the engine to loosen it. While holding the belt-driven component, check the belt tension. If it is correct, lightly tighten the two bolts and recheck the tension. If the tension is correct, finally tighten the bolts.
10. It is often necessary to use a special tool to move the component while adjusting the belt tension. Be careful not to damage components.
11. To replace the drive belt, loosen the old belt as described so that it can be removed from the pulleys. (If two belts are installed, remove the belt farthest from the engine first, even if it does not need to be replaced.)
12. Install a new belt (belts) and adjust the tension as described above. Be aware that the deflection of the new belt is different from the old one - see specs.
13. Re-check the tension with a new belt after several hundred kilometers.