


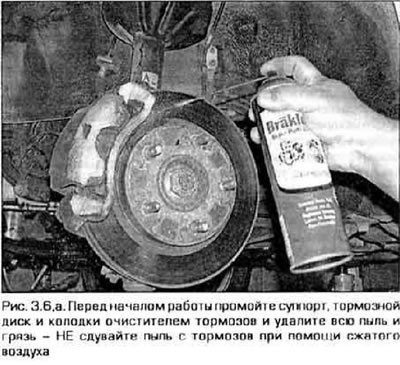
Caution! Dust generated by brake pad wear contains asbestos. dangerous to your health. Do not blow compressed air into the brakes or inhale the dust. Before working on the brakes, clean them with brake cleaner. When working with brakes, we recommend that you wear a respirator. Do not use petroleum-based solvents under any circumstances to clean brake system components.
Note: This procedure applies to both front and rear disc brakes.
1. Remove the cap from the master cylinder reservoir.
2. Loosen the wheel nuts, lift the vehicle and place it on supports.
3. Remove the wheels. Work on the brakes of only one wheel at a time. The brake of the second wheel can be used to check the correct assembly of the unit.
4. Carefully inspect the brake disc (see paragraph 5). If the disc requires machining or replacement, its removal is described in paragraph 5. By this time, the calipers and linings should be removed from the car.
Front brake pads
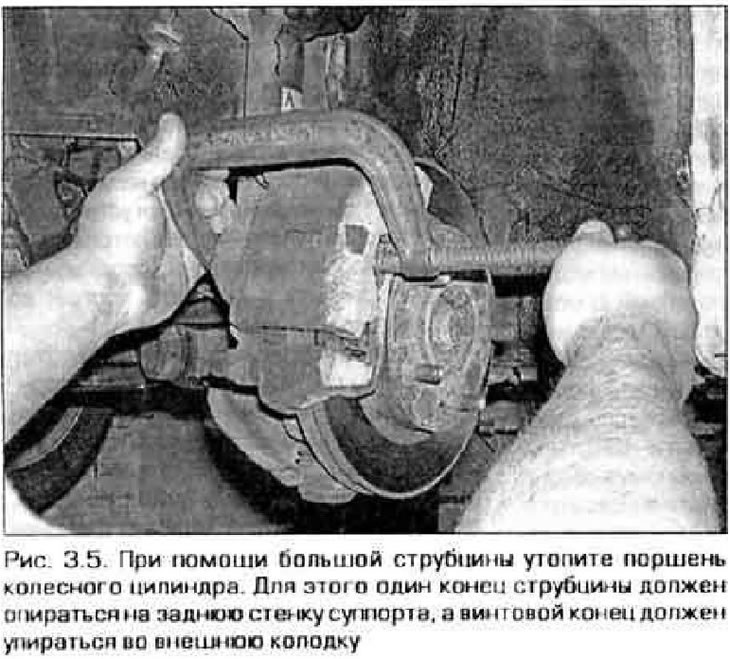
5. To allow installation of new pads, press the piston into the cylinder. This procedure is best done using a large clamp (figure 3.5). As the piston is pressed into the cylinder, the brake fluid level in the master cylinder reservoir will rise. Do not allow the fluid to spill over the edge of the reservoir. If necessary, immediately remove all traces of spilled brake fluid with a rag.
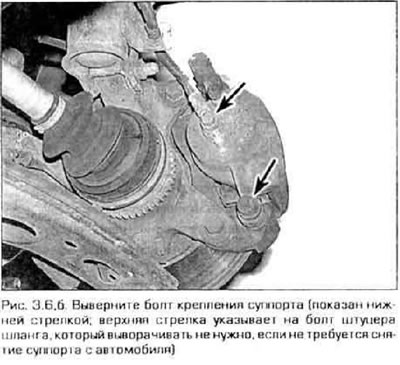
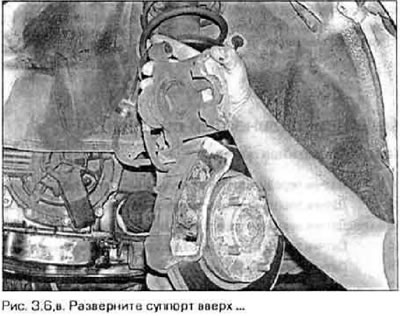
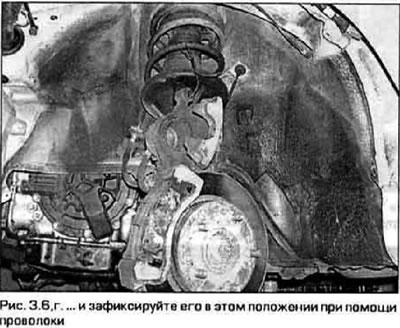
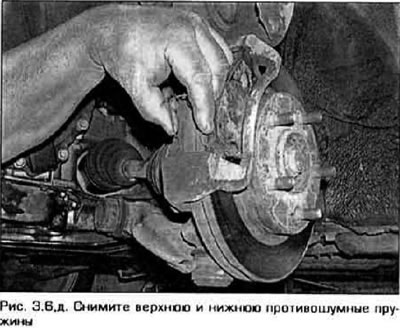
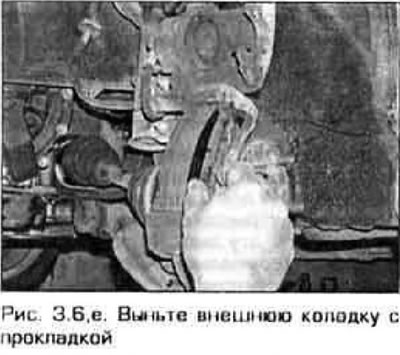
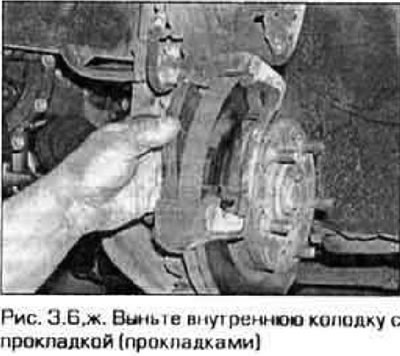
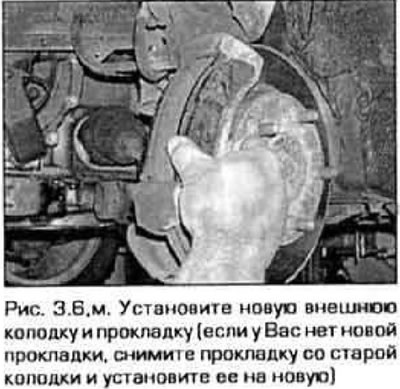
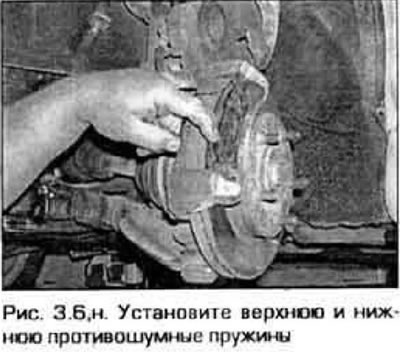
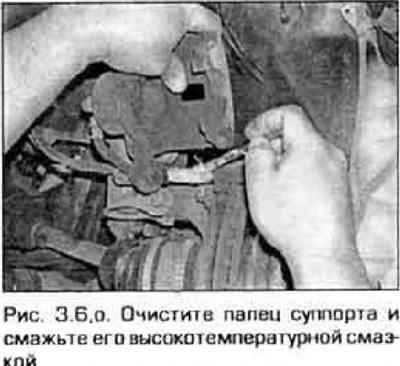
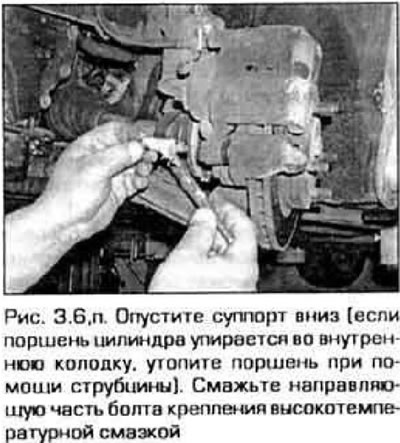
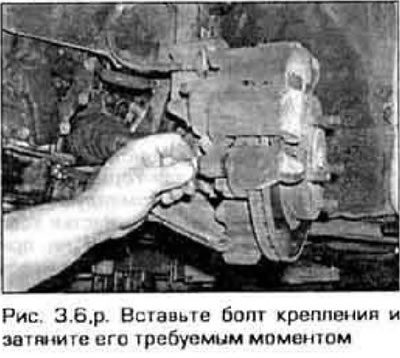
6. The further procedure for replacing the brake pads is shown in detail in Fig. 3.6, a-p. Follow this sequence and be sure to read all the explanations for the figures. After you have completed the operations shown in the figures, proceed to step. 14.
 |
 |
 |
 |
 |
 |
 |
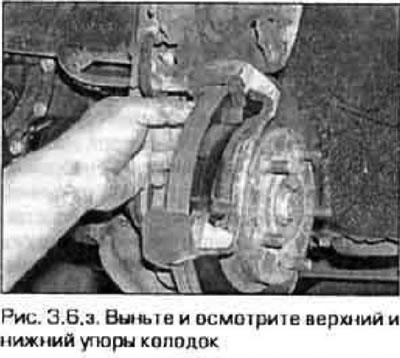 |
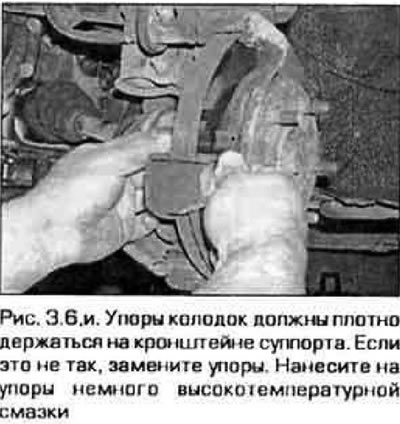 |
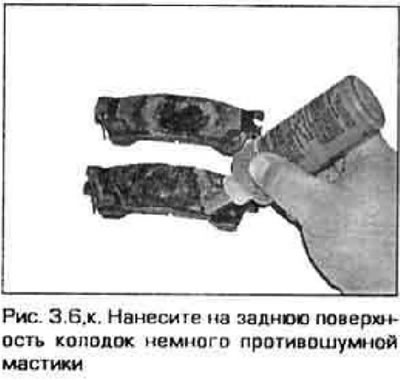 |
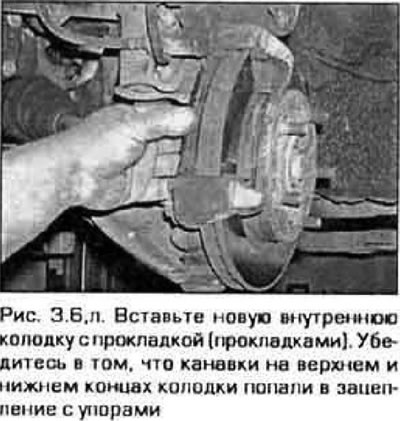 |
 |
 |
 |
(The article is copied from the website: mazbook.ru)
 |
 |
Rear brake pads
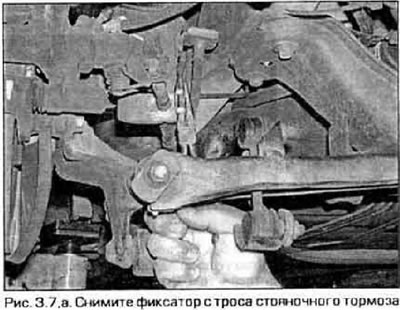
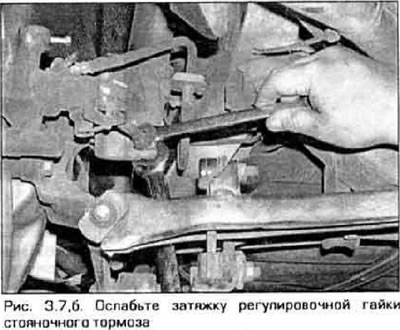
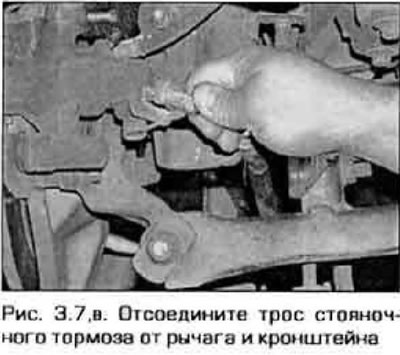
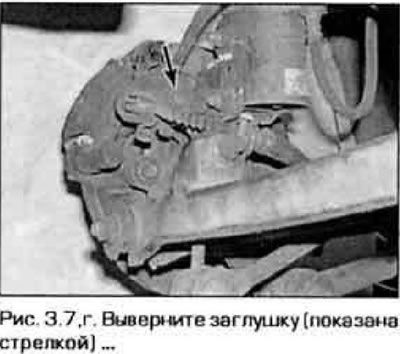
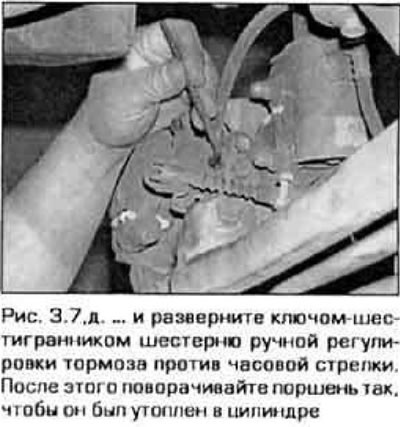
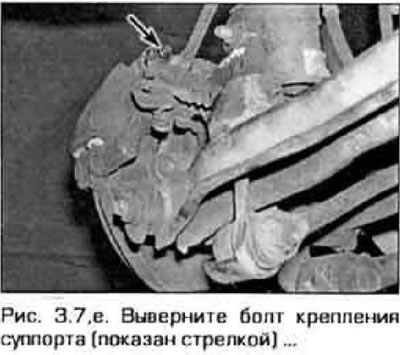
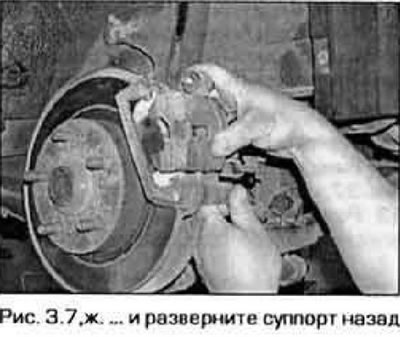
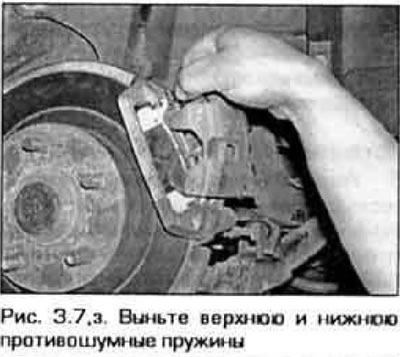
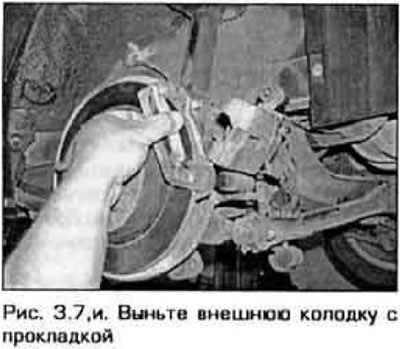
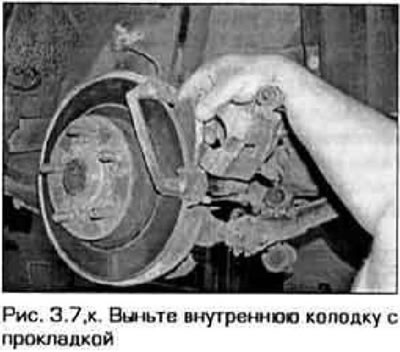
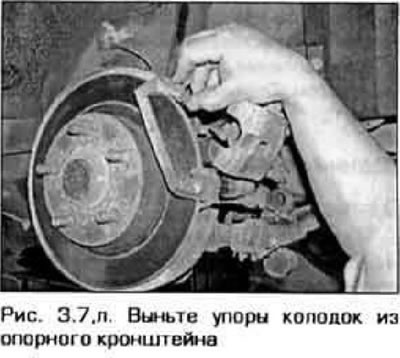
7. Wash the brake with brake cleaner, then follow the steps shown in the figure 3.7.a-l. Follow this sequence and be sure to read all the explanations for the figures. After you have completed all the above operations, proceed to step. 8.
 |
 |
 |
 |
 |
 |
 |
 |
 |
 |
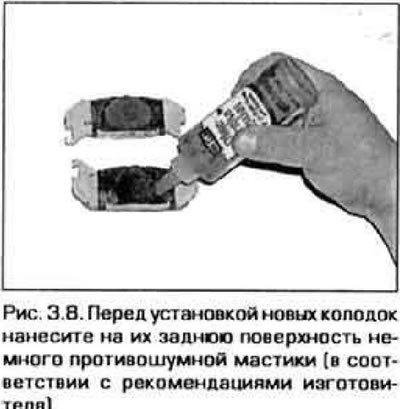
8. Apply a small amount of anti-noise mastic to the back surface of the new pads (in accordance with the manufacturer's recommendations) (Fig. 3.8).
9. Place the pads on the pads.
10. Insert the stops into the caliper bracket. Apply some high temperature grease to them.
11. Insert the pads, shims and anti-noise springs into the caliper bracket.
12. Install the caliper, insert the mounting bolt and tighten it to the specified torque. Turn the manual piston adjustment gear clockwise until the pads touch the brake disc (see Figure 3.7, g, d). Now turn the gear counterclockwise 1/3 of a turn. Insert and tighten the lock bolt.
13. Connect the parking brake cable.
Front or rear pads
14. Put on the wheel and tighten the nuts, lower the car and tighten the nuts to the required torque (see Technical data at the beginning of Chapter 1).
15. Press and release the brake pedal several times until the pads touch the brake disc. Check the brake fluid level in the master cylinder reservoir and, if necessary, top it up to the required level (see chapter 1).
16. Before driving on the road, check the effectiveness of the brakes in a safe place.