


Warning. The pads must be replaced on both wheels at the same time. Never replace pads on only one wheel. In addition, the dust generated during pad wear contains asbestos, which is hazardous to your health. Do not blow out the brakes with compressed air and do not inhale this dust. We recommend working with brakes in a respirator. Under no circumstances should you use petroleum-based solvents to clean your brakes. Brake cleaning should only be done with a brake cleaner.
Caution: When replacing pads, return springs and pad adjuster springs must be replaced. Due to the continuous alternation of cooling / heating, the springs lose their coolness, which can lead to insufficient movement of the pads from the brake drum and. consequently, to rapid wear of the pads.
1. Loosen the rear wheel nuts, raise the rear end of the vehicle and place it on supports. Place chocks under the front wheels to prevent the vehicle from moving Remove the rear wheels and release the parking brake.
2. Remove the brake drum. To do this, the drum simply needs to be removed from the hub.
Note. In some models, you must first remove the cap from the hub. If the drum cannot be removed, gently tap it with a wooden mallet or screw an 8 mm bolt into the special hole in the drum (pic. 6.2).
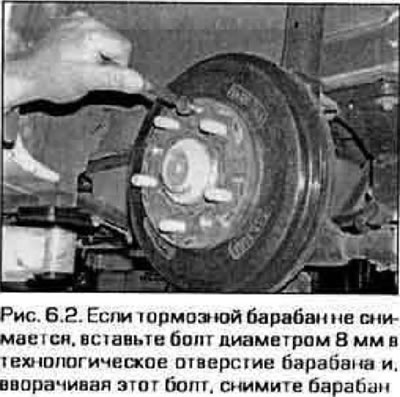
3. The procedure for removing the shoe will be greatly simplified if you first remove the rear wheel bearing cap, unscrew and remove the hub nut together with the washer, and then remove the hub (see chapter 10).
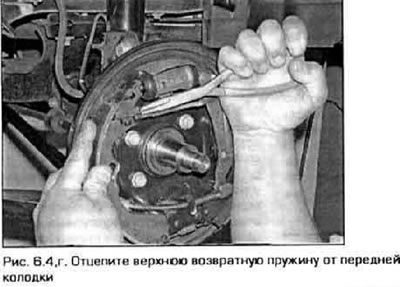
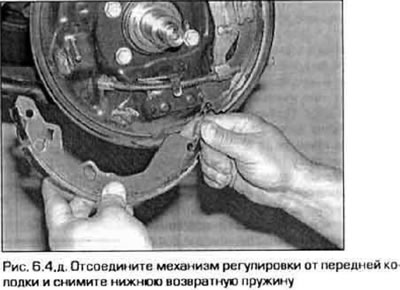
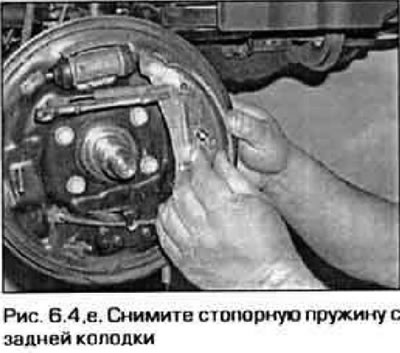
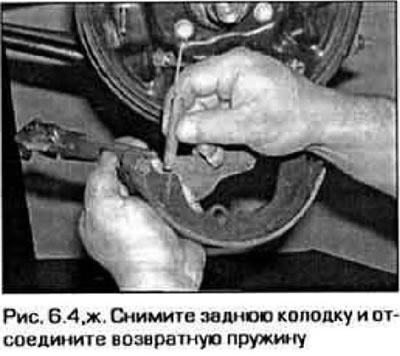
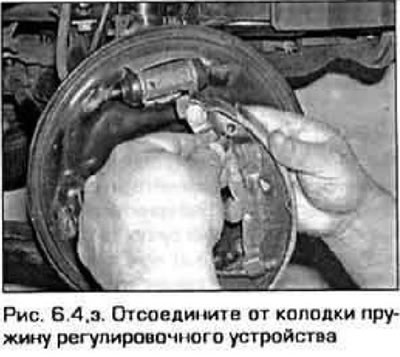
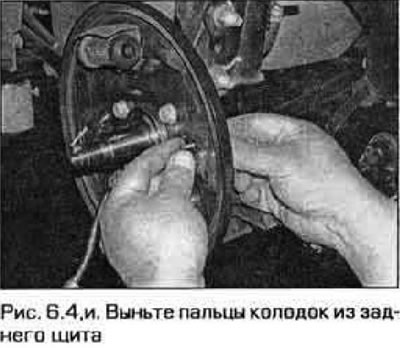
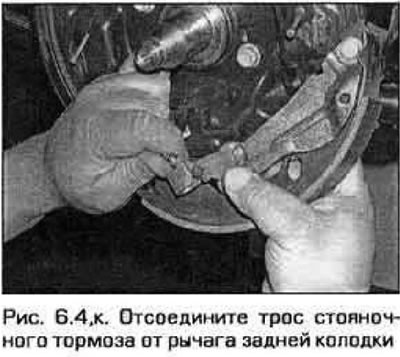
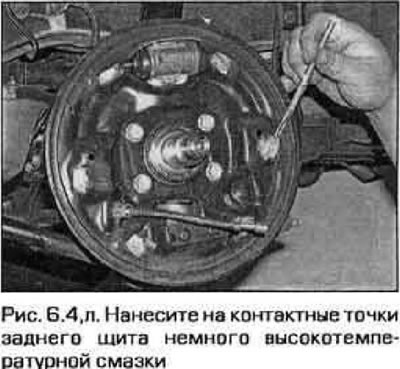
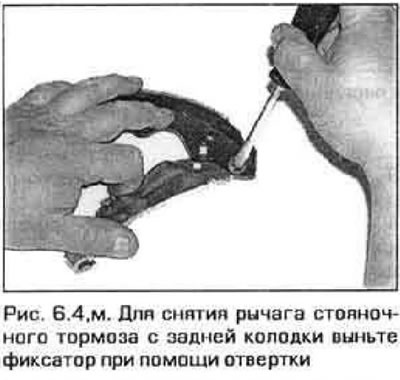
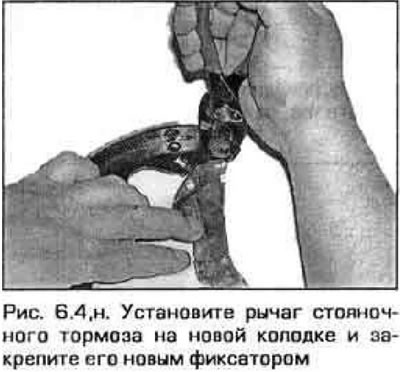
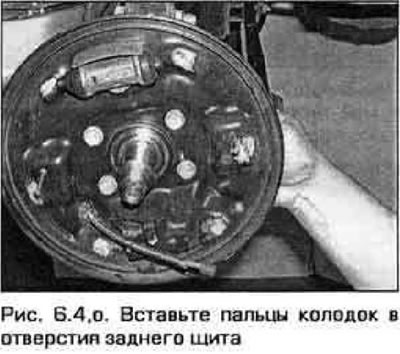
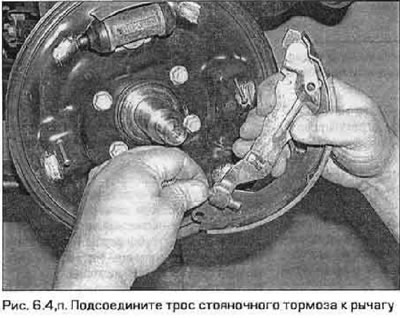
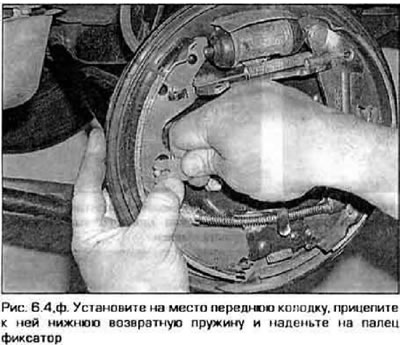
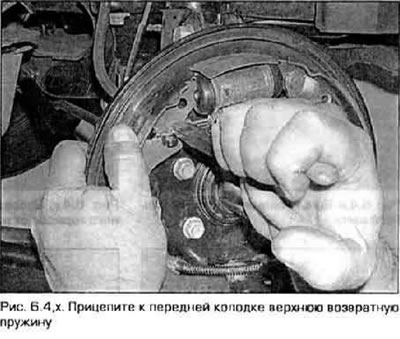
4. The pad replacement procedure is detailed in fig. 6.4, a-k. Follow this order and carefully read all the captions under the figures. All four rear wheel pads must be replaced at the same time, however, in order not to mix up the parts, perform this procedure first for one wheel and then for the other.
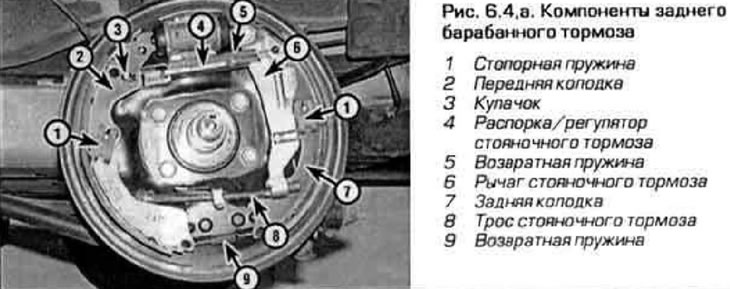
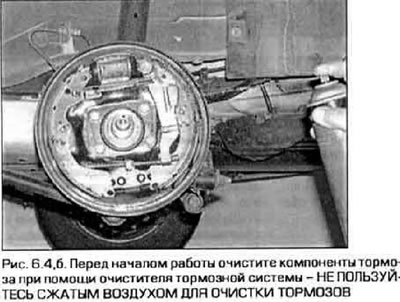 | 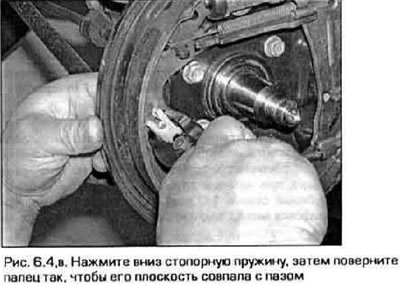 |
 |  |
 |  |
 |  |
 |  |
 |  |
 |  |
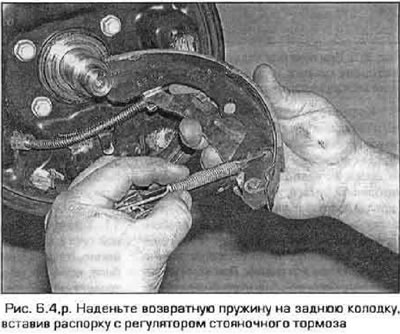 | 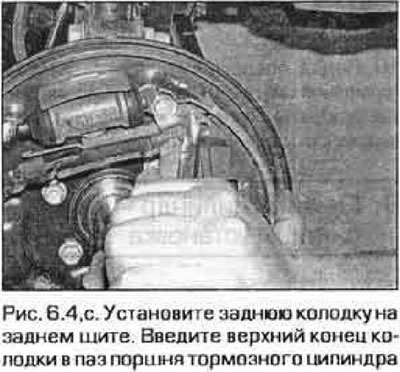 |
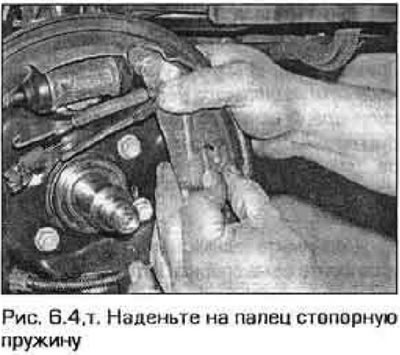 | 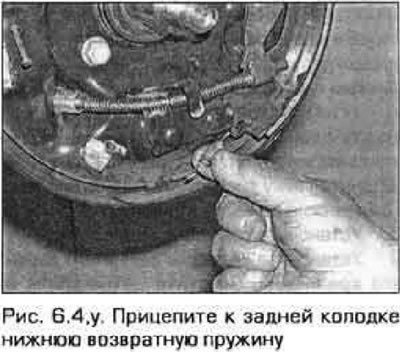 |
 |  |
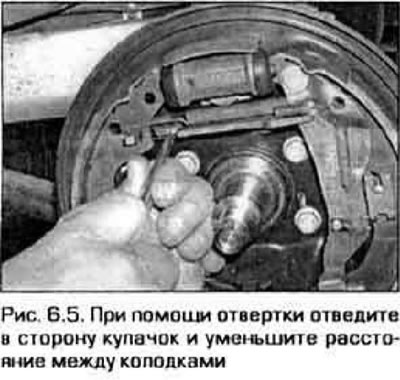
5. Align the shoes before installing the drum. Use a screwdriver to move the cam to the side and turn the adjuster ratchet to reduce the distance between the pads (pic. 6.5).
6. In addition, before installing the brake drum, make sure that there are no deep scratches, cracks, or burrs on its inner surface. If the spots on the surface of the disc cannot be removed with sandpaper, or the above-mentioned defects are present on the working surface of the drum, it is necessary to bore the drum.
Note: We recommend machining the brake drum whenever it is removed. At the same time, its beating is eliminated.
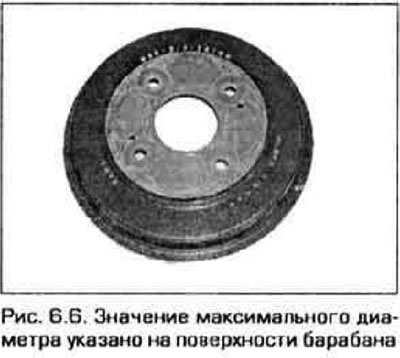
If the inside diameter of the drum exceeds the maximum allowable (this diameter is stamped on the bar bath) (see figure 6.6) You will have to purchase a new drum. If you do not plan to bore the drum, at least remove the shiny spots from its surface with circular movements of sandpaper.
7. Install the hub and bearing, put on the washer and new hub nut if these components have been removed (see chapter 10). Tighten the nut to the required torque (see Technical Data at the beginning of Chapter 10).
8. Install the brake drum.
9. Establish a wheel and wrap nuts of its fastening. Lower the vehicle and tighten the wheel nuts to the required torque (see Technical Data at the beginning of Chapter 1).
10. Several times press a brake pedal to adjust a backlash between pads and a drum. Then brake the vehicle several times while driving forward and in reverse, and apply the parking brake several times.
11. Carefully check up operation of brake system before a trip.
Warning. Do not travel by car. if you are not sure that the brake system is working properly.