
Note. The manufacturer recommends replacing this seal after removing the oil pump. In this case, the old cuff can be knocked out from the back of the pump housing, and the new cuff can be pressed in using a hydraulic press. The procedure described below is simpler and does not require major disassembly, but it can be quite difficult to pull out the old cuff. If the cuff cannot be pulled out, you can always use the method recommended by the manufacturer (removal of the oil pump is described in paragraph 13).
1. Disconnect the negative cable from the battery.
Warning. If your vehicle has an anti-theft audio system, make sure you have the unlock code before disconnecting the battery.
2. Turn out the central bolt of a pulley of a cranked shaft. Hold the pulley from turning with a belt wrench.
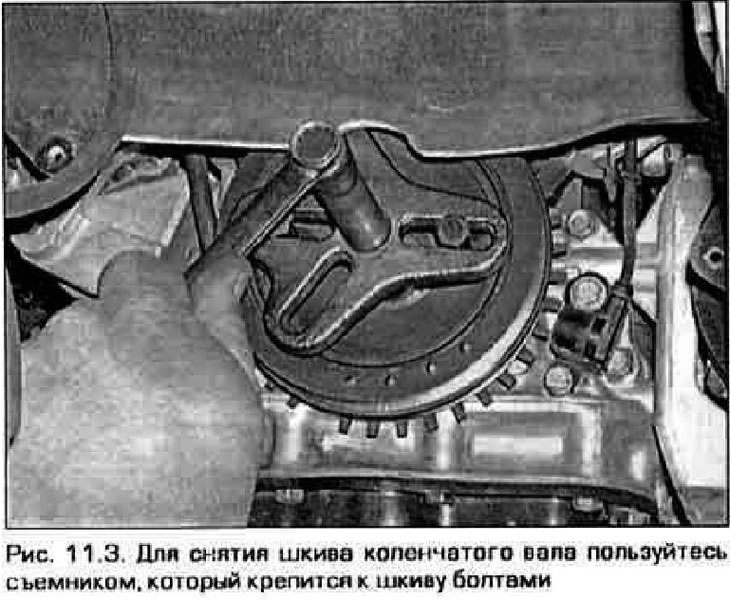
3. Using a puller, pull the pulley off the shaft (pic. 11.3).
4. Remove the toothed belt and crankshaft sprocket (see paragraph 6).
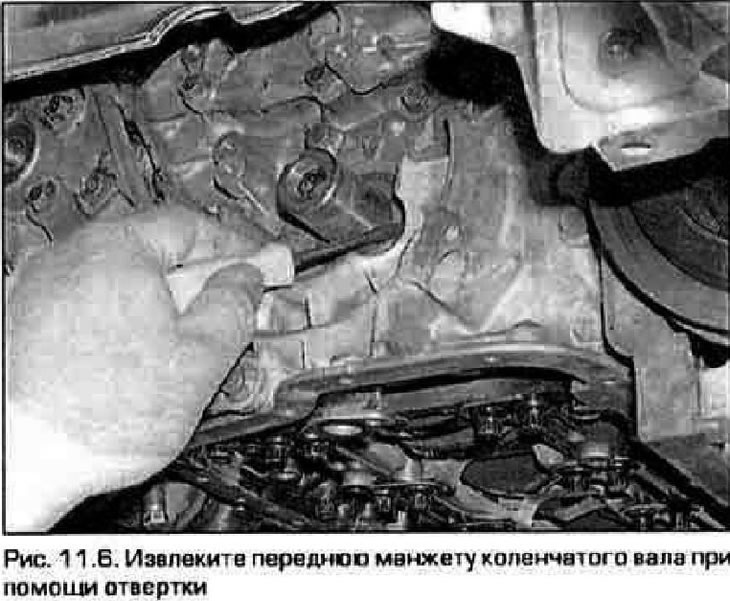
5. Note how deep the seal is pressed in, then use a sharp knife to cut off the sealing lip of the seal.
6. Carefully pry out the rest of the cuff using a screwdriver or other tool (pic. 11.6). To protect the pump housing and crankshaft toe, wrap the screwdriver shaft with tape (if the toe of the crankshaft is scratched, the new cuff will leak).
7. Wipe the cuff pocket. Lubricate the new seal and its working lip with clean engine oil.
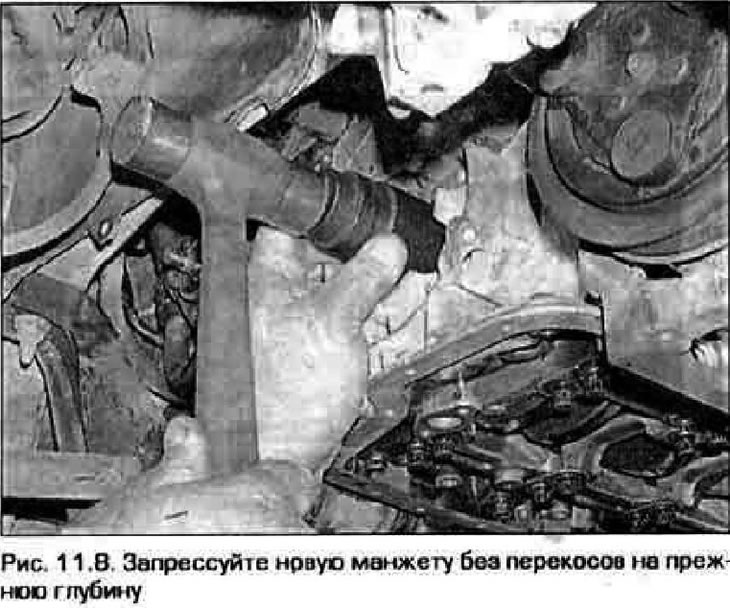
8. Carefully, without distortions, press the cuff into the socket to the same depth through the mandrel (suitable piece of pipe or socket), the outer diameter of which is slightly smaller than the outer diameter of the cuff (pic. 11.8).
9. Install the crankshaft sprocket and toothed belt (see paragraph 6). Be careful not to damage the ring of the crankshaft sensor on the pulley. Perform the rest of the assembly in the reverse order of disassembly.
10. Start the engine and check that the seal is not leaking.