


Removal
1. Remove the front timing belt cover (Chapter 3).
2. Remove the spark plugs and use a wrench on the pulley bolt to turn the crankshaft until the timing mark on the crankshaft pulley aligns with the 0 degree TDC mark on the indicator scale and until the line on the camshaft sprocket aligns with the A mark (2.0 liters) or B mark (1.6 liters) on the front cover, as shown in the accompanying illustrations.
3. Remove the bolts and separate the crankshaft pulley from the timing belt sprocket. Due to insufficient clearance, the pulley cannot be removed from the vehicle; to do this, the engine must be removed. The pulley will only move from the sprocket.
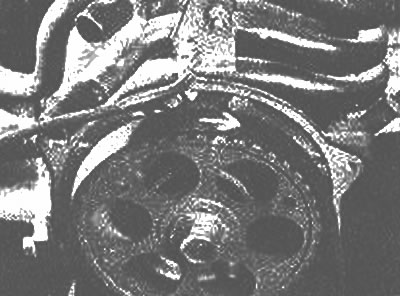
Mark the direction of rotation of the toothed drive belt with an arrow if it is reused
Note: Mark the position of the timing belt with an arrow indicating the direction of rotation before loosening the fastening if the belt is reused (photo).
4. Loosen the timing belt tensioner lock bolt.
5. Lift the belt away from the sprockets and remove it from the engine.
6. Inspect the belt for damage, wear, cracking, hardening, kinking, or the presence of oil or other fluid stains. If any of these signs are present or if the mileage stated in the Specifications exceeds the permissible limit, the belt must be replaced with a new one (Section 1).
Installation
7. Make sure the crankshaft and camshaft sprocket timing marks are aligned (photo).
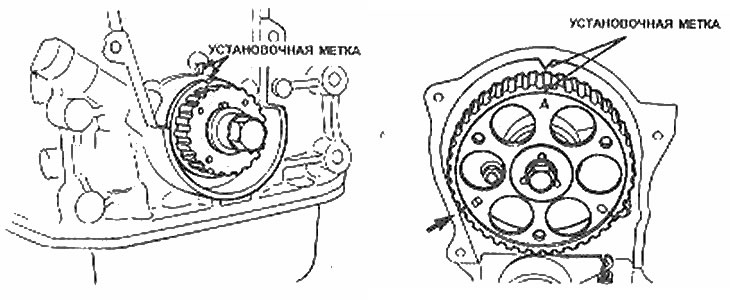
The correct position of the timing marks is 2.0 liters. For 1.6 liters, the mark is 'B' (indicated by the arrow) must be aligned with the pointer
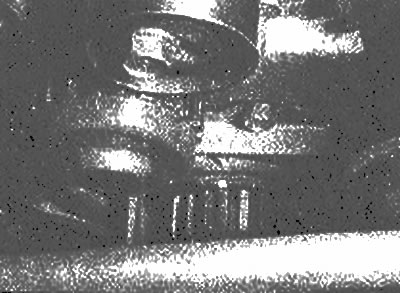
Mark on the crankshaft sprocket and... |
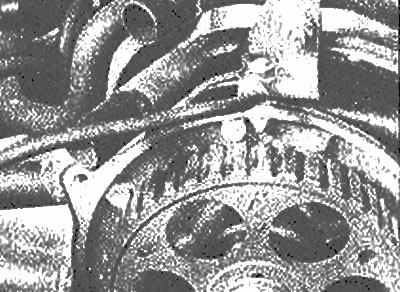
...the camshaft sprocket marks must be aligned as indicated before installing the timing belt (shown for 2.0L engine. |
Data provided by the website mazbook.ru
8. After installing the spring onto the tensioner, push the tensioner to apply maximum pressure and tighten the lock bolt, clamp the tensioner in the position as shown in the accompanying illustration.
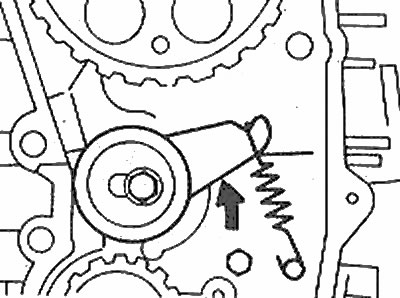
Apply maximum tension to the spring in the direction shown (arrow) and then tighten the lock bolt firmly before installing the timing belt |
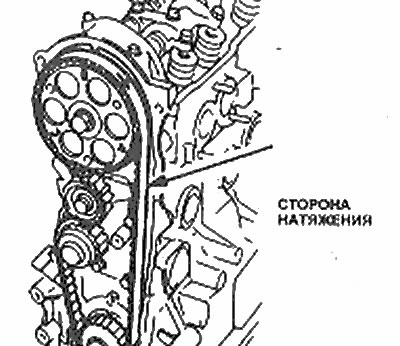
The toothed drive belt must be installed in the direction of the tension side |
9. Place the belt on the camshaft and crankshaft sprockets from the tension side (opposite side from the water pump and tensioner mechanism) so that tension is maintained. If reinstalling an old belt, make sure the arrow points in the correct direction.
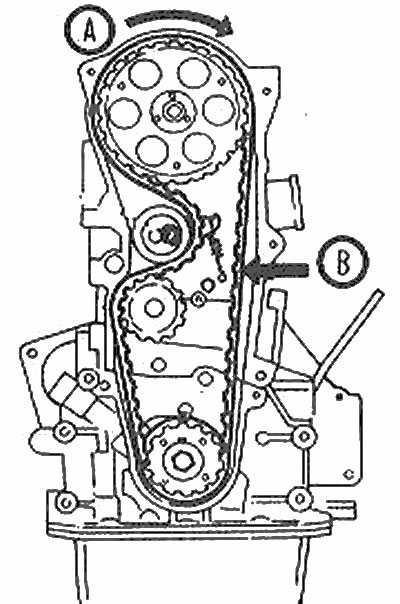
Turn the timing belt to the right (A), then check the tension at point B
Adjustment
10. Loosen the tensioner lock bolt so that the spring just applies pressure.
11. Rotate the crankshaft two full turns clockwise so that equal tension is applied to both sides of the timing belt as shown in the accompanying illustration, and tighten the lock bolt.
12. Check the alignment marks to ensure they are properly aligned.
13. Check the belt deflection at half travel between the crankshaft and camshaft sprocket on the tension side to ensure it is within the specifications. If the tension is incorrect, repeat the adjustment as described in paragraphs. 10-12.
14. Install the timing belt cover, crankshaft pulley and spark plugs.