
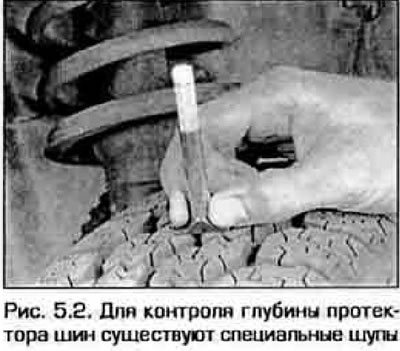
2. Normal, natural tire wear can be monitored using a simple tool known as a tread depth indicator (fig.5.2). When the tread depth reaches the minimum allowable value, replace the tire (s).
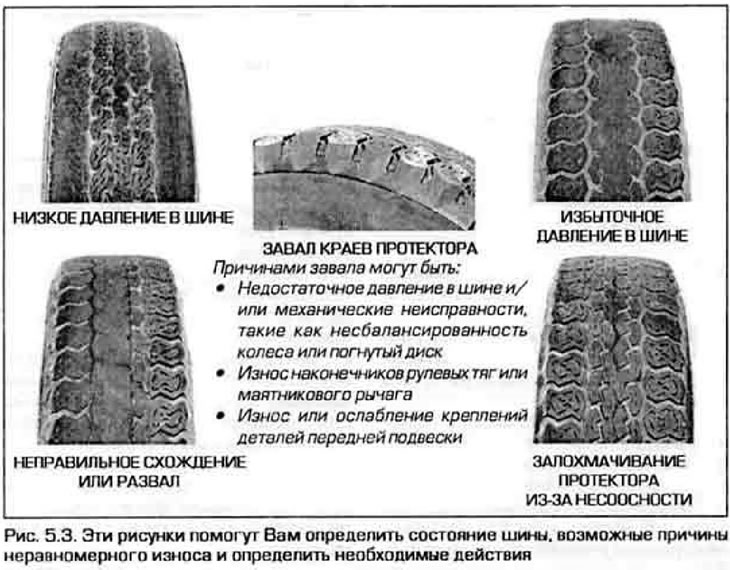
3. The tire should wear evenly across the entire treadmill. Uneven tread wear, such as increased tread side wear, patchy wear, wear on one side of the tread, etc., indicates improper cornering, steering, suspension or wheel imbalance (pic. 5.3). If one of these troubles occurs, drive the car to a service station to identify and fix the problem.
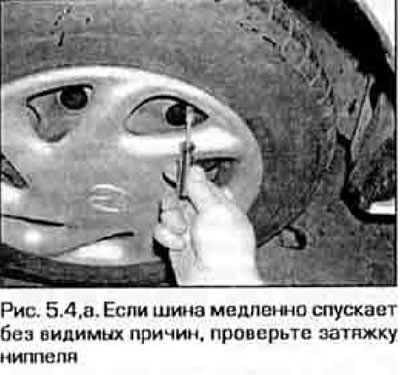
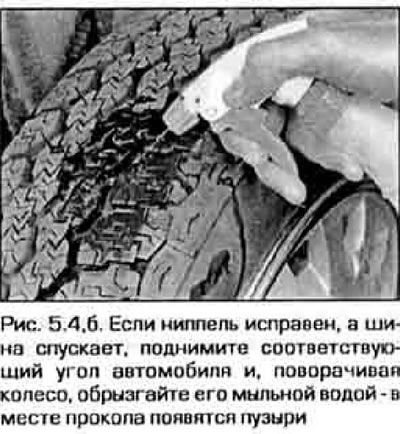
4. Inspect the tires carefully for cuts, holes, stones or nails embedded in the tread. Sometimes a tire holds pressure long enough despite a puncture if the nail that punctured it is not removed. If there is no damage and the tire is slowly flattening, check that the tube nipple is well tightened (fig 5.4.a). A small air leak can be easily detected by spraying the suspicious area with soapy water (pic. 5.4.6). Soapy water will bubble up at the leak. If the chamber is not too damaged, then it can be sealed or vulcanized. Many workshops do this.
 |  |
5. Carefully inspect the inner sidewalls of the tires for traces of brake fluid. If such marks are present, inspect the relevant brake immediately.
6. Proper tire pressure keeps them alive Increases mileage, improves the performance of the car itself Tire pressure is difficult to determine by eye or by tapping it with a boot. especially if it has a radial cord. This can be done much more accurately using a special pressure gauge. Keep a working pressure gauge in the glove box in the passenger compartment. Please note that the pressure gauges used at gas charging stations to monitor the pressure in the cylinders are not accurate enough.
7. Pressure should be checked in cold tires. "Cold" in this case means that the vehicle has not been driven for at least three hours. In heated tires, the pressure can increase by 0.3-0.6 kg/cm.
8. Unscrew the cap of the tire valve and firmly press the tip of the pressure gauge onto the valve (pic. 5.8). Read the pressure gauge. Recommended tire pressure. installed on the vehicle during manufacture. indicated on a plate attached to the side of the left door After measuring, do not forget to screw the cap onto the nipple to protect the nipple from dirt. Check the pressure in all tires and, if necessary, refuel. pump them up to the recommended value.
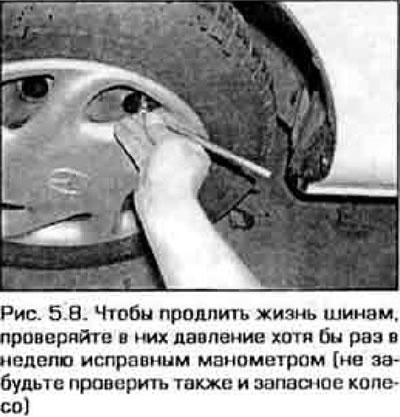
9. Don't forget to pump up the spare tire as well. Keep in mind that different types of tires require different pressures. Follow the tire manufacturer's instructions.