


2. If the head was sent to a workshop for valve mechanism repair, then all the valve mechanism parts are already in place. In this case, continue the assembly from step. 8.
3. Lubricate the valve guides and stems and insert the valves into the cylinder head. Install the valves in their original places DO NOT CONFUSE THEM!
4. Lubricate the valve stems and dip the new valve stem seals into the oil. Install the caps onto the valve guides.
Note: The intake and exhaust valve caps are different - the exhaust valve caps have ridges on top. but there are no intake caps. DO NOT CONFUSE THEM! Carefully press the caps into place until they fit onto the guide bushings (figure 12.4).
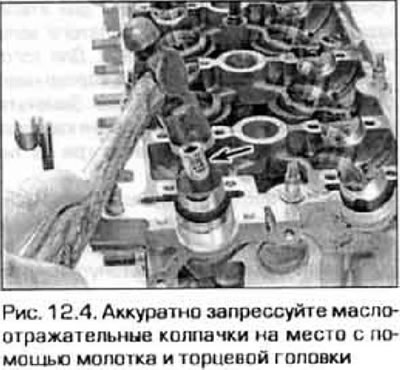
Caution: Do not hammer on the seals after they have seated in place, otherwise they may be damaged. Do not twist or distort the seals, otherwise they will not seal the rods.
5. Lower the spring guide onto the lower spring plate, then install the spring and upper spring plate.
6. Compress the spring with the tool, insert crackers into the groove of the rod and carefully release the spring, making sure that the crackers are correctly positioned in place. To prevent the crackers from falling out during installation, apply a small amount of grease to them (figure 12.6).
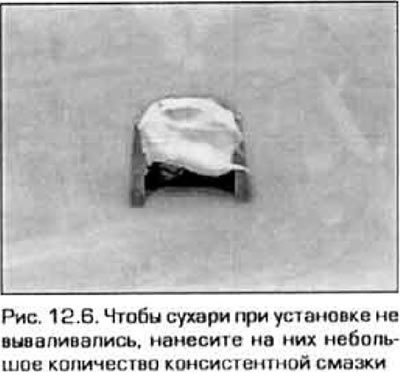
7. Install the remaining valves in the same way. Tap the ends of the valve stems two or three times with a plastic hammer to firmly seat the crackers.