
2. Disconnect the negative cable from the battery.
3. Loosen the screws securing the distributor cover. The screws are held in the cover with clamps. Remove the cover (photo).
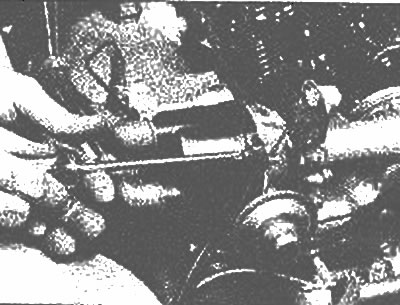
Loosen the distributor cap screws
4. Inspect the cover for cracks or other damage. Carefully inspect the contacts on the inside of the cover for excessive corrosion (photo). Minor scratches are perfectly acceptable. Deposits on the contacts can be removed with a fine file.
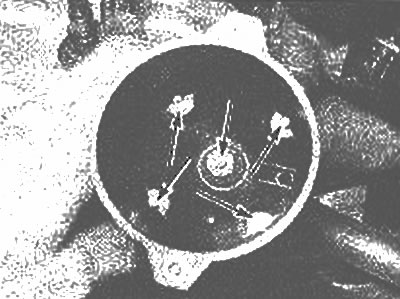
Inspect the distributor cap contacts (arrows) for corrosion and damage
5. If during inspection it turned out that the cover is damaged, it must be replaced. Look at the runner.
6. The slider, mounted under the cover on the distributor shaft, is fastened with two screws. Loosen the screws, remove the slider and inspect it for cracks or other damage.
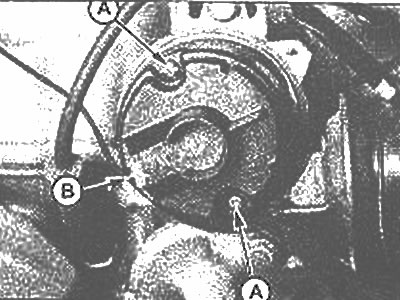
screws (A) and contact (IN) distributor slider
7. Inspect the metal contact on top of the rotor for burns and pitting (photo).
8. If the contact is in poor condition, the slider must be replaced.
9. Inspect the centrifugal ignition timing assembly for damage and signs of corrosion. Check if the springs are broken. Retract the weights to make sure they move easily and tension on the springs brings them back (photo). Apply a thin layer of silicone grease to the contact surfaces of the assembly.

Pull back the weights of the centrifugal governor to make sure the springs return them to their place
10. If the slider and cover are in good condition, install them.
11. If the cover needs to be replaced, do not install the new cover at this stage, set it aside without disconnecting the wires.
12. If the test in step 1 shows that the spark plug wires are OK, perform the following test.
13. Inspect the wires one at a time so as not to mix them up.
14. Disconnect the wire from the spark plug. Use a special tool or grab the rubber tip, twist it slightly from side to side and remove the wire. Do not grab the wire itself, only the rubber tip (photo).
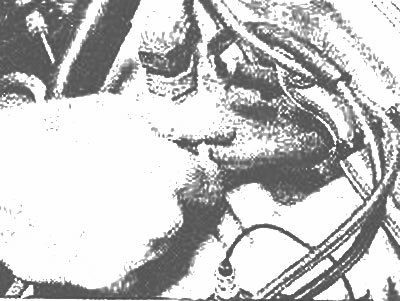
Pull on the end of the spark plug wire, not the wire itself
15. Inspect the inside of the tip for signs of corrosion (white solid powder). Some models use white silicone grease, do not confuse it with traces of corrosion. Clean the tip of corrosion with a screwdriver or knife.
16. Reinstall the wire on the end of the spark plug - the tip should fit snugly on the spark plug. If this is not the case, remove the wire and use pliers to gently bend the metal connector inside the wire lug so that the lug stops dangling on the spark plug.
17. Using a clean rag, clean the wire along the entire length of the resulting dirt and grease. Inspect the wire insulation for burnt spots, cracks, or other damage. Bend the wire in several places to make sure the wire has not lost its flexibility.
18. Check the end of the wire at the distributor cap in the same way. Inspect the wires one at a time so you don't mix them up.
19. If you have a multimeter, measure the resistivity of each wire. It should be 16 kOhm * m.
20. If the wires are in good condition, make sure they are securely attached. If the lid and slider are also in good condition, the test is completed. Connect the battery cable.
21. If the procedures in steps 14 - 19 determine that the wires, distributor cap or runner need to be replaced, make the necessary replacement.
22. If new wires are installed, replace them one at a time so as not to frighten.
23. Install the cover on the distributor, then connect the battery cable.