
2. Before starting work, stock up on a sufficient amount of fluid of the recommended type (see Recommended oils and fluids at the beginning of this chapter).
3. To do the job, you will also need: car stands, 3/8 ratchet wrench", dishes for draining liquids with a capacity of at least 6 liters, clean rags and old newspapers.
4. Fluid must be drained immediately after driving. Hot liquid drains faster and carries away all deposits with it.
Attention! Fluid and transmission temperatures can reach 180°C. Wear protective gloves.
5. After the transmission has warmed up, park the vehicle on level ground, jack it up and place it on stands to access the drain plug.
6. Move the necessary tool under the car, being careful not to touch the hot parts of the exhaust system.
7. Place an empty container under the transmission drain hole and remove the plug. Let the liquid flow out into the container, then wipe the plug, screw it back in place and tighten it carefully.
Ford CD4E and Mazda LA4A-EL transmissions
8. Lower the vehicle and go to step 17.
Ford 4EAT and MAZDA GF4A-EL transmissions
9. Turn out bolts of the pallet of transmission.
10. Carefully press the sump away from the transmission, taking care not to damage the mating surfaces of the sump and transmission case (otherwise there will be leaks).
11. Remove the bottom and its gasket. Thoroughly clean the mating surface of the transmission case from gasket and sealant residues.
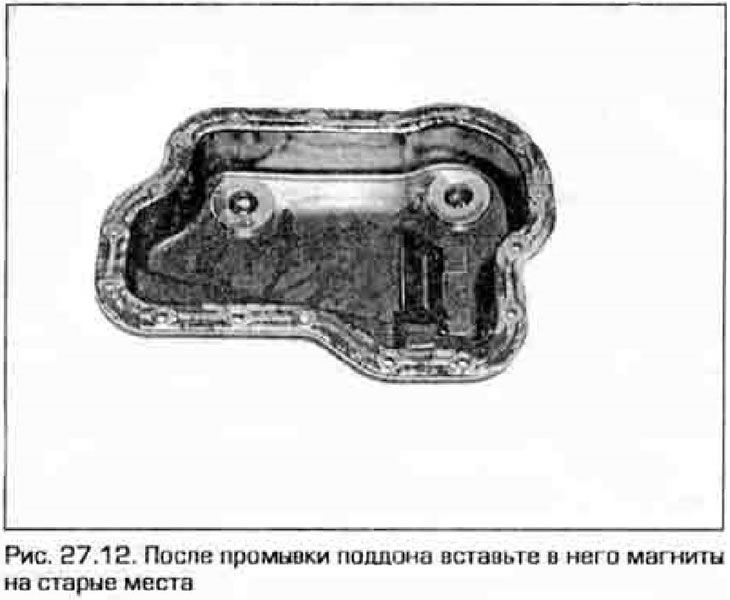
12. Drain any remaining fluid from the sump, rinse with solvent and dry well. Insert magnets into the tray (if they fell out during washing) (pic. 27.12).
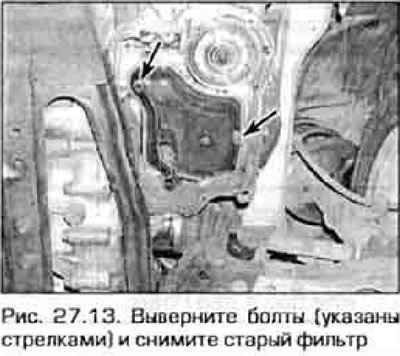
13. Remove the old filter from the transmission (pic. 27.13).
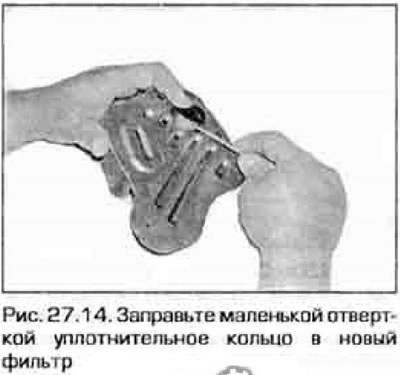
14. Install the O-ring on the new filter (fig.27.14). Insert the filter into place and tighten it with bolts.
15. Replace the pallet with a new gasket and screw in the bolts. Going around the pallet in a circle, tighten the bolts little by little until the torque indicated in Technical data. Do not overtighten the bolts!
16. Lower the car.
All models
17. Remove the dipstick from the transmission and pour transmission fluid through the dipstick tube. Drink liquid in small portions, periodically checking its level on the dipstick. Before measuring the level, let the liquid have time to sleep in the sump
18. Insert the dipstick.
19. Start the engine and move the selector from position P to position 2 and back to P. Apply the parking brake.
20. Stop the engine and check the fluid level. If necessary, bring the level to the desired sign.