
Attention! Do not allow antifreeze to come into contact with skin or painted body surfaces. Rinse off spilled antifreeze with plenty of clean water. Antifreeze is very toxic - do not allow it to enter the body. Do not leave antifreeze unattended in an open container or in puddles on the floor - children and pets may be attracted to its sweet smell and make you want to try it.
1. Periodically drain, flush and fill the cooling system with a blower to prevent corrosion of the internal parts of the system.
2. Simultaneously with the replacement of the fluid, it is necessary to check all the hoses of the cooling system and the valves of the radiator cap. If defective elements are found, they must be replaced (see paragraph 13).
3. Antifreeze is toxic and chemically active, so be careful with it - do not spill it on the painted surfaces of the car and do not allow it to come into contact with the skin. If this happens, wash off the antifreeze with plenty of water. Do not dispose of antifreeze on the ground or down the drain - check with your local authority where you can dispose of the used fluid.
Draining liquid
4. If the vehicle has been recently ridden, let the engine cool down. Apply the parking brake.
5. After the engine has cooled down, unscrew the radiator cap (on 4-cylinder models - fig. 24.5) or filler cap (on V-models). Also remove the expansion tank cap.

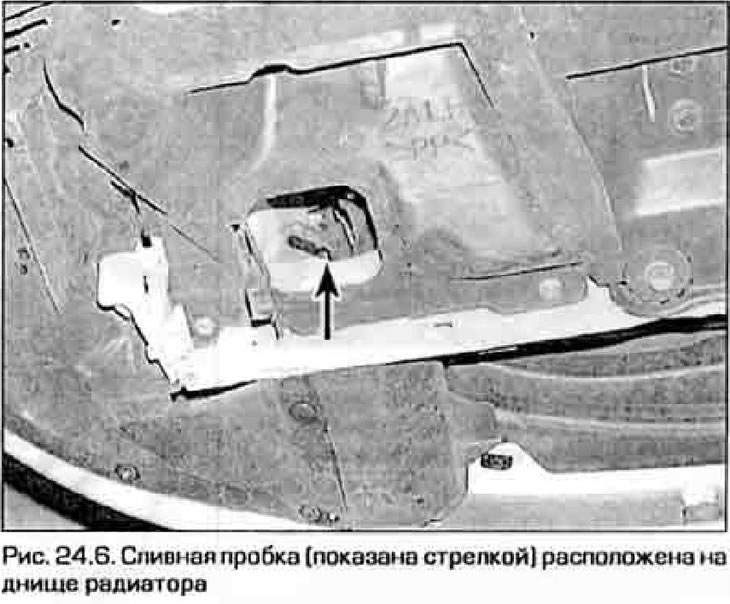
6. Remove the drain plug on the bottom of the radiator (pic. 24.6) and drain the liquid. If the cork is rusted and does not turn away, or. if the radiator is not equipped with a plug at all, disconnect the lower hose from the radiator and drain the fluid from the pipe.
7. After the liquid stops flowing from the radiator drain hole, disconnect the lower hose and drain the remaining liquid from the cylinder block.
8. While the liquid flows out of the block, disconnect the hose from the expansion tank and remove the tank (if necessary, see chapter 3). Rinse the tank inside and out so that the fluid level marks are clearly visible.
9. While fluid is flowing, check the condition of the radiator and heater hoses, as well as their clamps.
10. Replace defective hoses and clamps.
Flushing
11. When all the liquid flows out, remove the thermostat housing from the engine (see chapter 3), remove the thermostat itself from it, and put the housing back into place,
12. Connect the lower hose to the radiator and screw in the drain plug. Set the heater valve to the extreme position "hot", to flush the heater core as well.
13. Disconnect the upper hose from the radiator. Insert a garden hose into the top radiator hose and let the water run. Flush the system until clean water flows from the top hose.
14. If the radiator is heavily soiled or clogged, remove the radiator from the vehicle and take it to a service station for cleaning and repair.
15. Chemicals for flushing cooling systems are commercially available. Follow the manufacturer's instructions when using them.
Note. With frequent replacement of the coolant, the need for such a thorough flush usually does not arise.
Filling
16. Before filling the system, reinstall the thermostat, expansion tank and connect all hoses.
17. Turn the heater valve to the fully open position ("hot").
18. Fill system with recommended antifreeze/water mixture (see Technical data at the beginning of this chapter). Slowly fill the system through the radiator neck or filler neck until the fluid level reaches the bottom of the neck. Then add fluid to the expansion tank up to level F on the dipstick. Wait five minutes and check the fluid level in the radiator. If necessary, add liquid to the base of the neck.
19. Leave the filler cap open and start the engine. Warm up the engine until the thermostat opens (liquid will begin to circulate through the radiator and the upper hose will become hot).
20. Stop the engine and let it cool down. Drink liquid up to the base of the filler neck.
21. Squeeze the upper radiator hose several times to force air out of the system. Check the level again and top up if necessary. Screw on the filler cap.
22. Set the temperature and dehumidifier fan speed controls to the maximum position.
23. Start the engine, warm it up to operating temperature and check for leaks.
24. If the temperature of the coolant rises above the norm, it means that air has not been completely removed from the system. Burn the engine and let it cool down completely. Air will exit the system automatically. Repeat the system test and achieve normal operation when the engine temperature is established, slightly below the red sector on the pointer.